Get The Look: Half-Top Knot
How should you prep the hair?
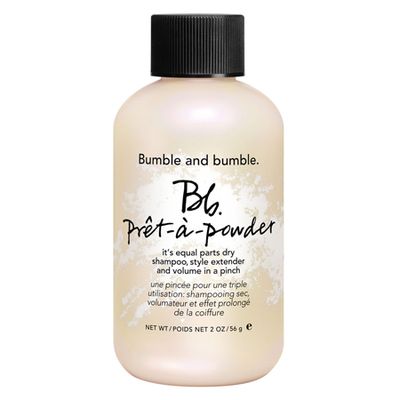
“A half top-knot is best done on day-old hair, as strands will naturally have more texture and hold. If you are creating the look on clean hair, use a bit of dry shampoo to add some texture.” – Laura Swann, stylist at John Frieda
“This style typically works best on day-old hair, so little prep is needed. However, if you’re going for an evening look, then it may work better on clean hair as the hair is smoother and will look a little more chic.” – Craig Taylor, Creative Director at Hari’s
Any tips for keeping the look cool without being too structured?
“Keep the look loose – scrape the hair from both ears upwards and secure with a hairband. Don’t be afraid to pull pieces out of the hair to give a textured look.” – Laura Swann
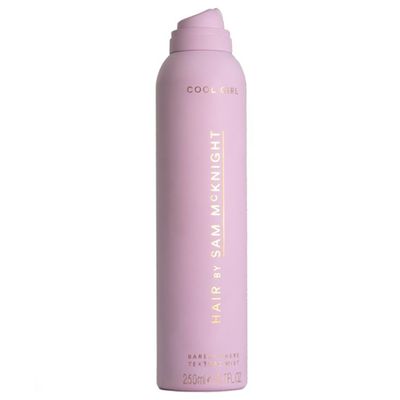
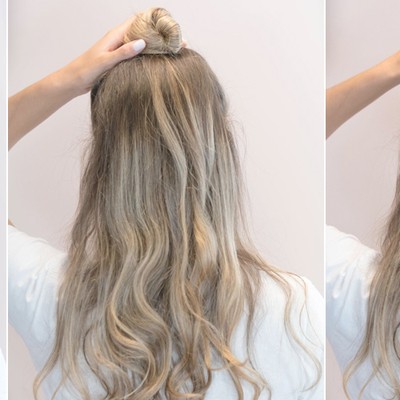
“Use your hands. This will give a less perfect finish with a sense of nonchalance where the hair is grabbed up to make the knot uneven in texture. Flyaways are all part of the look so there’s no need to be fussy about this – you can even blow the hairdryer against the direction your knot is fixed in to create an undone finish.” – Craig Taylor
What hair types and colours work best with this style?
“All colours look great with this look, although it is better suited to those with medium-long tresses.” – Laura Swann
“Any colour of hair will work with a half top-knot, but on dark hair or hair that's natural and more singular in colour, you may need to texturise or undo strands to give a cooler feel. Blondes and multi-tonal strands will naturally show off more texture and look less perfect. If your hair is thin, try backcombing the top section before wrapping into a knot to add even more texture and volume.” – Craig Taylor
Do you need any tools to get the look?
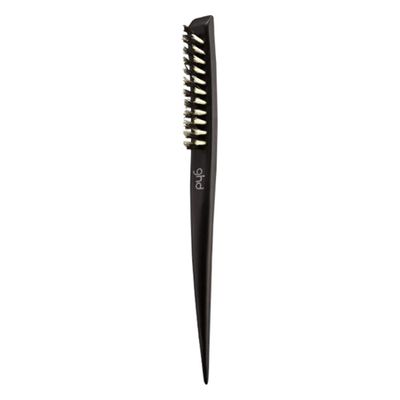
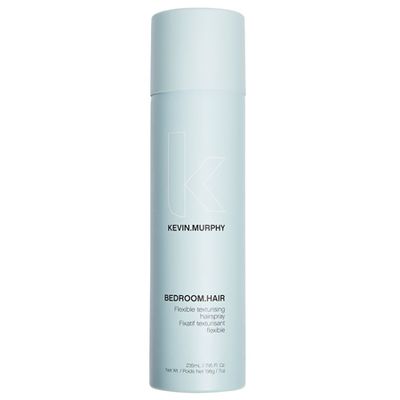
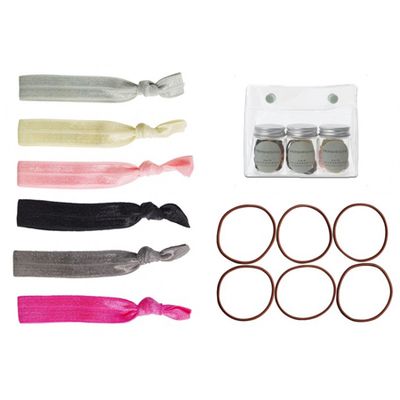
“Your hands are always the best tool – finger tips can deal with individual hairs whereas the palms of your hands are good for rubbing against the hair to create texture. In terms of brushes, the Kent PF16 is great for sectioning and backcombing. A covered hair elastic or snag-free band is also essential to prevent hair breakage and a spritz of hairspray always helps.” – Craig Taylor
Any final tips?
“Try to make the top-knot sit in the best spot that suits your face and head shape – it doesn’t have to sit really high if this doesn’t work for you. Also, be wary of the size of your knot – too skinny can look wrong and if it’s too big, it might need to be done a little tighter.” – Craig Taylor
DISCLAIMER: We endeavour to always credit the correct original source of every image we use. If you think a credit may be incorrect, please contact us at info@sheerluxe.com.
