
The Lazy Girls’ Guide To Contouring
STEP 1: Get Your Shade Right
First thing’s first – choose the right shade. To ensure you don’t fall at this first hurdle, Jackson suggests investing in a contour kit: “It’s the easiest thing to do, it gives you a mix of shades to play with, so you can blend them together and create the perfect one for your skin tone. With a palette you usually have the added bonus of highlighting shades too, so you’ll have everything you need.”
But her top tip? “Be mindful that your contour is meant to mimic shadows, so should be cool-toned, not warm like a bronzer.”
And when it comes to formula, while powders will last longer, cream contouring products are best for applying in a rush or on-the-go. “If you're looking for a natural finish and a speedy application I'd go with cream,’ says Jackson. ‘It’s much easier to blend and you don’t have to use a brush you can use your fingers.”
STEP 2: Get The Placement Right
It can be hard pinpointing the best place to apply contouring products, but it can make or break the effect. Jackson breaks it down: “Look straight into a mirror to find the natural shadows of the face; ensure the light is facing you straight on, otherwise you’ll create shadows in the wrong place. Use this as a guide; anything you want to make appear smaller add contour, anything you want to bring attention to add highlight. If you have time, go in with a bronzer to soften the lines.”
For the cheekbones, simply follow the hollow just beneath the bones – “Do this by sucking in and pulling the ‘duck face’; you’ll easily see your natural contour,” says Jackson. And for the nose, sketch two lines down either side of your nose and add a highlighter down the centre.
STEP 3: Go Easy With The Application
You might think that stripping your contour back is only a way to be speedier but, in fact, you should always approach it with a less-is-more attitude – applying as little product as you can, and taking the ‘two-finger’ rule into consideration. As for what it means? “Don’t take your contour any further than the hollow of your cheek,” says Jackson. “This stops a line from forming, which looks unnatural.”
STEP 4: Don’t Forget To Highlight
“People often forget that contouring involves highlighting too – they come as a pair,” explains Jackson. As for highlighter placement, apply it to the highest points of your face – the tops of your cheekbones, browbones and Cupid's bow “This will bring light to those areas of your face, enhancing your face’s natural structure and contours,” she says, adding that playing up your highlighter (rather than applying more contour) is the best way to get a super-sculpted effect whilst still looking natural.
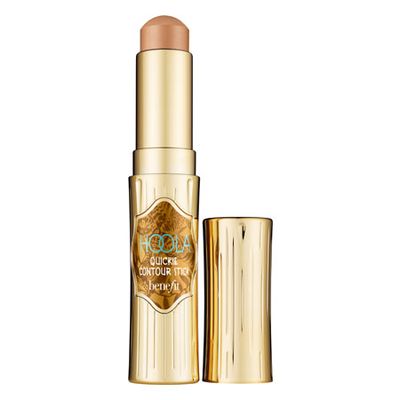
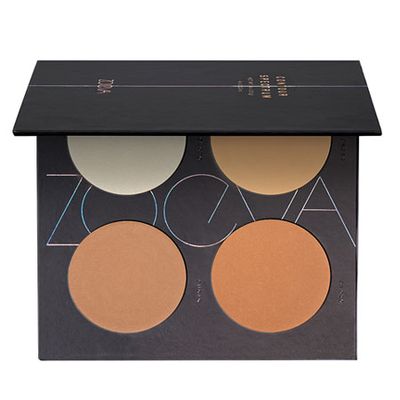
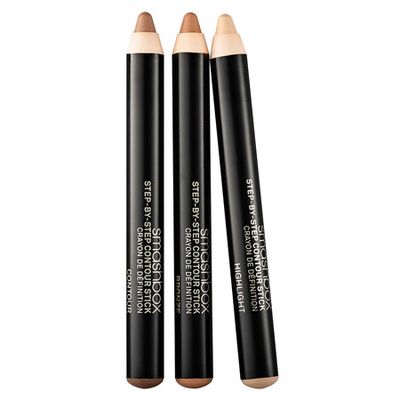
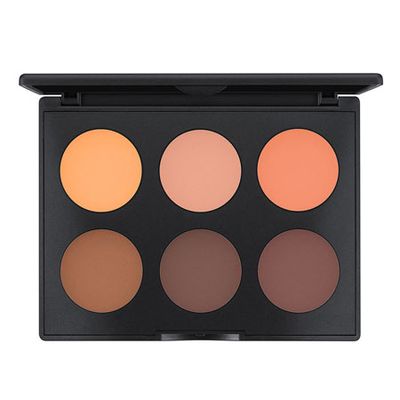
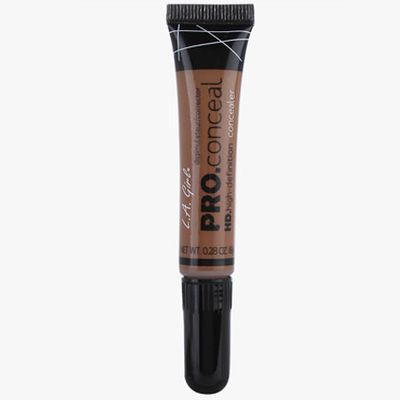
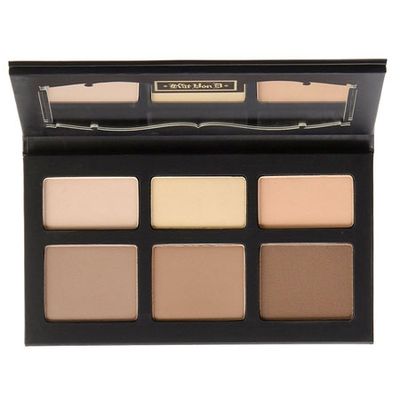
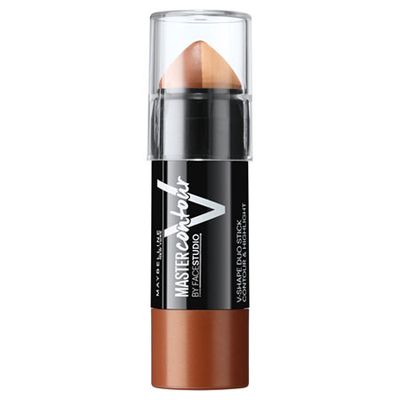
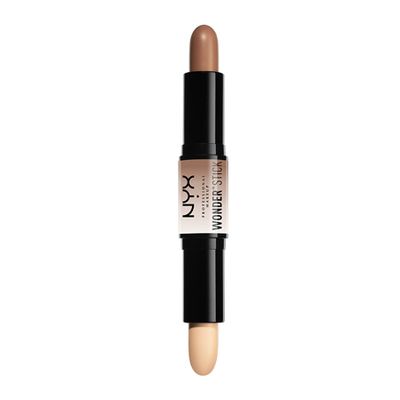
Shop SL’s edit of the best contouring products below…
DISCLAIMER: We endeavour to always credit the correct original source of every image we use. If you think a credit may be incorrect, please contact us at info@sheerluxe.com.