
The Beauty Insider: Everything You Need To Know To Get The Perfect Glow
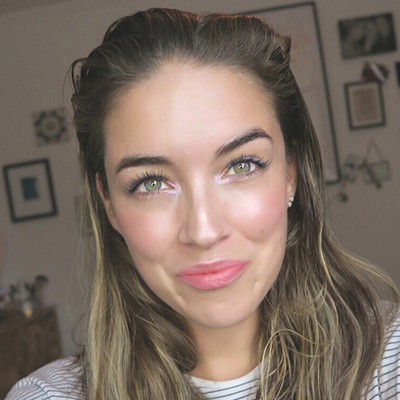
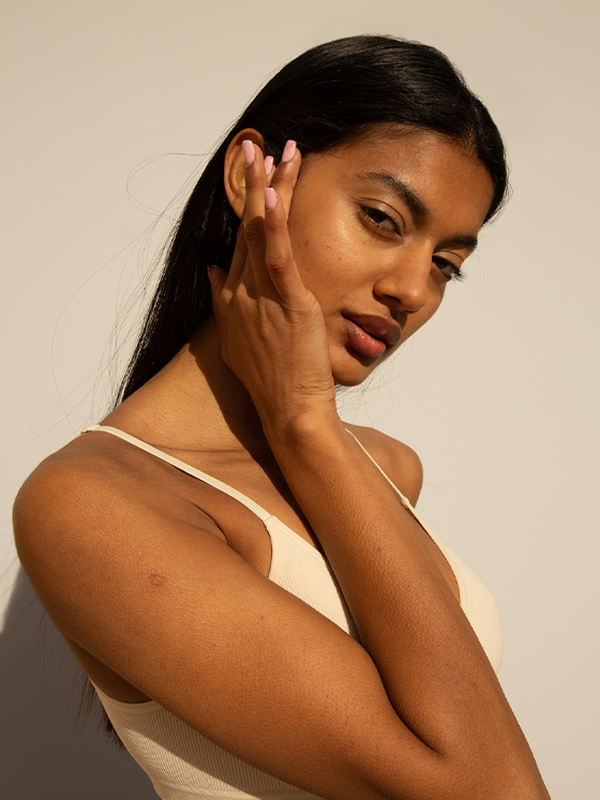
Highlighting is one of the most popular trends of the past five years thanks to the likes of social media, celebs and really good lighting. As a makeup artist, the ‘glow’ has always had a place in my slightly bias, disco ball-shaped heart.
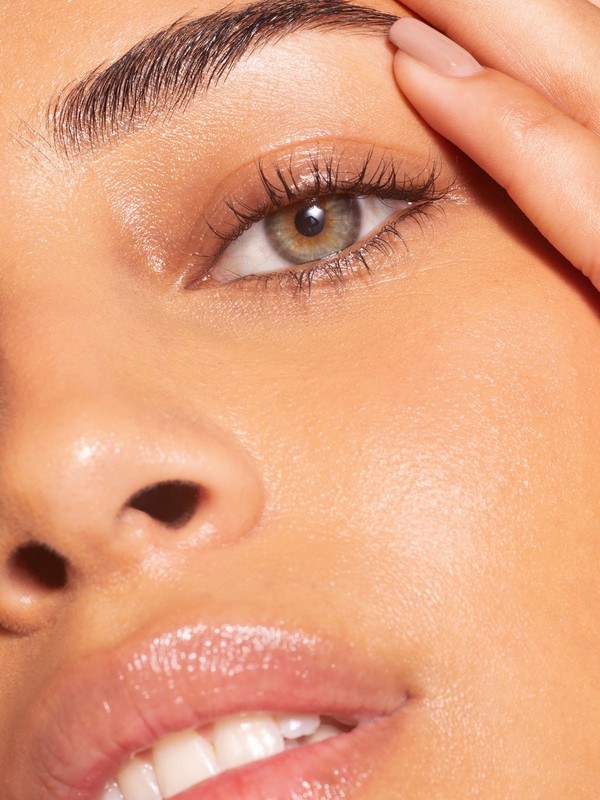
So, what exactly is it and why should we do it? Basically, highlighter is face makeup that attracts light, creating the illusion of brightness and height, giving you a lit-from-within look. However, there’s a fine line when it comes to the application: apply too little and the effort won’t have been worth it, but add too much and you might be mistaken for the Tin Man.
So, here’s my beauty insider tips for the perfect highlighter – because let’s be honest, glowing skin is always in.
Subtle Sheen
This is my favourite type of glow, mainly because the technique makes your skin look brighter and more youthful. Honestly, what’s not to like? To achieve this, mix a liquid highlighter with your foundation (30% highlighter, 70% foundation) and apply all over your complexion with your preferred tool.
The High Points
These are the key areas to apply your highlighter. Stray outside of these zones and you risk detracting from the areas you should be in enhancing.
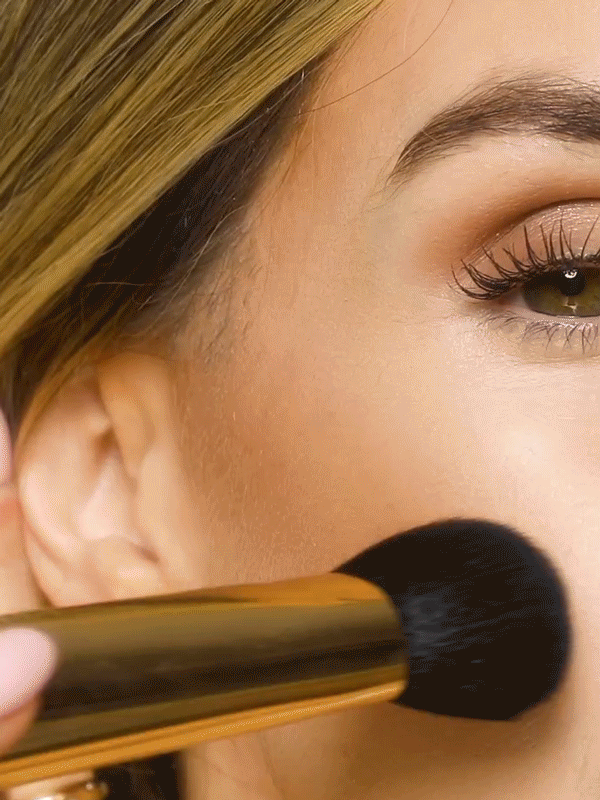
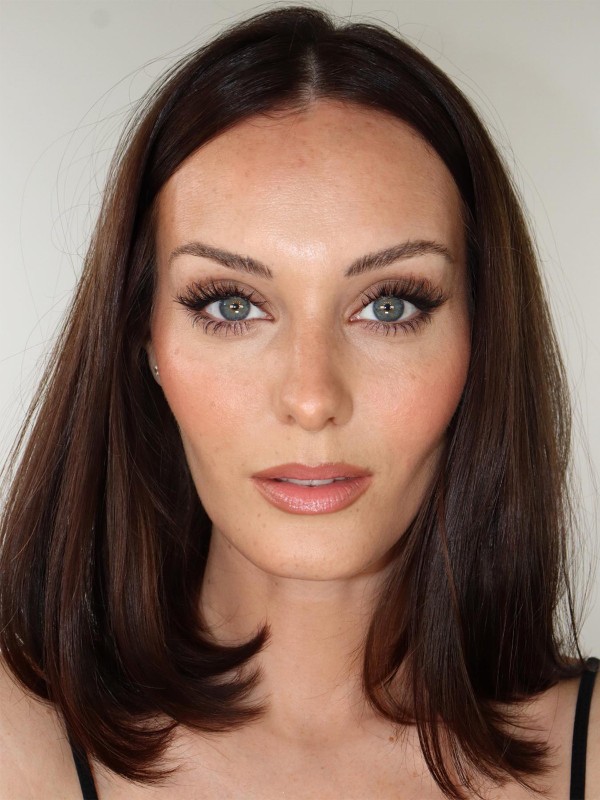
Cheekbones: Smile and you’ll be able to feel them. Your highlighter should be blended to perfection on top of these. Curve it up into a C towards the eyebrow. Don’t go too far in towards the nose as highlighting under your eyes is a no-no.
The brow bone: I’m actually not a massive fan of highlighting under the eyebrows – it’s a bit too 80s for me. However, highlighting directly under the brow arch with a soft-focus highlighter can lift the appearance of the brows which, in turn, makes the eyes look bigger.
The nose: A touch of glow down the centre of the nose is gorgeous. This is a particularly good trick if you like a matte foundation. The nose is the highest point of the face, so highlighting it will help your whole complexion look more radiant. Stick to the bridge of the nose; the gleaming ‘tip of the nose’ trend is one to avoid.
The cupids bow: This is the shape above the centre of your lips. Some people have better definition than others (mine is pretty non-existent), but dusting a highlighter over this area makes the lips look fuller and more defined.
Above the brow: I like to call this the ‘JLo glow’ – that woman always looks amazing and she always has a touch of highlighter above her brow. To recreate her look, just press a liquid or cream version just above the arch of the brow. You can thank me later…
The centre of the eye: Otherwise known as a ‘halo eye’. Pressing highlighter into the centre of the eyelid, over eyeshadow or alone, brightens the eyes instantly, as does a touch on the inner corner of the eye. A great trick if you’re tired.
Types Of Highlighters
So now you know where to apply them, it’s time to work out which type of highlighter is best. Here’s a quick guide and some of my all-time favourites.
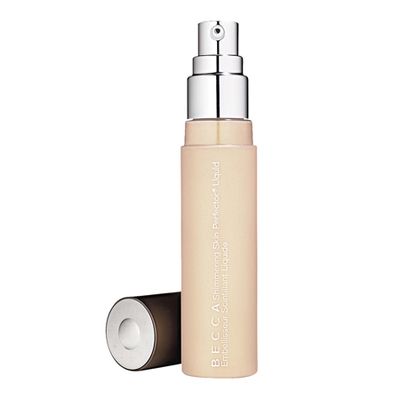
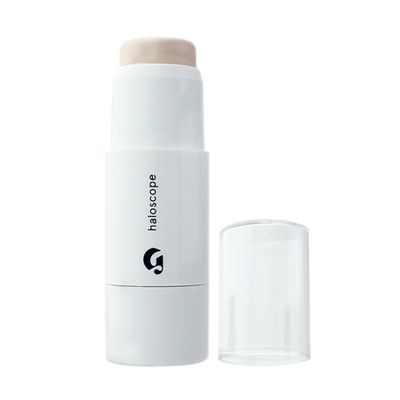
Liquid:
The most versatile of the bunch, liquids are perfect for mixing with your foundation and provide a great formula for a natural glow. Apply with fingers or a damp beauty blender, but avoid if you wear a powder foundation.
Top 3:

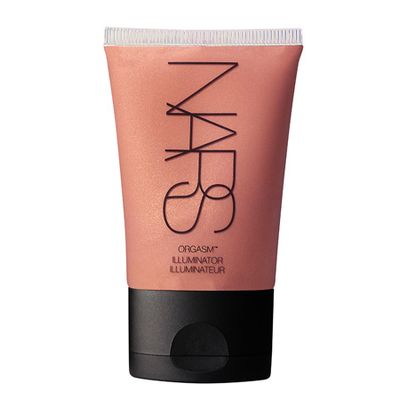
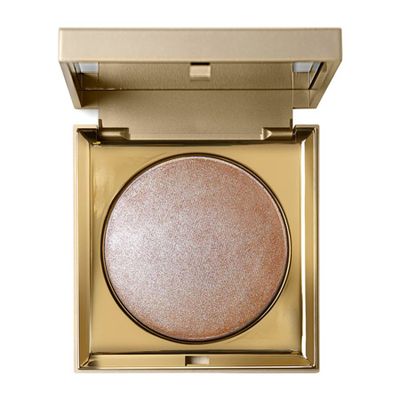
Creams:
The easiest way to add a touch of light to your skin; simply apply with your fingers. Great with foundation or without – personally, I love using a cream highlighter on the high points with just mascara and a brow gel when on holiday.
Top 3:
-
Topshop Highlighter (It’s currently being renamed – watch this space…)
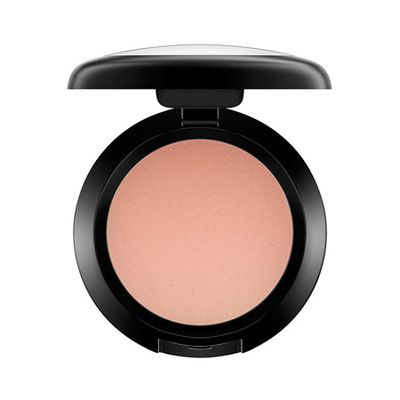
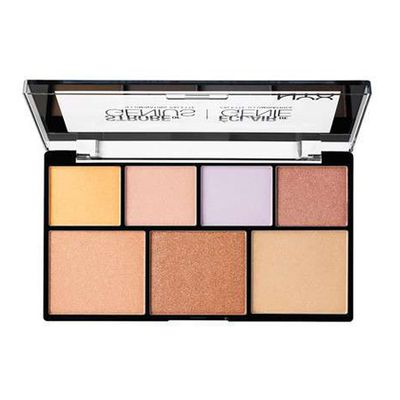
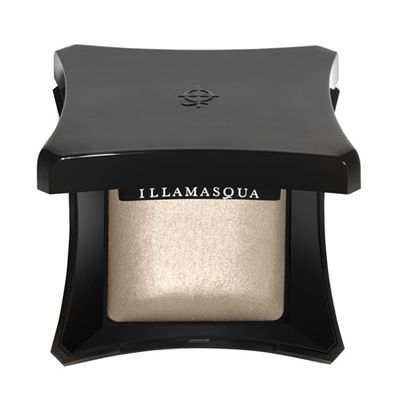
Powder:
Buildable and intense, it’s the powder highlighters that give you that ‘Insta glow’. Best applied with a fluffy eyeshadow or fantail brush. And if you want some extra intensity? Simply dampen your brush first.
Top 3:
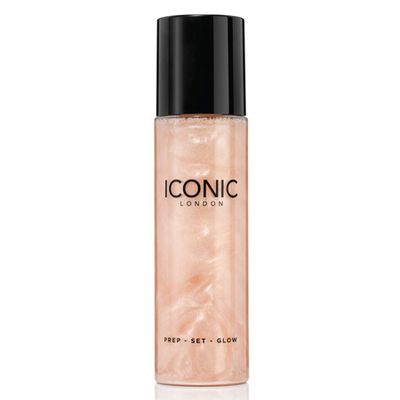
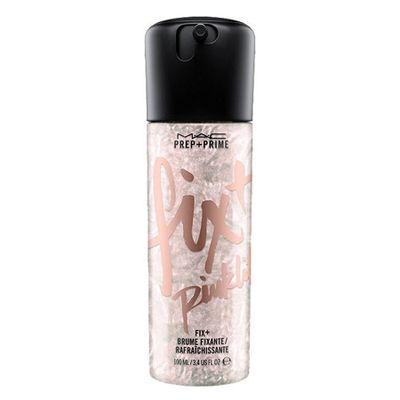
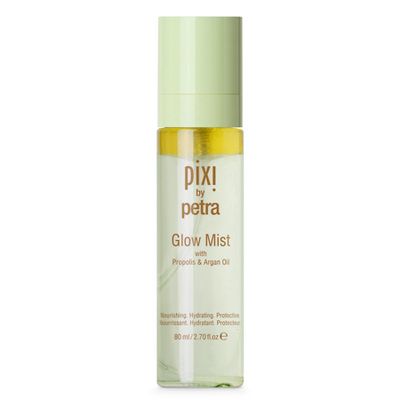
Illuminating setting sprays:
Great for a dewy finish. Hold approximately 30cm from your face and spritz over your finished look. Leave to dry – or, if you’re impatient like me, fan with a piece of paper.
Top 3:
So that completes my highlighting 101. Now go get that glow!
Love & lip gloss,
Lisa xx
Lisa Potter-Dixon is Head Make-Up Artist for Benefit Cosmetics. Make sure you tag us in your highlighter pics: @Lisapotterdixon, #LearnwithLisa and @Sheerluxe on Instagram.
more from
Beauty


DISCLAIMER: We endeavour to always credit the correct original source of every image we use. If you think a credit may be incorrect, please contact us at info@sheerluxe.com.