
An Easy Guide To At-Home Lash Tinting
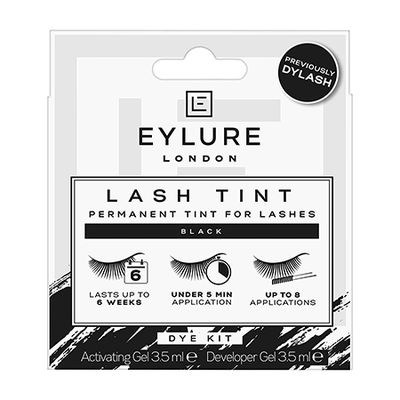
Choose Your Kit Wisely
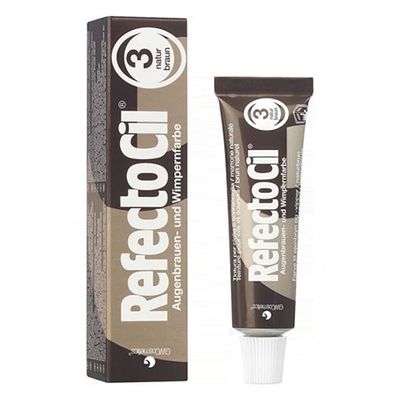
You can now find at-home tinting kits in most drugstore or beauty supply shops – Eyelure is the one the experts use. Depending on your colouring, choose a light, dark brown or black for your brows and a brown or black for your lashes. Instead of black for lashes, you can opt for ‘blue/black’, which is slightly richer and inkier in tone and makes the whites of your eyes brighter.
Cleanse Your Face First
Before you start, make sure your face is thoroughly cleansed and dry – you don’t want any leftover, oily, eye make-up remover to interfere with the dye. Don’t bother with any skincare until you’re done tinting, either.
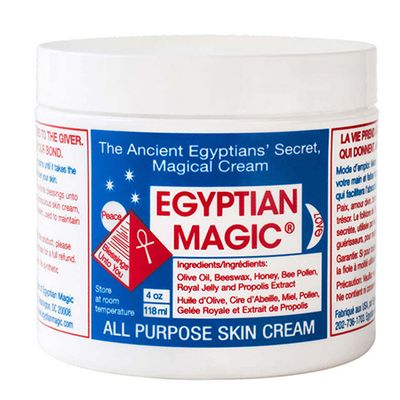
Apply An Emollient-Based Balm
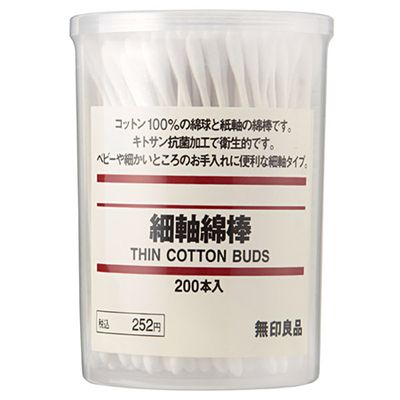
Using a Q-tip and an emollient-based balm like Egyptian Magic, carefully ‘border’ your brows and lashes to prevent any tint going outside your lash area and staining the skin.
Mix Your Formula Thoroughly
Mix together your tint (a pea sized amount) with the developer (a few drops) to form a thick paste. Most kits contain all the tools to do this but if not, use a Q-tip and a small plastic or glass pot.
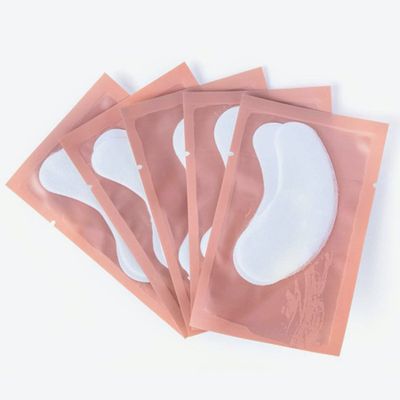
Start Layering, But Take It Slow
Try coating your eyelashes with the formula one eye at a time. It’s much easier as you can properly see what you’re doing. Cut a couple of cotton pads into crescent shapes, soak with tepid water and place under your eye (the inner crescent should line up with your lower lash line). Try soaking your cotton pad in cucumber water first for added de-puffing benefits.
Repeat & Thicken The Formula Up
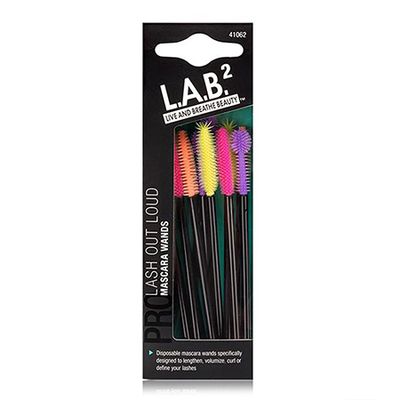
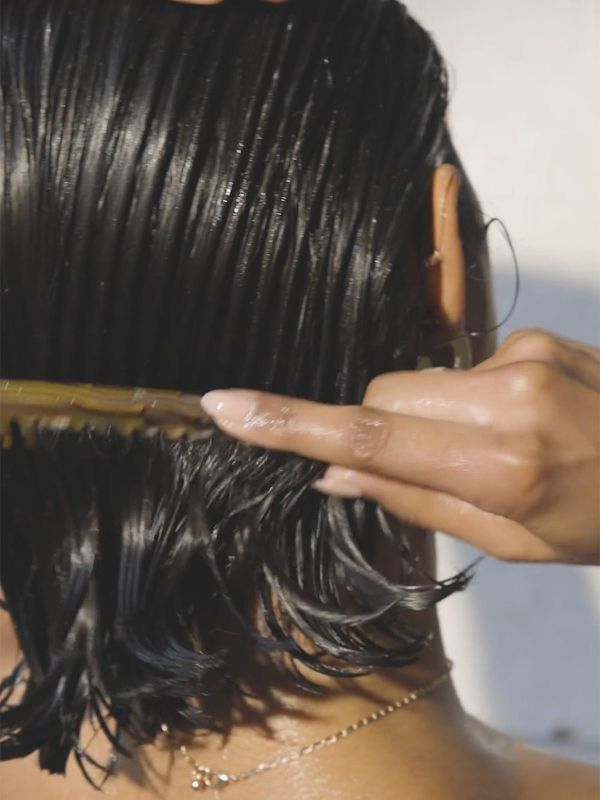
Slather on your tint from root to tip, the thicker the better. Take your time as you’ll be applying the formula to a closed eye with the other one open. Try to apply like you would a mascara initially, but when it comes to the roots, it’s best to close your eye completely. Massage the tint into your lashes, using a little side to side technique to really get in there. Tint your lower lashes, too, but do them separately once the top ones are complete for a fluttery effect.
Keep Q-Tips Handy
Have your Q-tips handy – this is the stage where when you’ll want to neaten things up. Use clean, dry ones to go around the lashes, cleaning up any spills and perfecting the structural shape of your eye.
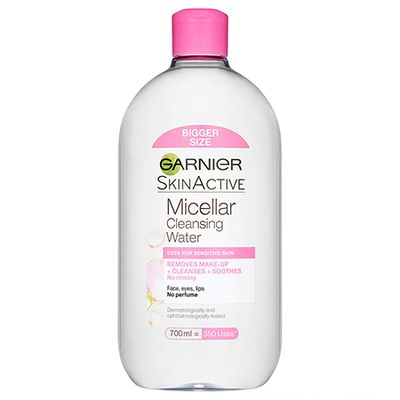
Top Up Your Barrier Cream
If needs be, carefully apply any additional barrier cream that may have smudged. Leave the tint on for about 15 minutes, keep your eyes closed and lie down for a little chill time. Remove with a cotton pad soaked in micellar water like Garnier’s – it’s so gentle and kind to all skin types. If you decide you want your tint even denser, leave the solution on for longer or give it a second round.
Don’t Panic If You Tint The Skin
Once tinted, don’t worry if some colour does get on the skin, it will fade and wash off as you cleanse your face. Sometimes a little tint on the skin is a good thing – it darkens lash roots even further and fills in sparse gaps.
Finish With Lash Curlers
Just like experts would in a salon, use lash curlers post-tint to really see the effects. Kevyn Aucoin’s are ideal as they open wide for ease of use and allow for maximum control. You’ll find you won’t need any mascara following these steps.
For more beauty tips and advice, follow Sophie on Instagram, or visit her site here.
*Disclaimer: Always do a patch test prior to tinting your lashes or brows. This is essential and shouldn’t be skipped. Behind the ear is a good place to dab it and check for any inflammation. Stop usage of any product that causes a rash or redness.
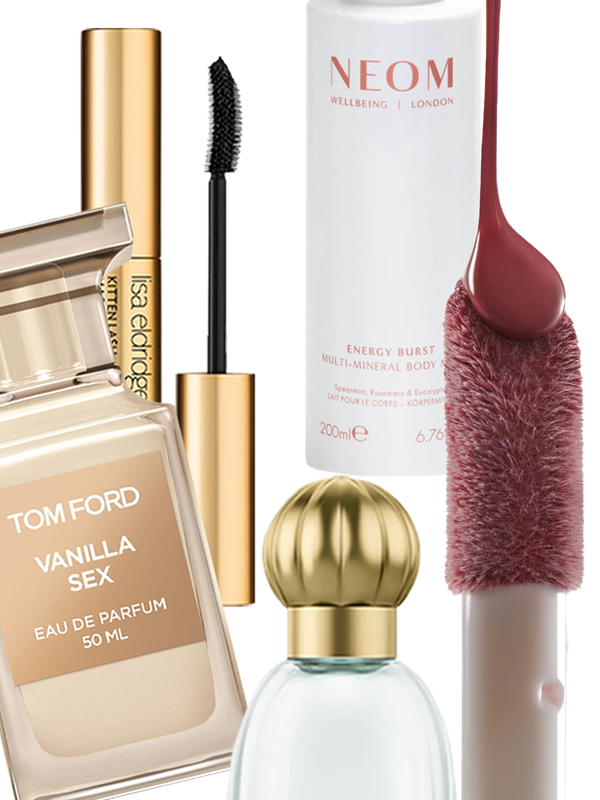
Shop Our Edit Of The Best DIY Lash Tinting Buys Below…

more from
Beauty


DISCLAIMER: We endeavour to always credit the correct original source of every image we use. If you think a credit may be incorrect, please contact us at info@sheerluxe.com.