

Slick Ballerina Buns: An Expert’s Guide To Doing Them Right
All products on this page have been selected by our editorial team, however we may make commission on some products.
Choose Your Day Wisely
“To achieve a slicked back bun look, it’s best to work with hair that isn't squeaky clean. It should be three or four days since you’ve washed it, or when it starts to become greasy. This is purely because your hair will likely have better hold.” — A-list hairstylist Syd Hayes
“A bit of natural grit and texture is key for creating a good bun – or any updo for that matter. Day old hair is best, as freshly washed will just cause extra static. It will also be too slippery for anything to stay in place. It’s worth adding some product to your hair after you’ve washed it, as mousse or gel will help to prep it – even if it’s a few days later.” — Hairstylist & Headmasters Creative Ambassador, Jonathan Soons
Don’t Skip The Prep
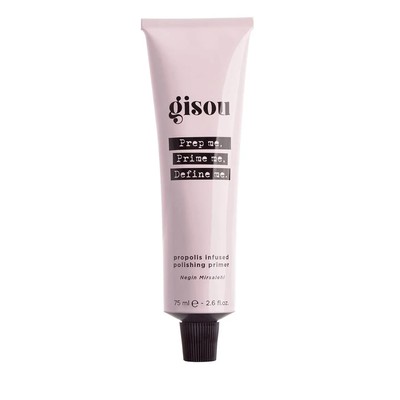
…With Product
“Whether you’re working with freshly washed hair, or even if it’s a few days later, it’s always worth adding some product. A mousse or a gel are my go-tos – they will help prep the hair, create better texture and smooth out the finish, too.” — Jonathan
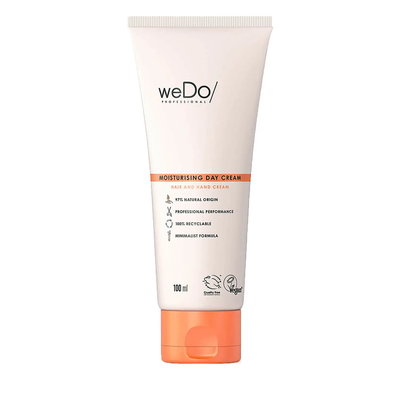
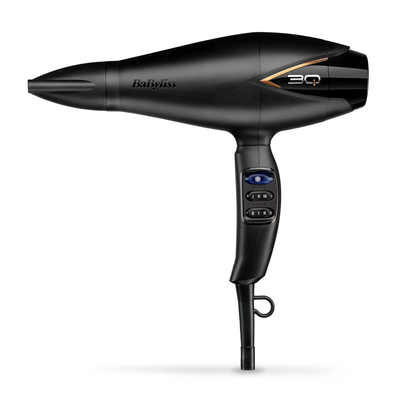
“Use a small amount of serum post-wash, like R+Co’s Two Way Mirror Smoothing product or the WeDo Moisturising Day Cream Leave-in Conditioner so the hair looks almost wet. Work the product in and dry it into the hair using a hairdryer – I recommend the BaByliss 3Q. This ensures a super shiny bun and creates the perfect base for the style. — Syd
…With Tools
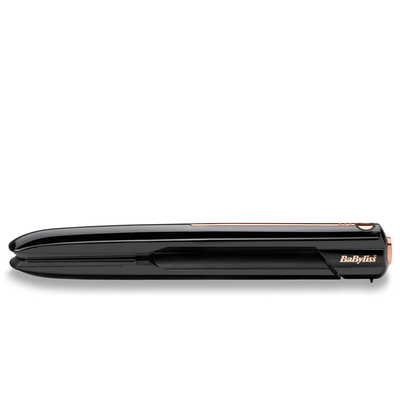
“It’s always helpful to make sure hair is poker straight before starting – so a great blow dry or pressing the hair with the BaByliss 9000 Cordless Straightener will help you create a smooth canvas.” — Syd
“Before you do anything, hair needs to be smoothed out and straightening irons –are usually quicker if you’re short on time. If you are using a dryer, blow-dry your hair away from your face using a brush. You need to get your hairline nice and straight, so do this at a medium heat and slow speed for extra control. This sleekness will allow you to use less hairspray, as you’re sealing the hair into place with heat instead.”— Jonathan
Use Gel Over Hairspray
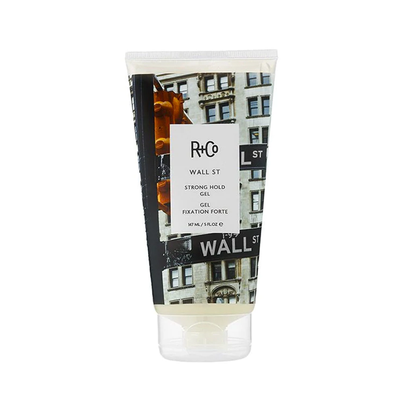
“I’ve recently become obsessed with R+Co’s Wall Street Strong Hold Gel. It contains hair nourishing ingredients like Vitamin A and glycerine which leaves hair feeling nourished – not spiky, flaky or crunchy. A pliable product is key because it means you can adapt and change the bun more easily, moulding it to your desired style. Additionally, flyaways are always annoying, but using gel within the ponytail will keep them at bay.” — Syd
Consider Your Hair Length & Texture
“Different hair lengths and textures means everyone’s buns will look different. On short hair, a low knot gives length, while on thick hair, a half-up bun can remove bulk. As for fine hair, a topknot can be teased apart to give the illusion of fullness. A ballerina bun now comes in multiple varieties and it is key you tailor it to your hair type, but all of these tips will help you to keep it sleek and elegant – wherever you place it. If your hair is quite long, try placing the bun on top or around the crown, and if your length is just below the shoulder, try placing it just below the crown so you don’t have lots of strands falling out.” — Jonathan
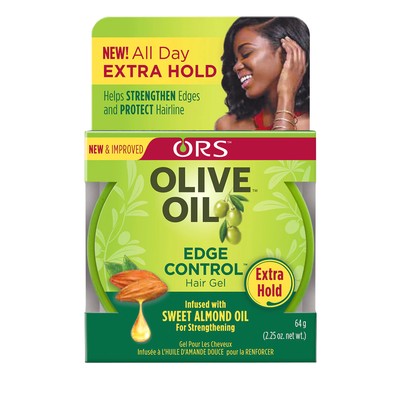
“For Afro texture hair or super curly hair, you need to use different products, as gel will enhance the curl and cause the texture to remain curly. I love to use CRS Olive-oil edge control on Afro hair to slick it back and create a sleek finish.” — Syd
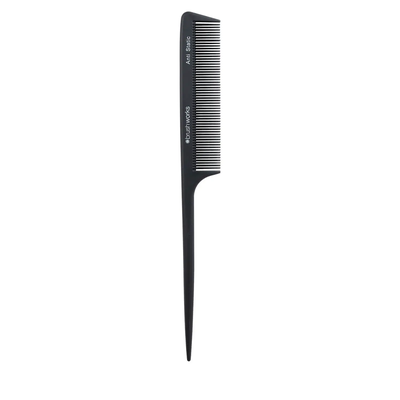
Sculpt & Position Using A Comb
“More often than not, people tend to position their buns wrong, and fail to sculpt the look. A comb can ensure the direction of the hair is in the perfect place. I’m obsessed with using the YS Park tail combs – something about the feel of them and the way they comb hair works really well. A trick of mine is to make sure the lines of the hair are going in one direction, usually towards the highest point of your head. This creates a beautiful shape that runs off the jaw line and into the ponytail. I love this to position the bun above the occipital bone. It gives the bun more impact and is flattering on all face shapes, too.” — Syd
Make Sure The Bun Is Tight
“Nailing the look comes down to the tightness of the bun and unfortunately, it’s often a case of no pain no gain! Make sure you really get the bun tight for that supermodel lift. Once the ponytail is in place, the key is to secure it with a strong elastic. I use 2mm cord elastic which allows you to really yank and tie it tightly. To stop hair pulling, make sure the pony is properly secured (use gel if needed) which will mean you won’t need to use any additional pins and ensure the look is more comfortable. — Syd
Finally, Secure Everything With Grips…
“Create the bun by twisting your ponytail until it coils in on itself – and secure it firmly with kirby grips. Keep going until it is neat and compact and you’re happy with how it holds; use extra pins to lock any loose strands in place. Once up and secure, use a comb to push any strays into place.” — Jonathan
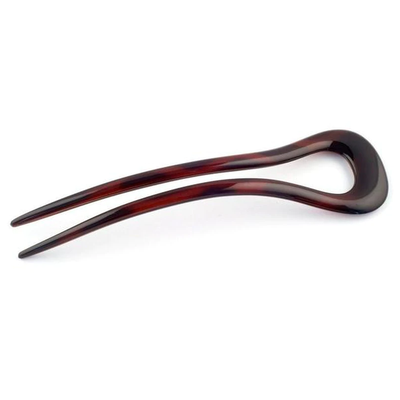
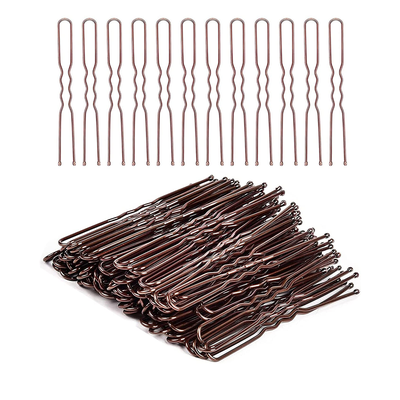
“To ensure the bun doesn't budge, use a fine French U pin – they’re strong and don't bend easily. A U pin is a type of chignon pin which has two-prongs to help secure the updo. They may be simple to look at, but they really can transform a look.” — Syd
Shop The Essential Tools...

DISCLAIMER: We endeavour to always credit the correct original source of every image we use. If you think a credit may be incorrect, please contact us at info@sheerluxe.com.