
8 Tips For Cleaning Your Windows
CHECK THE WEATHER
With all of this warm weather, it’s tempting to think now is the ideal time to get outside to wash your external window panes. While that might be true, you risk the cleaning product drying onto the hot glass before you wipe it off, which could result in hard-to-remove streaks. As for cleaning the inside, a bright and sunny day might make it hard to concentrate on the job without causing problems to your eyesight – not to mention seeing all the streaks and dirt you need to address. Instead, a dry but cloudy day is best – although, if the weather won't cooperate, start on the shady side of the house and consider saving the rest for another day.
BREAK IT DOWN
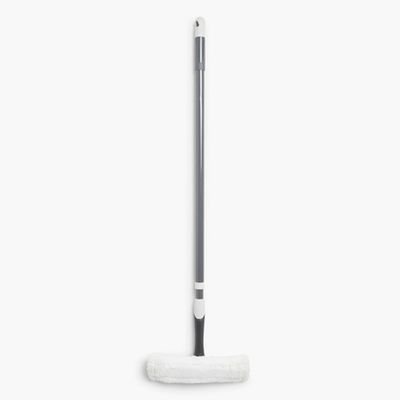
It can seem like a daunting task to tackle the entire house in one go, so consider breaking it down into zones to make the task more manageable. Experts recommend thinking about the rooms which get the most daily use, and which require clean, unobscured views (think kitchens which overlook gardens where children might be playing). As for external panes, it might also be a case of which windows are most easily accessible – start with the ground floor, before calling in the professionals to tackle upper levels at a later date. Alternatively, clean the exterior of your upper floors using a telescopic window cleaning pole.
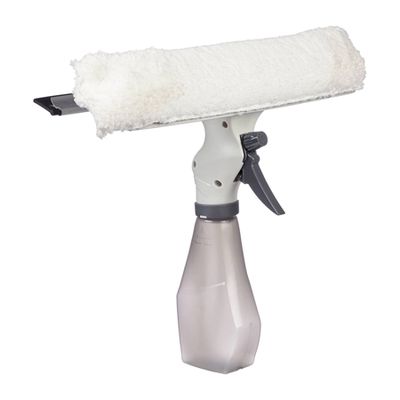
GATHER YOUR TOOLS
There are a few things you will need to perform a basic cleaning job on your windows, including a sponge or brush (or a squeegee – more on that later), a rubber squeegee for drying, an absorbent microfibre or lint-free cloth, a bucket filled with cleaning solution and a large towel to protect inside floors or expensive paving outside.
REMOVE THE OBVIOUS DIRT FIRST
Before you get started with spritzing a cleaner onto the panes, it’s important to get rid of any obvious dirt – especially that which might be lurking on the window frame. You can do this with a specially designed brush or window vacuum (just remember to attach your machine's dusting attachment) or steamer. This equipment is particularly good for large expanses of glass, including patio or french doors. Skipping this step also risks the dirt turning into a muddy mess when mixed with a liquid cleaner. If your window screen looks especially grimy, you might consider popping it out for a wash with hot and soapy water before putting it back once it’s dried. It isn’t compulsory, but if you're doing an annual, thorough blitz, it makes sense to remove your window dressings if they are in the way or likely to be dirtied easily by drips and splashes. Plus, you can use the opportunity to have any curtains and blinds cleaned. Always remember to remove ornaments or plants from all windowsills.
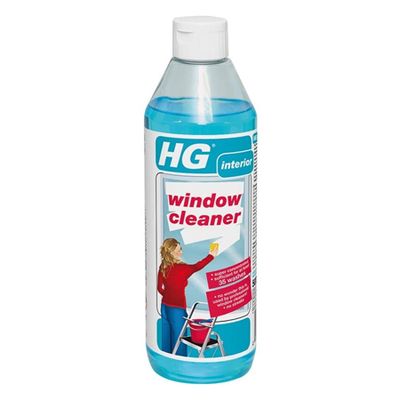
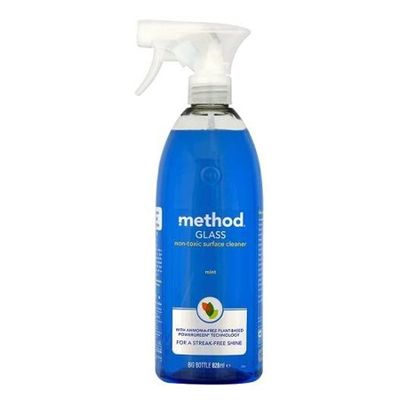
CHOOSE YOUR CLEANER
Despite a host of urban myths, there’s no need to hold back when it comes to applying your cleaner, especially if your windows look really dirty. In fact, those who skimp might see more streaks if a thin layer of cleaning solution isn’t enough to lift all dirt and grime at once. If you do find streaks are left behind by commercial cleaners, it’s best to tackle them with a homemade vinegar solution. Combine two parts water with one part of white or cider vinegar. From there, add 1/4 cup of rubbing alcohol (70% concentration or higher). Combine all the ingredients and pour them in a reusable spray bottle. Just be careful not to use vinegar too often – soap and water can usually do the job without the unpleasant odour.
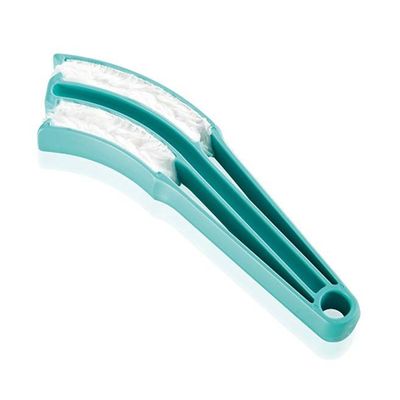
DITCH THE NEWSPAPER
Traditional methods will tell you to dry panes with newspaper, but experts agree you're far better off using a microfibre cloth – which can also be washed and reused. They’re also softer, and leave the glass shiny and streak-free without scratching. If you only have paper towels to hand, just be sure the brand is high enough quality that they won’t shred and leave lint behind.
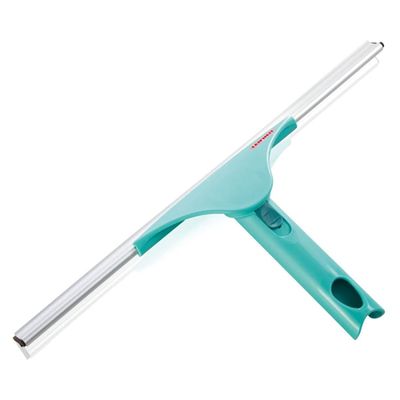
THINK TWICE ABOUT A SQUEEGEE
An often-used professional tool, a squeegee is great for slicking away dirt and grime, and minimising streaks. Just be careful – it’s usually the case that the squeegee can cause excess water and drips, so be sure to protect any surfaces (carpets or stone floors in particular) or expensive outside patios for outer panes. If you do decide to use one, for small-paned windows, use the rubber blade on the squeegee to wipe away the water vertically, working from top to bottom. For a picture window, use horizontal strokes. Start at the top and work down to the window. Overlap each stroke by a couple of inches and wipe the blade dry with a lint-free cloth between each stroke.
TACKLE SCRATCHES WITH A JEWELLER’S ROUGE
Scratches on your windows can be removed with a jeweller's rouge – a very fine compound originally developed by the jewellery trade for buffing precious metals, which is just as good on mirrors. Start by wetting the rouge, apply it to the glass with a soft cloth and rub until you can't rub anymore. Eventually, you’ll see the scratches start to disappear.
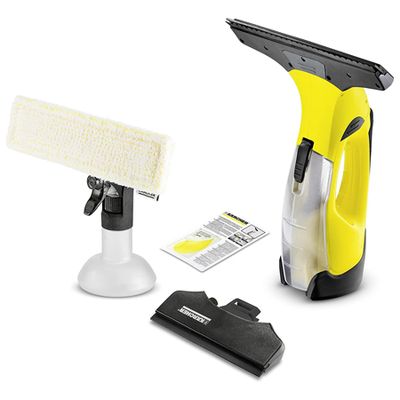
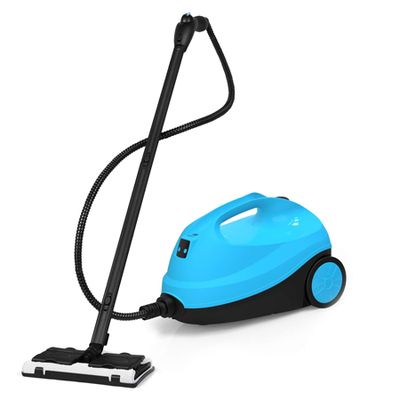
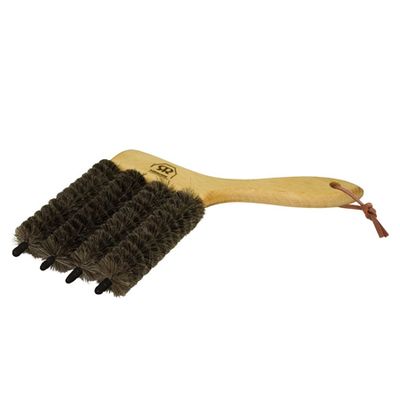
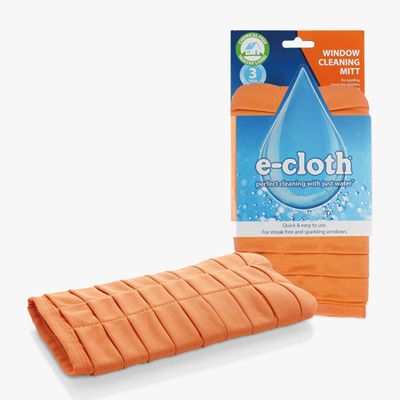
Inspired? Here’s our pick of the best equipment out there…


DISCLAIMER: We endeavour to always credit the correct original source of every image we use. If you think a credit may be incorrect, please contact us at info@sheerluxe.com.