
7 Steps To Clean Your Fridge
PLAN AHEAD
In order to give your fridge compartments a thorough clean, you’ll need to switch off the power and allow them to come to room temperature so they don’t shatter on contact with hot water. As such, you’ll also need to remove all food or produce, and decant it into a cool bag to ensure items stay fresh. If you can, try to plan your deep clean ahead of doing a big weekly food shop, so the number of items moved in and out of the fridge is kept to a minimum. This is also the stage to look everything over, check use-by dates and bin anything that looks spoiled or unsafe to consume.
DISMANTLE THE COMPARTMENTS
Once the fridge has reached room temperature, remove all compartments in need of a wash, including the salad/vegetable drawers, shelves, in-built egg or drinks holders and plastic flip lids. If it's not clear how to remove the items safely, check you user manual which should contain full instructions. From there, move what you can to soak in a solution made up of 2 tbsp of baking soda for every 150ml of warm water. Do not place any of these items in the dishwasher. If you find yourself tight on space, take a leaf out of cleaning queen Mrs Hinch’s book and use your salad bin as a mock sink. Fill it with the warm water solution (you can just use sudsy water if you don’t have baking soda to hand) and place smaller items in it to soak.
GET TOUGH ON STAINS
For any food stains that appear to be caked on, give them a good soak – at least 30 minutes – before tackling them head on. If you find they’re just not budging, use this Martha Stewart approved tip: apply the baking soda solution with a wet towel and let it sit for 10 minutes, or until it starts to crack or soften. Reapply if necessary, and soak again once the stain has lifted to ensure there’s no residue or cleaning solution left over.
WIPE DOWN THE INTERIOR
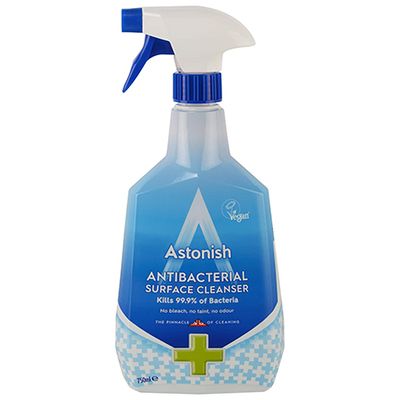
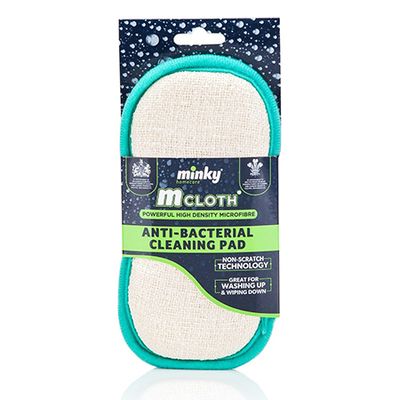
While your compartments are soaking, use the time to freshen up the interior of the fridge – including the walls and inner door trays and fixed shelves. Instead of using soapy water (which risks leaving behind a scent or taste on food) consider getting your hands on this Mrs Hinch-approved germ buster. Don’t forget the door seals, instructs Mrs Hinch, and use this time to apply a scrubbing brush over any fridge liners or accessories you might usually keep in there. If you’re looking for better storage ideas, Mrs Hinch loves these fridge baskets to help keep things tidy and organised. From there, use any simple dry cloth to get rid of any excess moisture or cleaning solution.
CLEAN THE DOORS
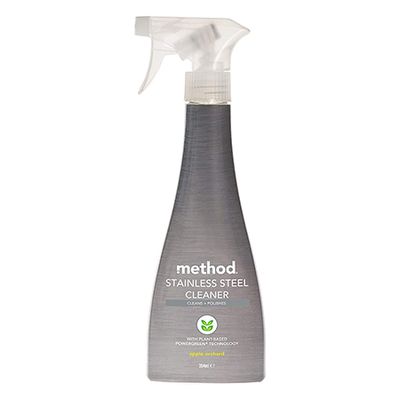
While the compartments finish soaking, Martha Stewart recommends wiping down the external side of the doors, including the edges, and the top of the fridge with a cloth dampened with mild dishwashing liquid and water. “Pay special attention to the areas around the handles, which can harbour sticky fingerprints,” she says. “And for stainless-steel surfaces, use commercial stainless-steel spray and wipe in the direction of the grain.”
ELIMINATE ODOURS
Depending how in need of a clean your fridge is, it might be necessary to give it a long time to de-fumigate – particularly if bad spills or leaks have caused an unpleasant odour. Thankfully, a homemade remedy will probably suffice. Take a pot or tray of whole coffee beans and place them in the centre of the fridge until the scent disappears. If that doesn’t work, try placing activated charcoal on a tray inside the fridge, although you’ll find the temperature has to be set on low for this method to be effective. We love these all-natural hanging bags. According to Martha Stewart, unscented cat litter also works: “Spread half an inch of unscented chlorophyll cat litter in a shallow pan and leave it inside until the smell is gone,” she says.
ALLOW TO COOL & REPLACE ITEMS
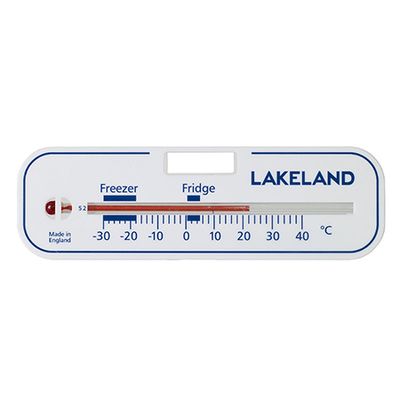
Once you’re happy the compartments and shelves look clean and are completely dry after soaking, replace them carefully, one at a time. Then, switch the power back on and wait until your fridge thermometer falls back to 5°C or below before replacing your food items. If your fridge has a fast-cool function, you can use it to speed up the process. Finally, take care to ensure all jars and bottles have their lids on tightly, and that packets or wrapped items don’t have holes in. For leftovers, make sure these are stored in airtight containers, so as not to spill or let odours escape.
Inspired? Here’s what you need to get started…


more from
Life


DISCLAIMER: We endeavour to always credit the correct original source of every image we use. If you think a credit may be incorrect, please contact us at info@sheerluxe.com.