
Trend Watch: Lacquer Furniture
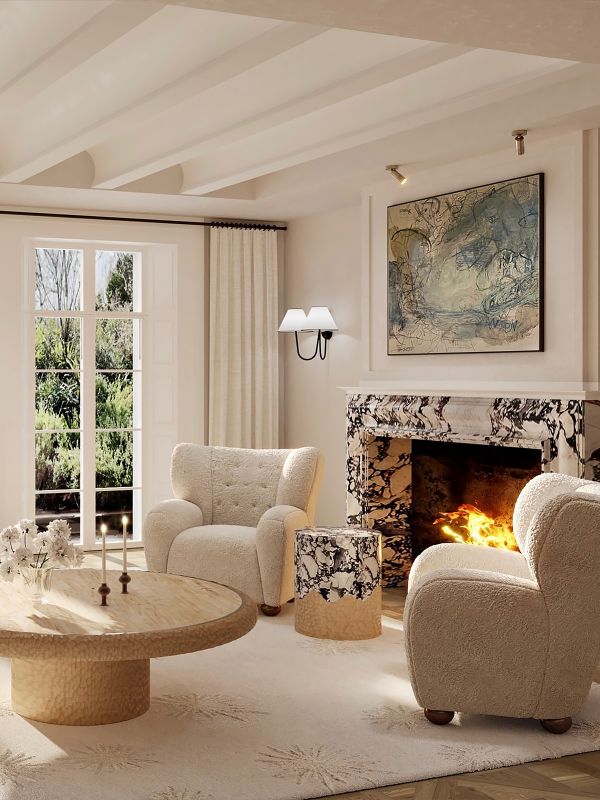
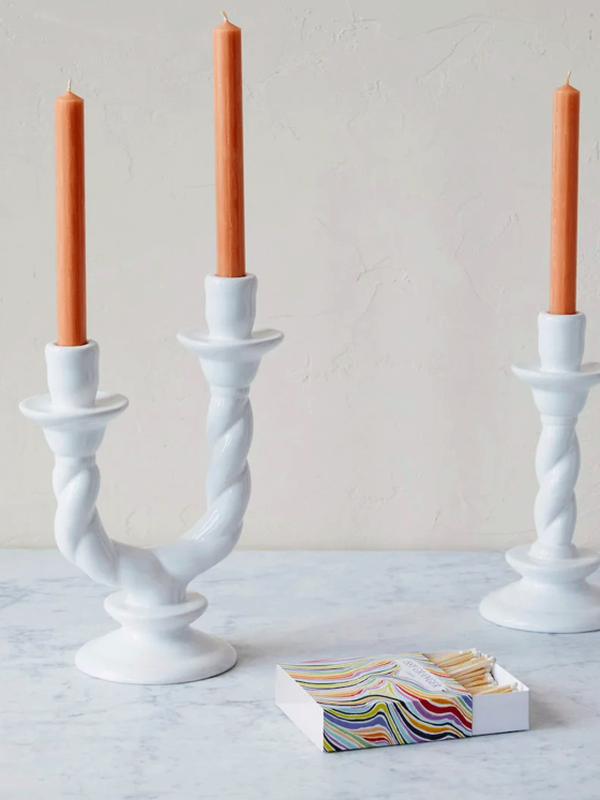
The saturation of colour lacquer brings extra intensity into a room – in fact, even as an accessory, it offers the perfect opportunity to add an expected twist. Embrace the opportunity to inject bold accents with these additions.
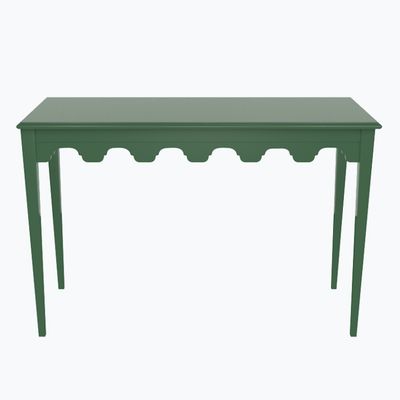
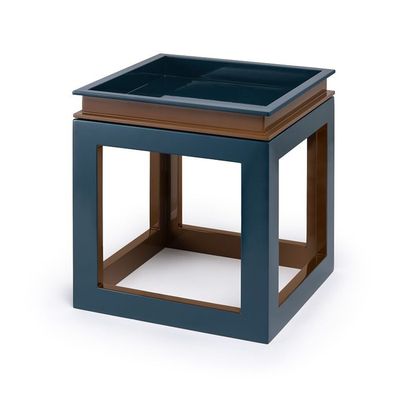
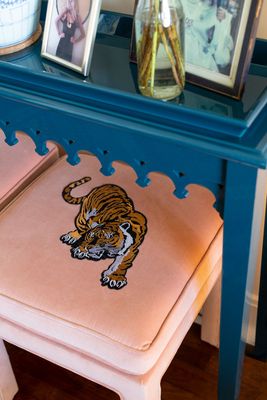
Furniture
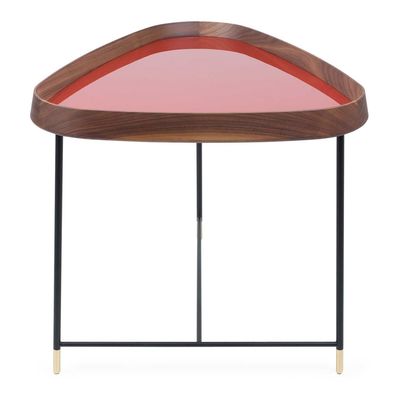
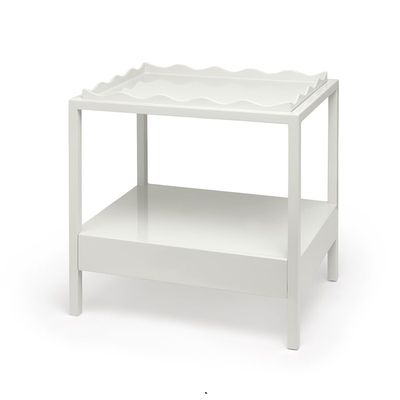
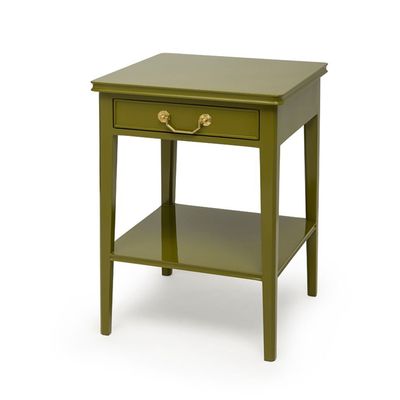
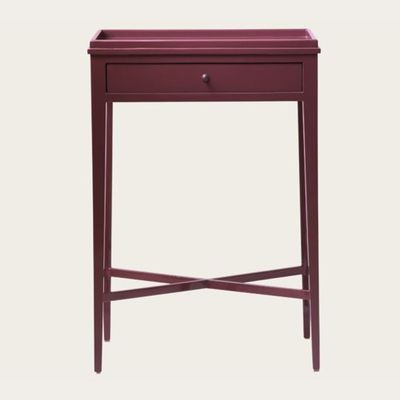
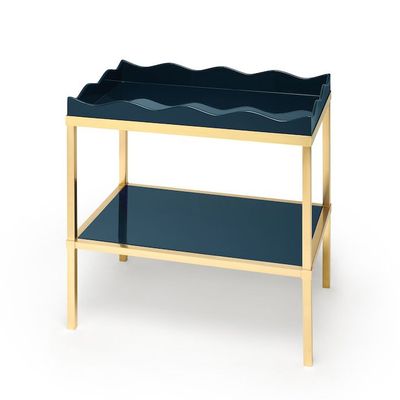
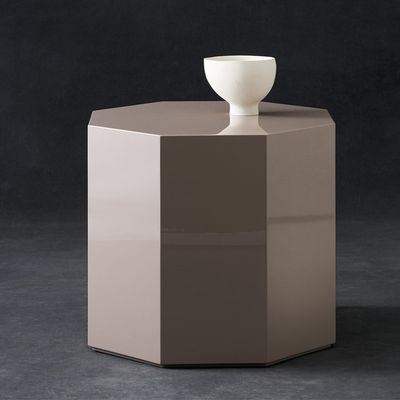
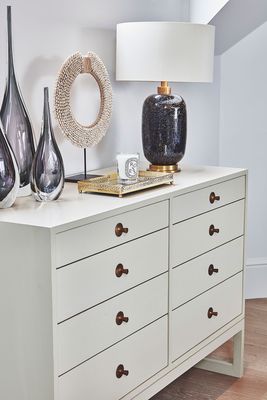
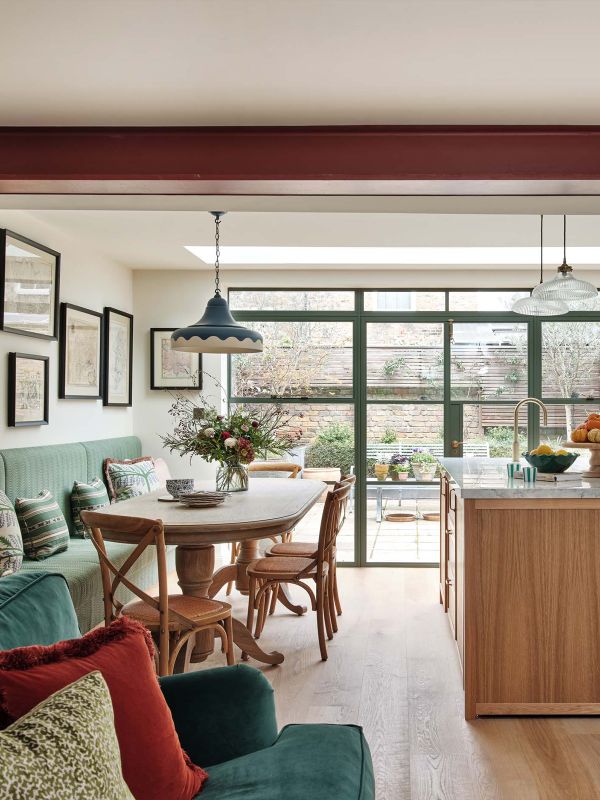
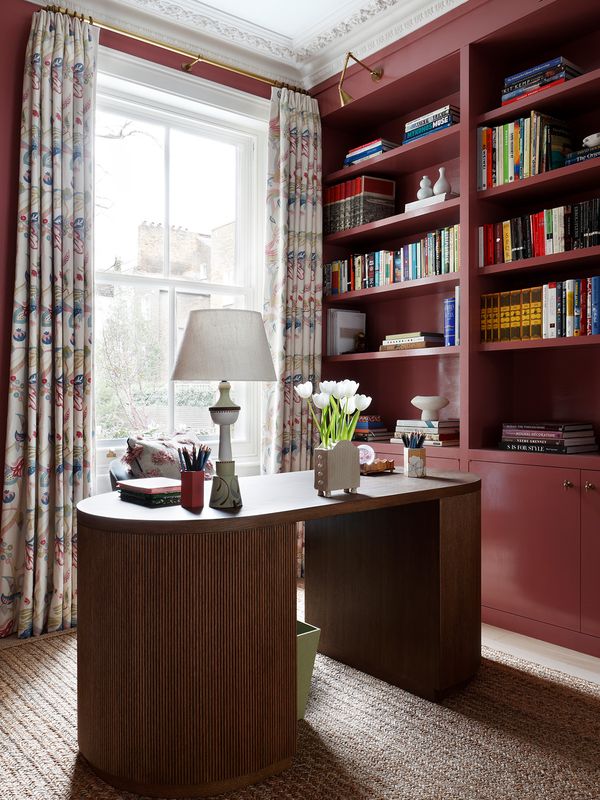
Whether you want to make it a striking centrepiece (Rita Konig’s Belle Rives coffee table in a rich burgundy or navy is a prime example) or a muted supporting role (Chelsea Textiles’ putty-coloured chest of drawers is a safe but smart option), lacquer will also sit well with other materials, and offers a place to rest your eye among other busy fabrics and patterns


ANNA HEWITSON

THE LACQUER COMPANY X RITA KONIG
ANNA HEWITSON
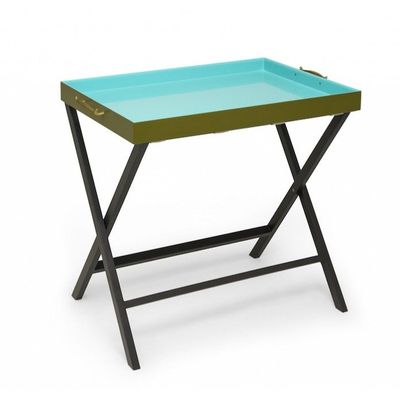
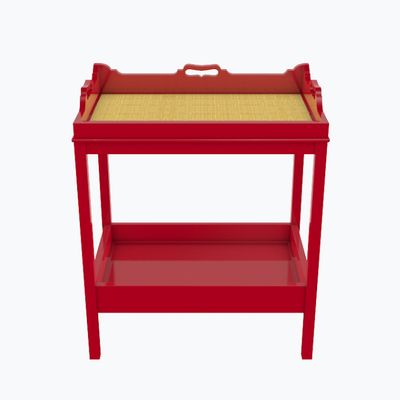
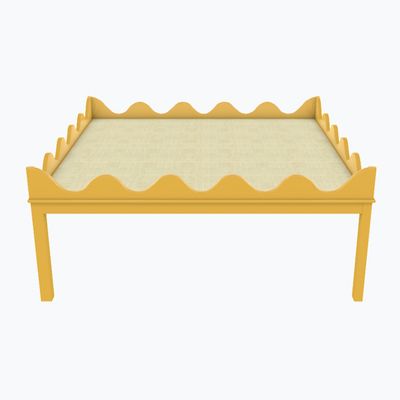
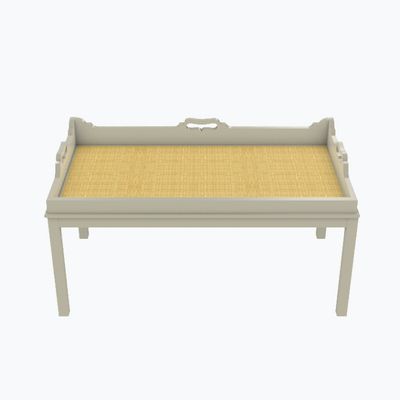
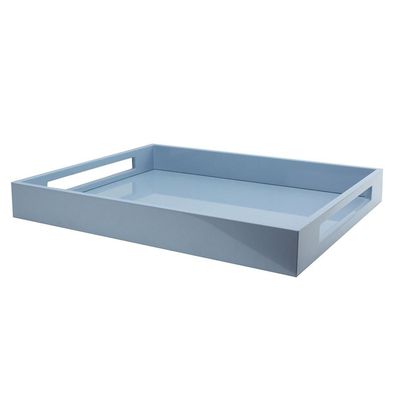
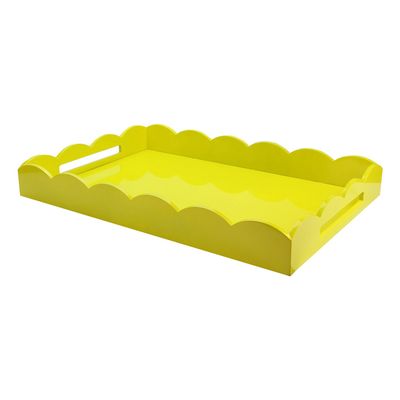
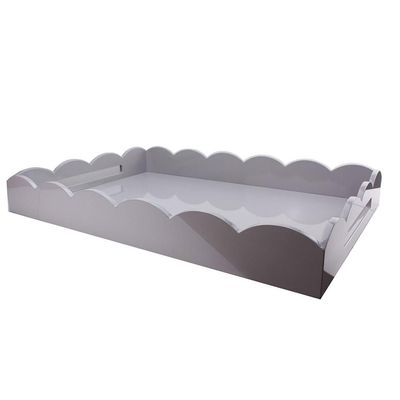
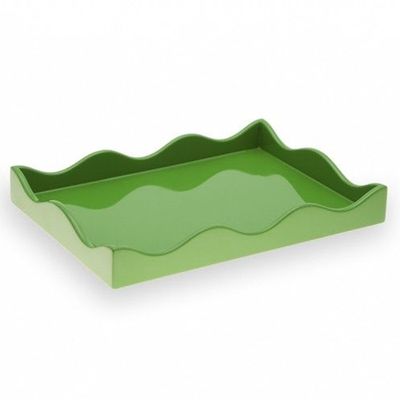
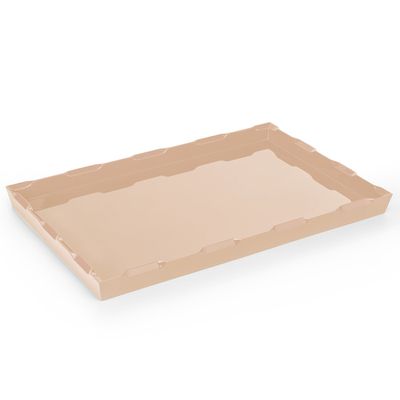
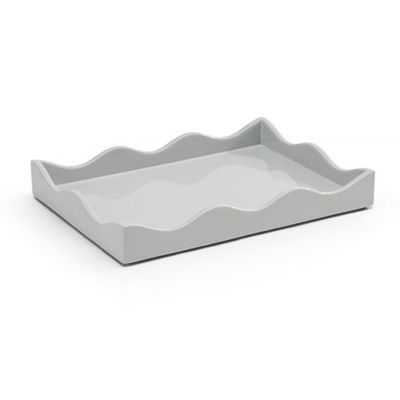
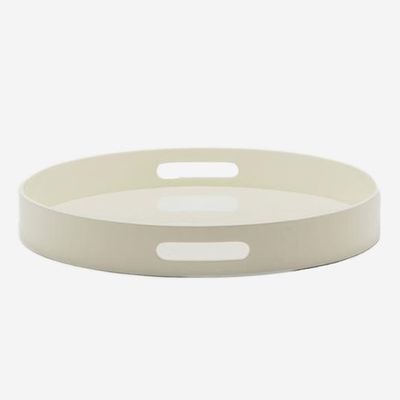
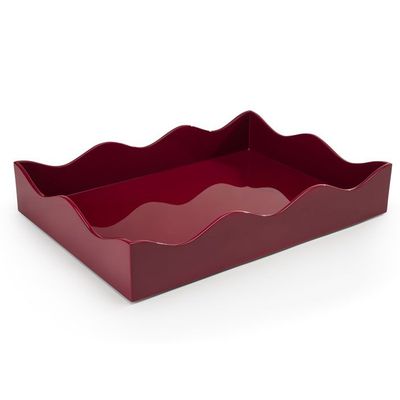
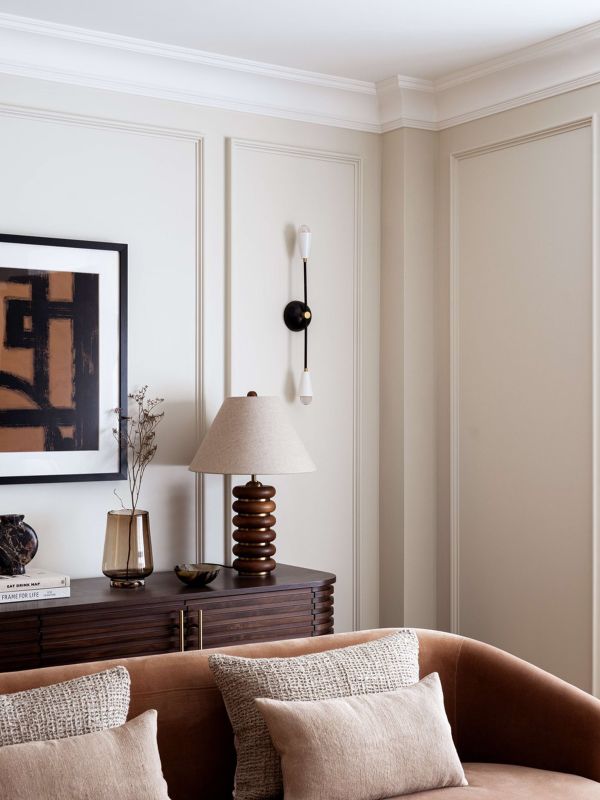
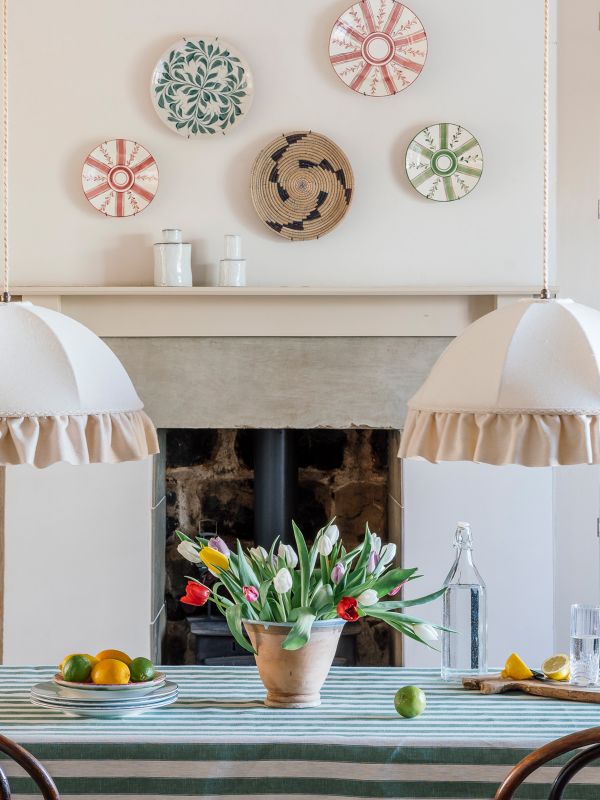
Trays
The saturation of colour that lacquer has brings extra intensity into a room – in fact, even as an accessory, it offers the perfect opportunity to add an expected twist. Embrace the chance to inject bold accents with these fun, often playful, additions.
Get the look on a budget...
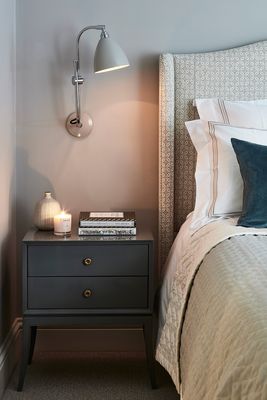
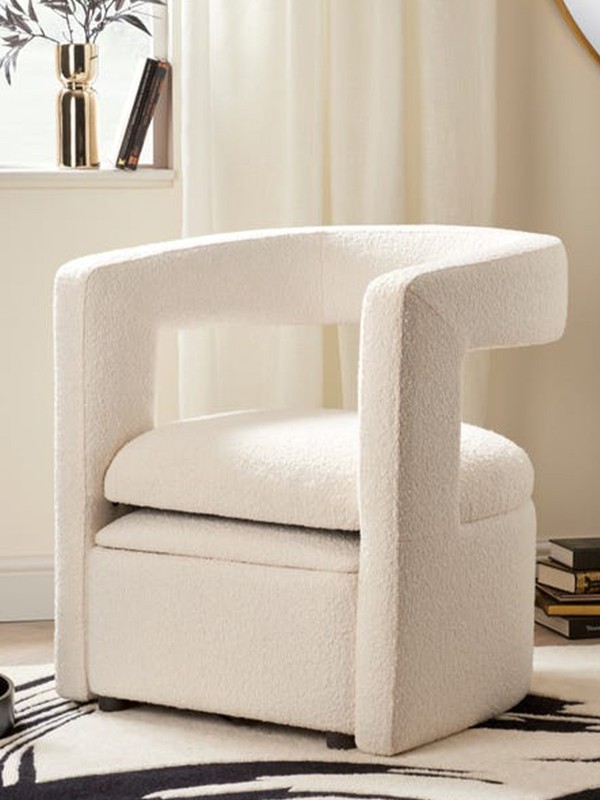
If you’re after something more affordable it’s worth keeping an eye on second-hand furniture that’s been given the lacquer treatment. Alice Wawrik of by Alice specialises in this technique, and uploads new stock on a weekly basis. "The pieces I have professionally lacquered are all vintage or antique wood,” she says. “Most materials can be sprayed in high gloss, which gives a similar finish.”
ALICE KESWICK
You will need…
-
Sandpaper, or an electric sander
-
Microfibre cloths
-
Putty
-
Denatured alcohol
-
Primer
-
High gloss spray paint (Rust-Oleum make great ones) or high gloss paint
TIP: If you are looking to work on a large piece, Alice recommends investing in a spray gun. You will also need an outdoor workspace, dust sheets, gloves and clothes you don't mind getting messy.
Method…
-
Clean the entire piece using a mixture of hot water and TSP (trisodium phosphate).
-
Fill in any imperfections using putty.
-
Sand all the surfaces with 220 grit sandpaper (an electric orbital sander is best).
-
Neatly tape up the surfaces you don’t want to paint.
-
Prime the piecer with an oil base primer.
-
Do another round of filling any imperfections and/or grain with putty.
-
Sand the surfaces flat using 400 grit sandpaper.
-
Clean everything well using denatured alcohol and a clean microfibre cloth.
-
Prime for a second time.
-
Sand flat starting with 400 grit working your way up to 1,000.
-
Clean well again using denatured alcohol.
-
Spray the first coat of paint.
-
Sand down the first coat starting at 600 grit working up to 1,000.
-
Spray second coat of paint. Leave to dry.
more from
Home


DISCLAIMER: We endeavour to always credit the correct original source of every image we use. If you think a credit may be incorrect, please contact us at info@sheerluxe.com.