

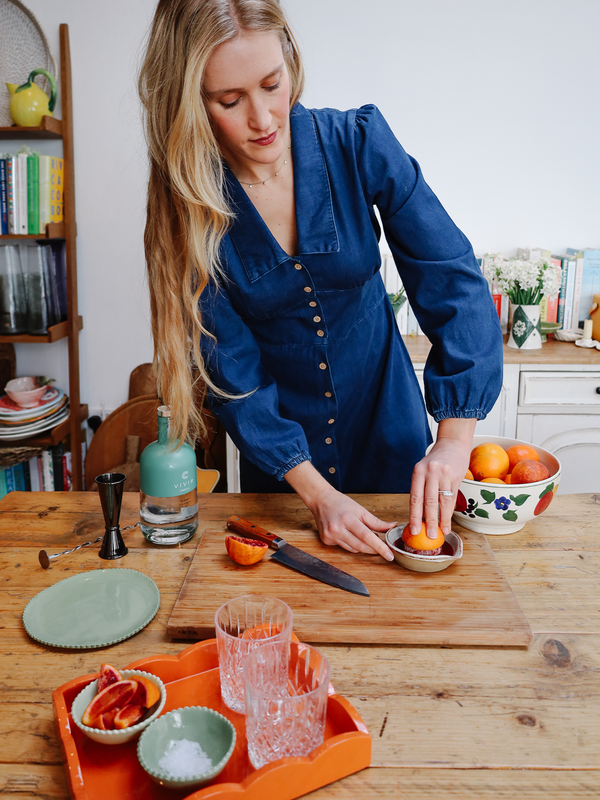
How To Entertain In May, With Alexandra Dudley
May means asparagus and it comes in two forms in this month’s menu. I’d usually shy away from having a double-up of core ingredients in the starter and main, but during asparagus season, more is more. The starter – or side, you decide – of asparagus is simply blanched, then served atop a vibrant creamy garlicy green pea yogurt. The green pea yogurt comes together in no time at all and can of course be made ahead. Then it’s a throw-it-all-together chicken traybake with lots of springy green vegetables and a zingy soy marinade, which is very good spooned over some jasmine rice.
This month’s pudding is a little extra too. It’s a decadent hazelnut chocolate cheesecake, because spring is finally here and that is certainly something worth celebrating. I cooked a big feast for my brother’s birthday a few weekends ago and we celebrated with this delicious sparkling wine from Krone. Made in South Africa using the traditional method, it rivalled many of the big-name champagne brands I have tried. The brand recently launched in the UK and is definitely one to watch.
DISCOVER ALEXANDRA’S MENU…

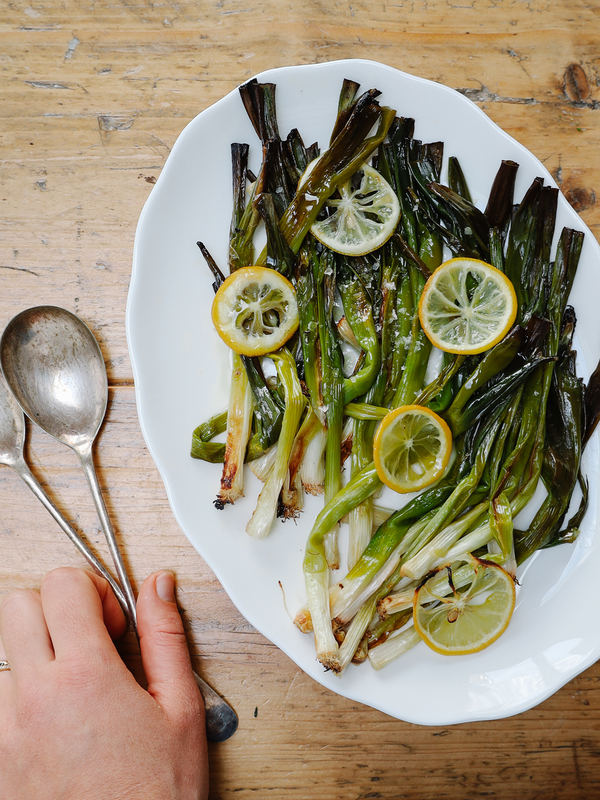
Asparagus On A Garlicy Pea Yogurt
A very springy green side celebrating asparagus season. Feel free to make everything ahead of time and assemble just before serving.
Add the blanched and cooled peas to a high-speed blender or food processor along with the yogurt, garlic, a good pinch of salt, a glug of olive oil and the lemon juice. Pulse until smooth.
Blanch the asparagus for 2-3 minutes, drain and refresh in cool water.
Spoon the pea yogurt onto a serving platter, top with the asparagus. Drizzle over olive oil and finish with sea salt and lemon zest.

Spring Sesame Soy Chicken
I find myself leaning towards one-tray dishes more and more these days, not least because they result in little washing up but also because they’re one of the best ways to cook, especially when it comes to chicken. As the chicken cooks, its juices along with the marinade run into the vegetables below. The result is perfectly golden crispy skin and flavourful veggies. The sesame, soy and ginger marinade mellows as it cooks and is delicious spooned over rice as an accompaniment to this.
Pre-heat your oven to 200°C Fan. In a large baking tray (large enough to contain both the chicken and the vegetable) toss the chicken thighs in olive oil and sea salt. Arrange skin side up and bake for 20 minutes.
In a bowl, mix together the marinade ingredients.
After 20 minutes, remove the chicken using tongs and toss it in the bowl with the marinade. Scatter the green vegetables evenly in the tray. Drizzle with a little olive oil and toss loosely using the tongs. Place the chicken on top skin side up and pour the remaining marinade over the chicken. Return to the oven for another 20 minutes until the skin is golden and crispy.
Sprinkle over the sesame seeds and serve with fresh lime wedges if you like.

Chocolate Hazelnut Cheesecake
Definitely a pudding for those with a sweet tooth, this cheesecake is rich, creamy and very chocolatey. It follows a no-bake cheesecake method which makes it quite fun to make with children (that and the entire jar of hazelnut chocolate spread that it includes). Go for good-quality hazelnut chocolate spread if you can. I opt for extra dark chocolate on the top to offset some of the milky sweetness, but if you are a fan of very sweet things, milk chocolate is also a nice option.
* I tend to find that shop bought roasted hazelnuts are rarely roasted enough so like to give them an extra 10 minutes in an oven set to 180°C Fan. Allow them to cool fully before working with them.
Grease and line the base and sides of a 9-inch spring-form cake tin.
Place the roasted hazelnuts in a food processor and pulse until they resemble crumbs. Add the digestives and salt and pulse again until everything resembles crumbs. Add the melted butter and pulse again a few times until combined.
Spread the mix onto the base of your prepared tin and press down. Transfer to the fridge while you make the filling.
In a large mixing bowl whisk together the cream cheese and vanilla extract. Sift in the icing sugar and whisk again. Then add the melted chocolate and hazelnut spread and whisk again until smooth.
In a separate bowl whisk the double cream just until stiff peaks form, then fold into the chocolate mix.
Pour the chocolate mix into the tin over the biscuit base. Level out using a spatula and refrigerate for at least 4 hours.
For the topping, chop the chocolate into small rough pieces and place in a heatproof bowl. Heat the cream gently in a saucepan just until it begins to simmer then pour over the chocolate. Leave it for about a minute then stir until smooth. Allow it to cool for five minutes while you release the cheesecake from the tin. Pour over the cheesecake and top with the roasted hazelnuts.
Return to the fridge until you are ready to serve.
For more from Alexandra, follow her @AlexandraDudley or visit AlexandraDudley.com
Read More From Alexandra Dudley


DISCLAIMER: We endeavour to always credit the correct original source of every image we use. If you think a credit may be incorrect, please contact us at info@sheerluxe.com.