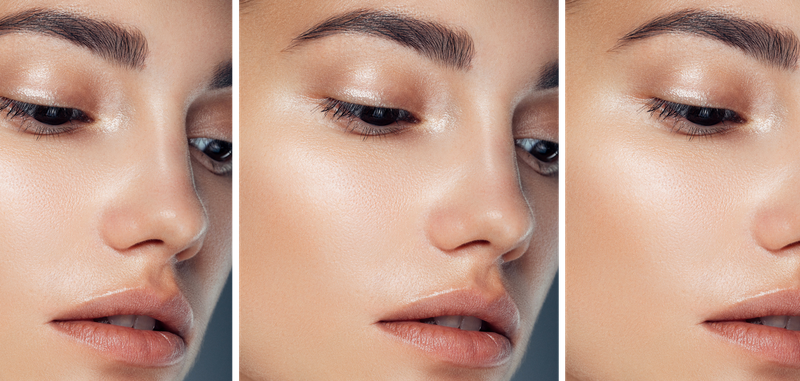
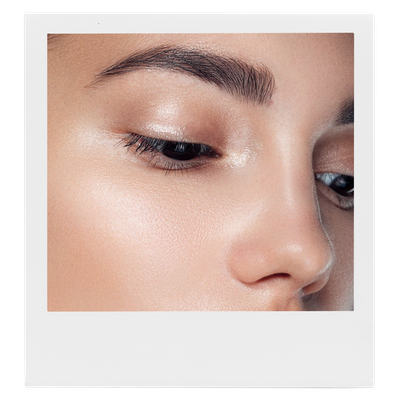
How To Master The Glass Skin Look
Take Time Prepping Your Skin
“To nail this look, you need to take the time to prep your skin. You want to use nourishing, hydrating and brightening products to create a flawless, but glowing canvas. This will give you a great base to work from, ensuring anything you apply on top has that luminous quality, too. I recommend using a combination of masks, serums and gadgets – like facial rollers and gua shas – to bolster moisture levels within your skin and bring fresh blood to the surface for a bit of healthy radiance. You need to use whatever it takes to completely hydrate your complexion and give the illusion of glossy, glass skin.”
Follow A Strict Routine
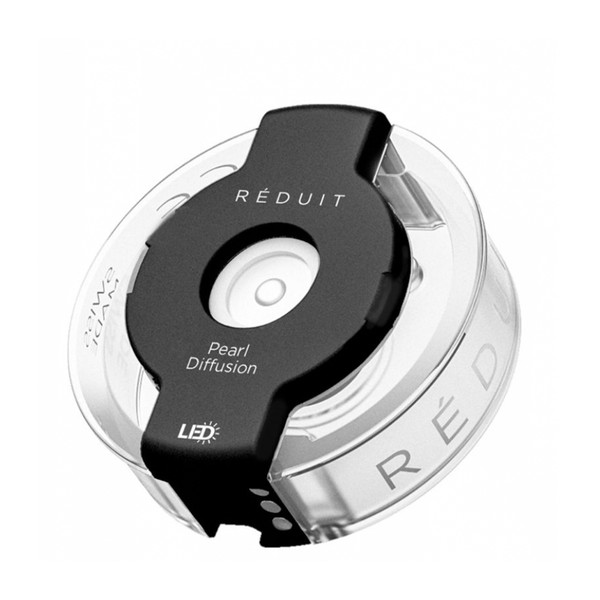
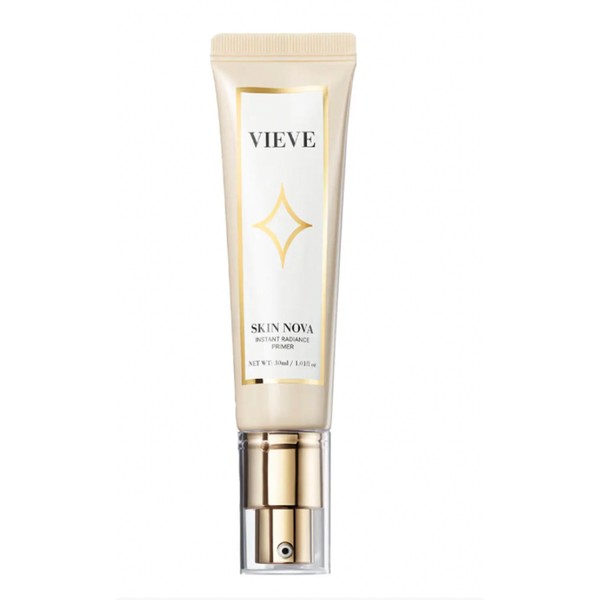
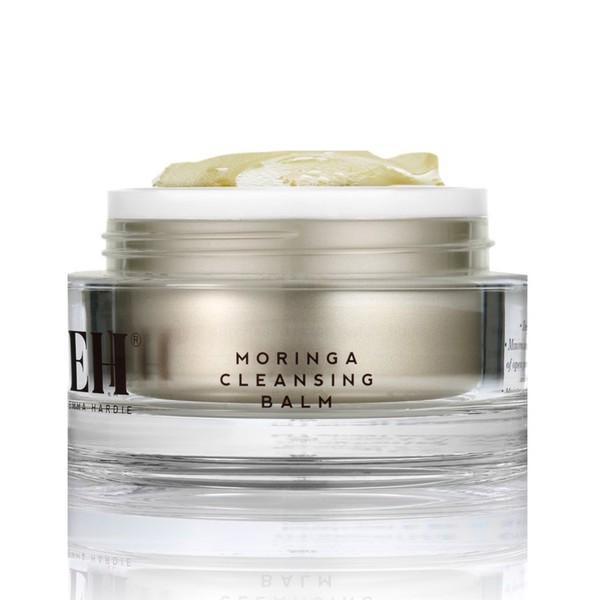
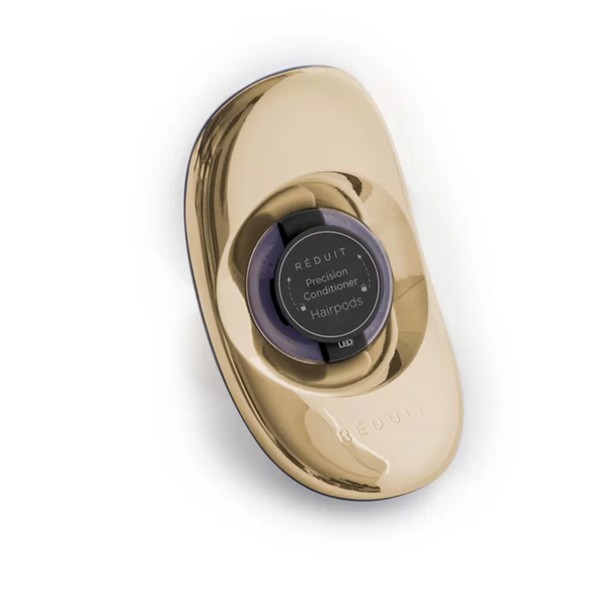
“Start with a hot cloth cleanse – use a balm like the one from Emma Hardie, which is ideal for boosting glow. I also love the Reduit Pearl Diffusion Skinpod for purging pores and refining the skin, but this isn’t essential. Then apply a light layer of moisturiser, before patting on some highlighter to your cheeks, chin and a little on the forehead – I love Vieve’s Skin Nova. Because this look is all about the glow, try to apply the bare minimum when it comes to foundation and concealer – apply it only to the areas that need it most.”
Focus Highlighter On The Highest Points Of Your Face
“With highlighter, you want to focus on the highest points of your face. Strategic placement is key when it comes to glow, so you don’t look overly greasy or shiny. Use highlighter only where the light would naturally hit your skin: for example, the cheekbones, centre of your forehead and the bridge of your nose and chin. I also like creating a subtle sheen over the eyelids. It gives a healthy look and the effect never looks overly shiny or weird.”
Work In Light Layers
“One of the biggest mistakes I see people making is using too much product. Use just a tiny amount of each formula – the lighter they are, the less they will shift or smudge throughout the day. For make-up, use gels or textures that are a bit thinner, or finely milled powders that skim the skin, rather than cover it completely. I also advise using shimmer and sheen instead of glitter. This look is about a gloss, an almost glazed effect, so you want products that mimic this. Sparkle is different.”
Look At The Textures
“It’s best to start with the wettest textures first, working towards the driest textures to finish. Try not to go back and forth with different products as the different formulas may start to roll off. As you go, keep taking a step back and look at what else is needed – it might just be a simple light, hydrating mist to bump up the glow.
Use Sponges
“To enhance wet-look skin, fingers are actually your greatest tool as they will work liquid or gel-based textures into the skin. If you’re working with dry powders, always use a brush. They give you more control for a lighter, more natural finish – fan brushes are great as they never deposit too much product. Sponges are also essential for glass skin. They blend products seamlessly, and given you use them damp, they automatically give skin that high-shine finish.”
Mix Skincare & Make-Up
“Though I recommend starting with skincare, it’s okay to mix and match your products. I often like to mix highlighters with a moisturiser underneath base make-up. It gives you that lit-from-within glow, and looks a bit more natural than heavy layers. It’s also worth remembering your natural oils will contribute to the gloss of this look. It’s why you should never go too matte, or too shiny – your skin needs balance. I love it when make-up has had time to settle on the skin a bit – that’s when it will look its best. Be strategic – if you’re naturally greasy, stick to drier textures and focus the glow on your lids and cheekbones. If your skin is dry, amp up the skincare and play with make-up on top. It’s about being clever to customise this look to your individual complexion.”
For more advice & tips, follow @KennethSohMakeUp
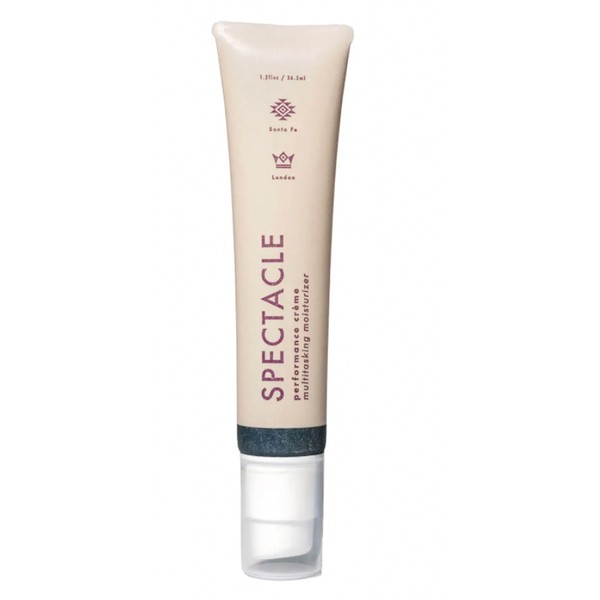
Get The Look With Kenneth’s Top Products…
DISCLAIMER: We endeavour to always credit the correct original source of every image we use. If you think a credit may be incorrect, please contact us at info@sheerluxe.com.
