How To Cook Simple Asian Food At Home
The key to cooking simple Asian dishes at home comes down to garlic and ginger. Fresh is always better than the pre-prepared jars. Also, if you do all the chopping and prep before you begin, you’ll find that most Asian recipes like stir fries only take around 10-15 minutes to cook, so you actually spend very little time by the stove.
Other ingredients I couldn’t live without include soy sauce, chilli oil, and Kewpie Mayo. Soy sauce is a staple in Asian cooking and works in so many dishes without being too salty. Chilli oil is also a must because I love adding a bit of spice to everything, and the Kewpie Mayo adds the perfect amount of creaminess. I’m addicted!
After a long day, I like to make a warm bowl of noodles or dumplings. I usually have homemade dumplings in the freezer from a leftover batch, so I like to fry them up then devour them while my tongue burns from the hot juices.
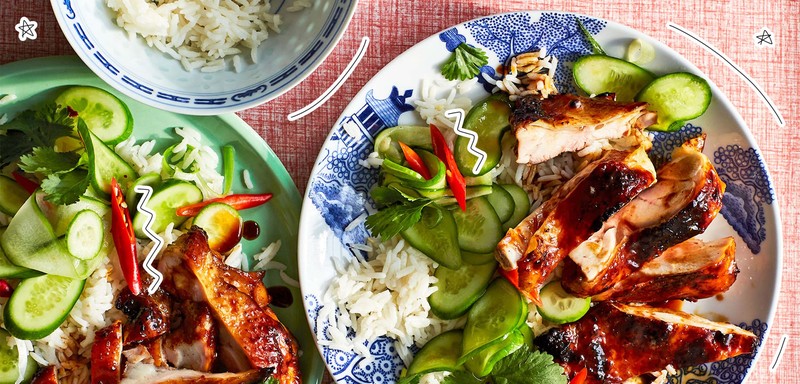
If I’m not hosting a dumpling party, I always make Hainanese chicken rice for a girls’ night. It couldn’t be easier as you poach the chicken, then make the rice with the stock. You can entertain and chat to your guests while you’re prepping the sauces, and it’s always a hit because who doesn’t like chicken and rice? There’s no complicated cooking involved but the flavours are amazing – it’s also perfect for leftovers the next day.
I love going to Chinatown in London and meandering through the Chinese supermarkets. When I was younger my family and I always went to Seewoo which has multiple locations, including a big branch in Greenwich. It has a great butcher and seafood selection. I also love Loon Fung for harder-to-find ingredients, as well as Korean supermarkets which have the best selection of snacks. Japan Centre is also amazing and serves delicious sushi, sashimi, noodles and karaage (Japanese fried chicken).
It’s impossible to pick a favourite dish from my new book, but I love the crispy sea bass recipe.
It’s my take on the classic dish with a ginger and spring onion sauce, except I’ve made it crispy with fish fillets that are readily available in supermarkets. I coat the fish with a light layer of corn flour before pan frying to get it extra crispy. The sauce is excellent served over the fish, too. I could eat it every day.
My most popular videos are all egg related. My egg drop soup video has over 30m views across TikTok and Insta. I recently made scrambled eggs with chilli oil and that has a total of 20m views. I’m not sure why it’s always the eggs that get people going, but I’m here for it – I love them.
Inspired?
Here are three of Verna’s recipes to try at home
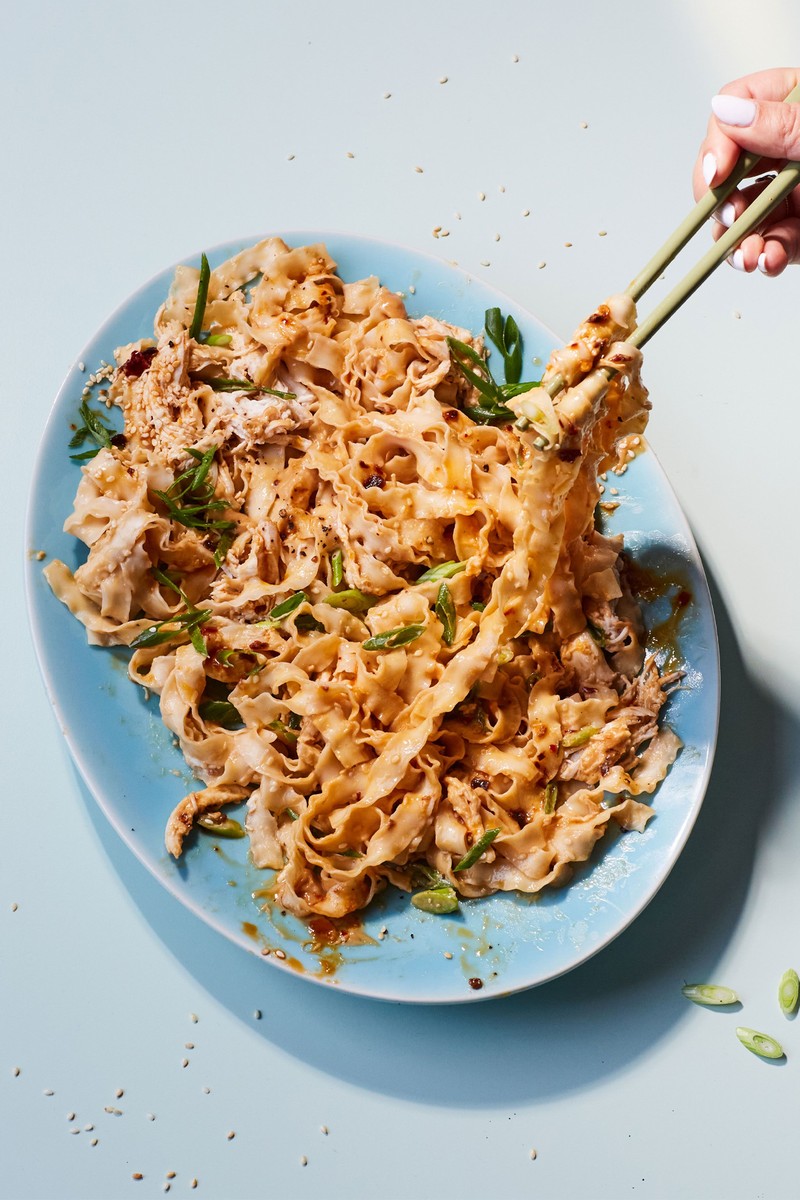
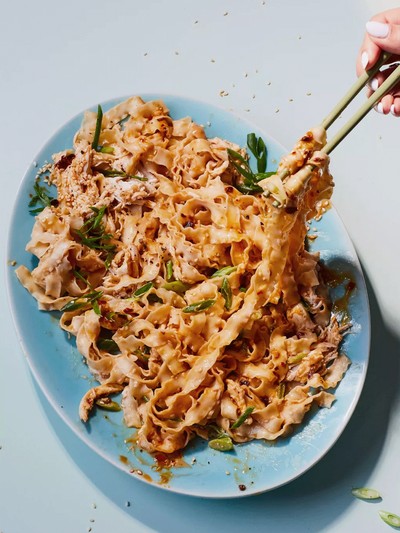
Creamy 10-Minute Peanut Noodles
Cook the noodles in a pan of boiling water according to the packet instructions. Drain and rinse under cold running water, then set aside.
In a large mixing bowl, mix all the ingredients for the peanut sauce together, adding 1 tablespoon of water to loosen the mixture. If it’s still too thick, add another 1 tablespoon of water.
Toss the cooked noodles in the peanut sauce, mixing thoroughly until evenly coated.
Spoon the peanut noodles into two serving bowls, top with the chicken, if using, and finish with the sesame seeds, spring onions and a splash of chilli oil, if you like. Serve straight away.
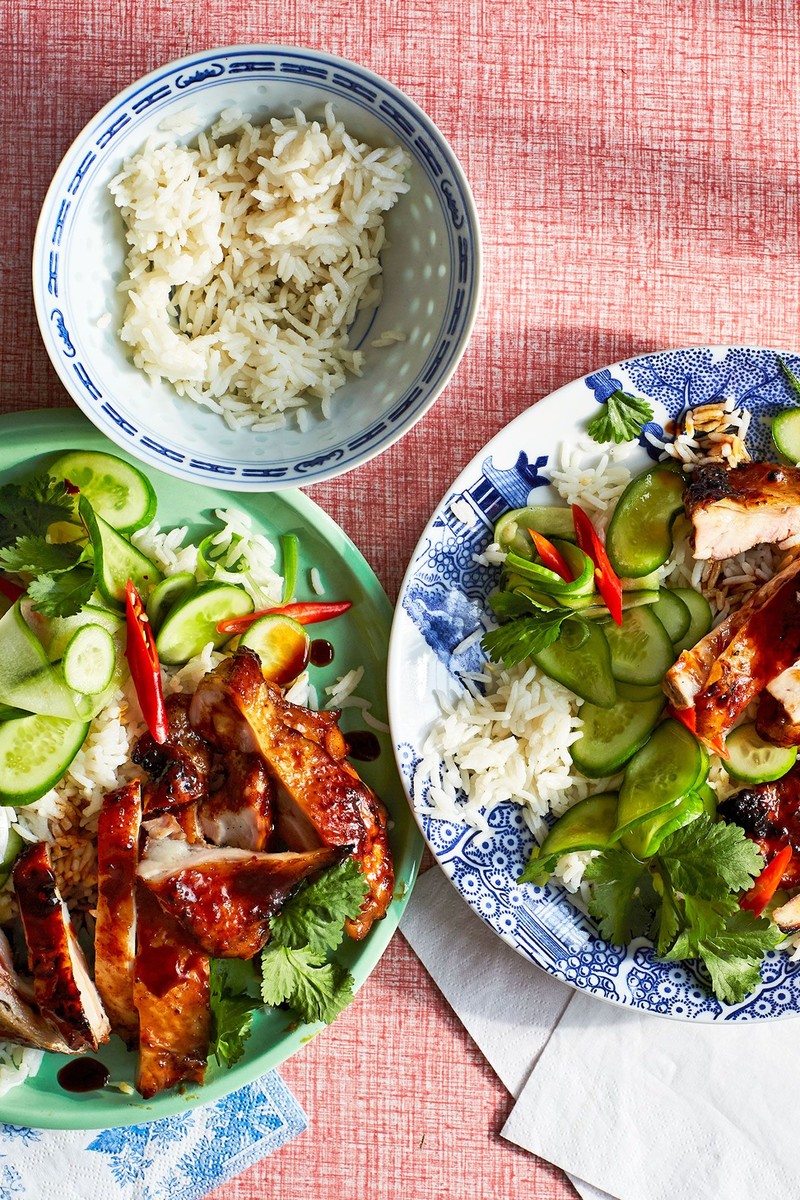
Chinese Five-Spice Chicken
Mix all the ingredients for the marinade together in a shallow dish. Add the chicken thighs and turn until coated all over. Cover and leave to marinate for at least 2 hours or preferably overnight – the longer the better for maximum flavour.
When you’re ready to cook, preheat the oven to 200°C/180°C fan/ 400°F/Gas 6 and line a roasting tray with aluminium foil to catch the juices while the chicken roasts. Remove the chicken from the marinade and place on a wire rack set over the lined tray. Pour over any remaining marinade juices.
Place the chicken in the oven and cook for 10-12 minutes, depending on the size of the thighs.
Mix all the ingredients for the soy and honey glaze together. Remove the chicken from the oven and brush the glaze all over, then return to the oven for another 5-7 minutes, until cooked through and golden. (If using bone-in chicken thighs, cook them for 25-30 minutes in total.)
To help crisp up the skin, turn the oven to the grill function and cook for a final 5 minutes. The chicken should be sizzling, golden and glossy when ready.
Allow the chicken to rest for a few minutes for ultimate juiciness before serving. Slice and serve with steamed rice, pickled or smacked cucumber and halved Chinese tea eggs.
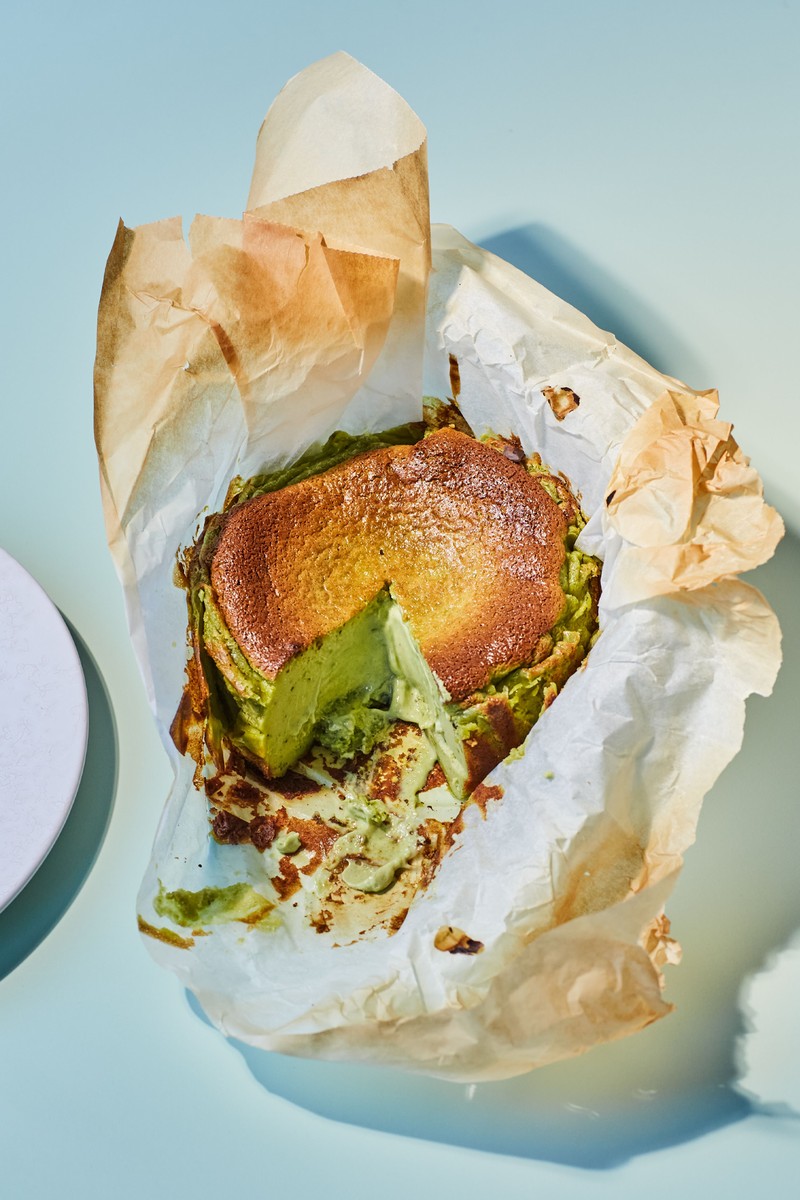
Matcha Burnt Basque Cheesecake
Preheat the oven to 220°C/425°F/Gas 7. Line the base and sides of a deep loose-bottomed 18cm cake tin with 2 large sheets of baking paper, with one of the sheets turned at 45°, so the corners point in different directions. Next, press the paper into the tin and fold over any paper protruding above the rim of the cake tin – this will help you lift the cheesecake out after baking. Don’t worry about any creases as they add to the character of the cheesecake
In a stand mixer or using a hand whisk, manual or electric, combine the cream cheese and sugar in a large mixing bowl until smooth. Add the eggs, one at a time, and mix together thoroughly.
Next, add the cream and vanilla to the cream-cheese mixture and whisk until everything is well combined, scraping down the sides a few times with a spatula to help.
Mix the cornflour, matcha powder and salt together in a bowl, then gradually sift the mixture into the cream mixture and fold it in, making sure there are no lumps and it’s well incorporated. Matcha powder can be lumpy, so sifting it with the cornflour helps to achieve an ultra-smooth consistency.
Pour the matcha mixture into the prepared cake tin, tap the tin on the work surface to make sure there are no air bubbles and level the top.
Bake the cheesecake for 30-45 minutes, depending on your oven. I always start with 30 minutes to check how much colour there is on top – you want it to look fairly dark and puffed up like a soufflé. Insert a skewer into the centre to check the cheesecake is ready; the middle should be a little runny when fully cooked but not too wet. If you gently shake the tin from side to side, the cheesecake should have a slight wobble, but will firm up once cool and continue to set in the refrigerator. Continue to bake the cheesecake for a further 10-15 minutes if it isn’t ready, keeping an eye on it as you go.
Once cooked, remove the cheesecake from the oven and let it cool in the tin to room temperature. It will collapse slightly in the middle as it cools. You can eat the cheesecake at this stage when still slightly gooey in the middle, or chill in the fridge for a couple of hours until ready to eat.
Have You Eaten?: Deliciously Simple Asian Cooking for Every Mood by Verna Gao (published by DK, £20) is available to buy here.
DISCLAIMER: We endeavour to always credit the correct original source of every image we use. If you think a credit may be incorrect, please contact us at info@sheerluxe.com.
