12 Expert Tips For Filling & Defining Sparse Brows
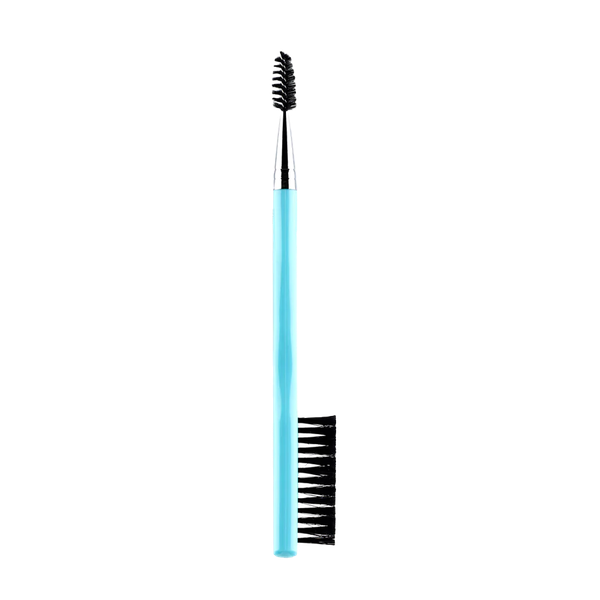
Begin By Brushing Up & Down
“Start by brushing your brows up with a full bristle brush like the MYKITCO 2.3 Pro My Brushed Brow. This helps you to see what you’re working with, so you can make the best product choices. Brushing down is key too – do this to see how the top line of hair looks and whether you need to do any filling or shaping there. If you can’t afford a set of specific tools, use a cheap spoolie – there are plenty on Amazon and in Boots. Doing this will also let you see whether any need a tiny trim.” – James Molloy, make-up artist
Adopt The Right Technique
“This is important, especially if you have finer brow hairs. Firstly, use your product of choice in deft, feather-like strokes in the direction of your natural hair growth. You’ll gradually see a shape emerge – keep going until you’re happy. Start with the sparsest areas to prevent them from looking overdrawn. Once you’ve finished the main bulk, fill in the inner and outer corners in the same way. Don’t panic if you use too much, you can take it down using a spoolie brush. Always work any product you use from the root right down to the ends of your hair.” – Vaishaly Patel, skin & brow expert
Follow Your Natural Shape
“If you’re unsure where and how to apply your brow products, follow the shape that naturally sits along your brow bone – this is the best guide. If your eyes are small and hooded, you don’t want a thick brow as this will look heavy and ageing. Instead, lift your arches to open the eyes. A general rule with eye make-up – including brows – is you want to work up and out. The more you do this, the more awake and fresher your face will look. You also want to avoid having brows too thin at the front and too thick at the ends, as this will drag your eyes down.” – Vaishaly
Choose Your ‘Tweak’ Method Carefully
“Threading is the guided removal of individual hairs, so it’s easy to achieve your desired shape. Waxing takes off several hairs all in one go, which is less precise and can pull the skin. Threading also takes each hair out at the root, so it’s longer lasting. Tweezing can often break hairs, cause nicks and it’s harder to get symmetry between both brows, so I always advocate for threading above any other method.” – Vanita Parti, brow expert & founder of Blink Brow Bar London
Be Careful With Pencils
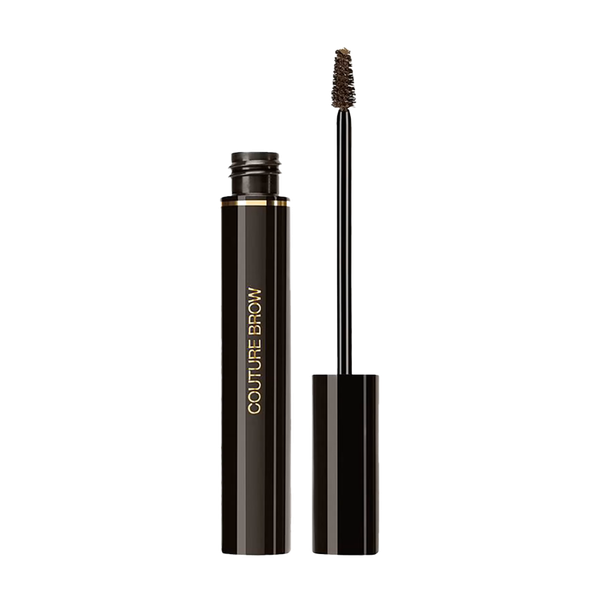
“A lot can go wrong with brows, but the worst – and most common – issue for me is being haphazard with a brow pencil. I see people draw it on like a sharpie, creating a big, bold square front. Often the colour is far too dark as well. If you’re unsure on how your brows should look day to day, try a semi-permanent treatment or get them shaped professionally. This gives you a base shape for your brow pencil to adhere to. It also helps to leave the front soft and natural, so you only need to build up on the arch and tail – if at all. I prefer a good, tinted brow gel to set hairs into place, and you only need a small amount at a time. I recommend YSL’s Couture Brow which gives a fluffy effect and stays put all day – it is very pigmented, so work with it lightly and build up gradually.” – Kallinika Aynsley, brow expert
Give Them The Same TLC As Your Hair
“There is so much that can be done to help bring back volume and strength to your brows. First, take care of them as you would your hair. Use a quality oil every night, gently massaging it in to deliver hydration and protection. The best oils are the ones that aren’t too heavy, like almond oil or grapeseed oil. In the morning, use a brow serum to activate lazy hair follicles and kickstart growth.” – Vanita
Don’t Discount Pomades
“Pomades are also great for sparseness. They are pigmented gels that are easy to work with and give great definition and colour. You are best off applying them with a very fine brush as you can create texture and fullness easily. My advice is to start by outlining your shape, then use a pomade or pencil to fill in any gaps. You can – if you feel you want to – use a powder over all the hairs to add colour to areas that are too light.” – James
Seal Everything With Gel
“If you’re still looking to build more shape and volume, I recommend using a waxy soap after any of the above products that you choose. Use one to brush the hairs up and sideways. They groom the hairs and seal everything into place. Just make sure you use them to groom the hairs in all directions, so you get a smooth and even blend. Once this is done, you’ll find they lay flat and stay put for longer.” – James
Get The Shading Right
“Whether they’re over-plucked or sparser in texture, it’s important to get the colour right. For a more natural, subtle brow, look for an exact match to your hair shade. For those seeking a heavier look, or anyone that’s dyed their hair, you may want to amp it up by going for one shade darker than your natural tone. Aside from shade, you also need to choose the right formula. For example, gels are very lightweight in colour, as are pens, while pencils and pomades are denser in pigment.” – Vaishaly
Seek Out Brow-Boosters
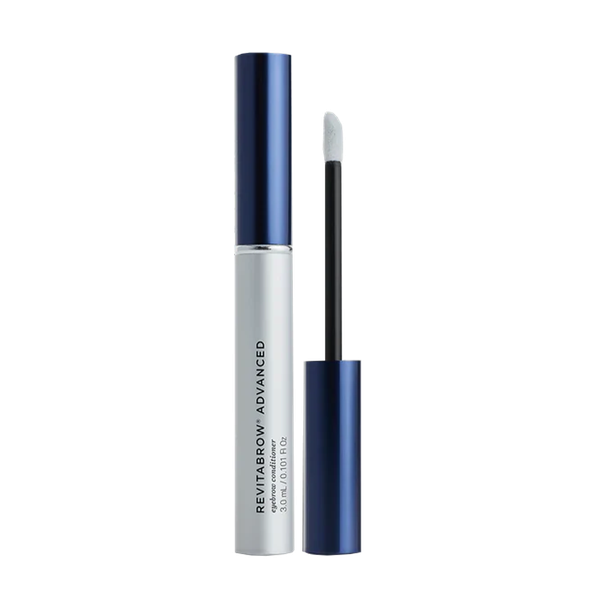
“It’s no secret that thinner, over-plucked brows with no definition can sometimes look ageing. However, that doesn’t mean you can’t work with them. I recommend investing in a good brow growth gel. Yes, they’re expensive, but they work – especially one like Revitalash. You have to be consistent and apply it at least once a day but, after two to three months, you will begin to see a difference. I’m often asked if they’re worth it and I think they really are, especially as they boost the brows’ overall condition and softness, making them less wayward and wiry. With regular application, you can expect better density and volume that’s then easy to enhance further with pencils, pomades or gels.” – Vaishaly
“I also swear by Scandinavian Biolabs Hair Growth Serum. It has a heap of fantastic ingredients plus its own unique hair growth formulation, and it genuinely works. I use it every single day followed by a microneedle roller on my brows – I microneedle once a week. Yes, brows are left a little red and tingly, but I promise you, the results speak for themselves. I recommend it to all my clients and friends.” – Kallinika
Know All Your Options
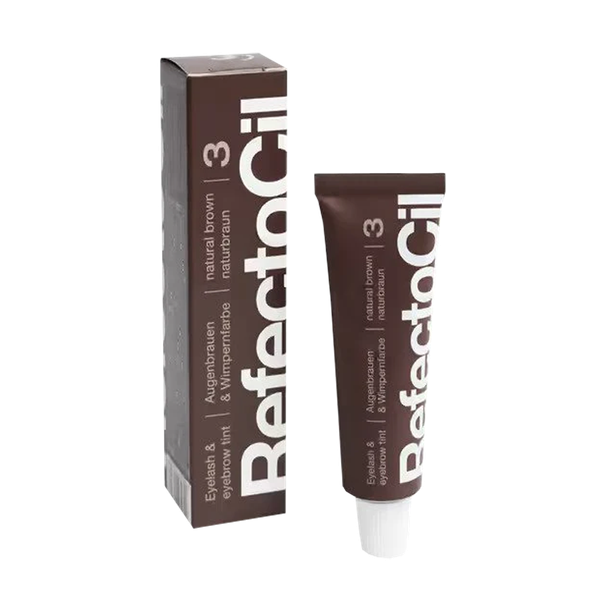
“Products aside, there are several long-term options too. Tinting is one of the quickest ways to achieve a thicker, natural-looking brow and it works for everyone. Plus, the effects last between two to three weeks, so the results go the distance. I would always advise getting tints done professionally, but a good at-home option is RefectoCil, providing you patch test and read instructions thoroughly. Alternatively, if you’re looking for something more permanent, consider microblading. The technique consists of creating fine, hair-like strokes into the skin with a hand-held tool, which is then filled with pigment. As it’s such a precise technique, you get a very natural finish that lasts for months on end. It’s ideal for those looking to cover gaps, define or fill in over-plucked brows.” – Vaishaly
“There are also treatments like ‘microfeathering’ available. This uses precise, hair-like incisions that deposit dye into the top layer of your brow skin – it’s not dissimilar to microblading. First, a topical numbing cream is applied before small incisions are made using a fine and very precise blade – no machine or tattoo gun is needed. The pigment is then deposited into these incisions, resulting in natural-looking hairs. The difference is it requires a bit of hair and regrowth – microblading can be done with little to no hair – so it’s best for those with sparser areas that need filling. The results last for up to a year, with just a few touch-ups required every seven to nine months. A great option for those keen to work with what they already have.” – Kallinika
Stock Up On Castor Oil
“For those without semi-permanent brows, I’d recommend castor oil. Apply it overnight and sleep with it on like a mask – it doesn’t need to be fancy or expensive, just a hydrating one that promises moisture. It will work well to keep the brows nourished and healthy, and therefore more manageable and fluffier too.” – Kallinika
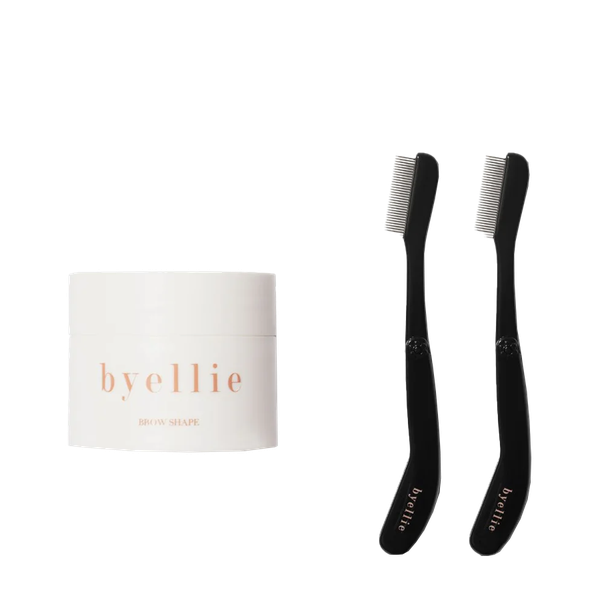
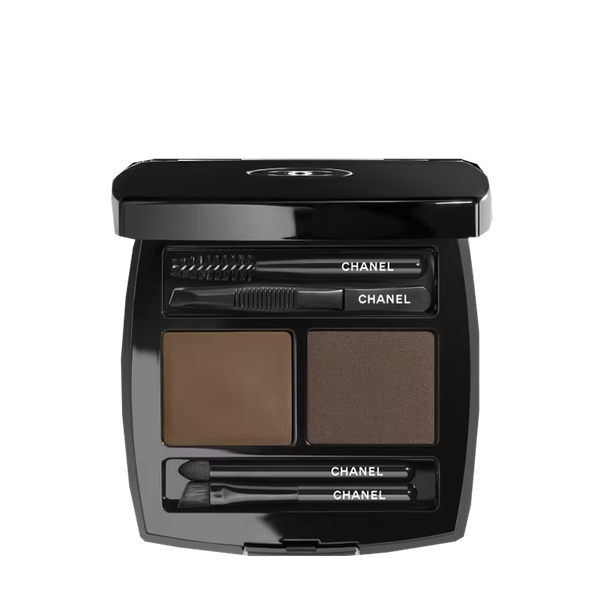
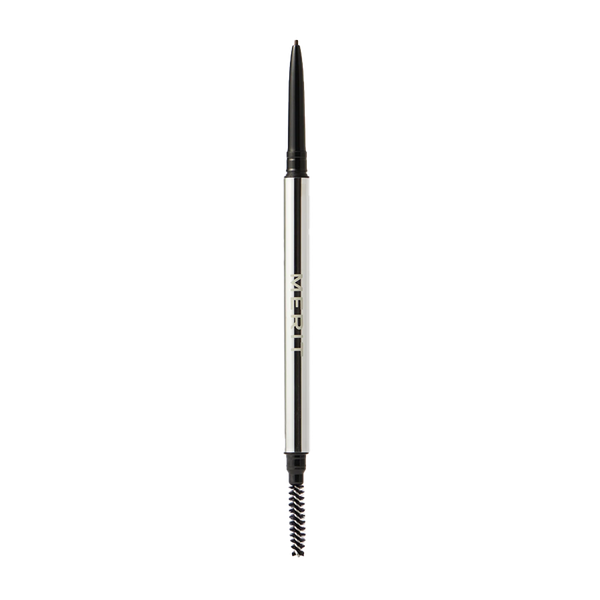
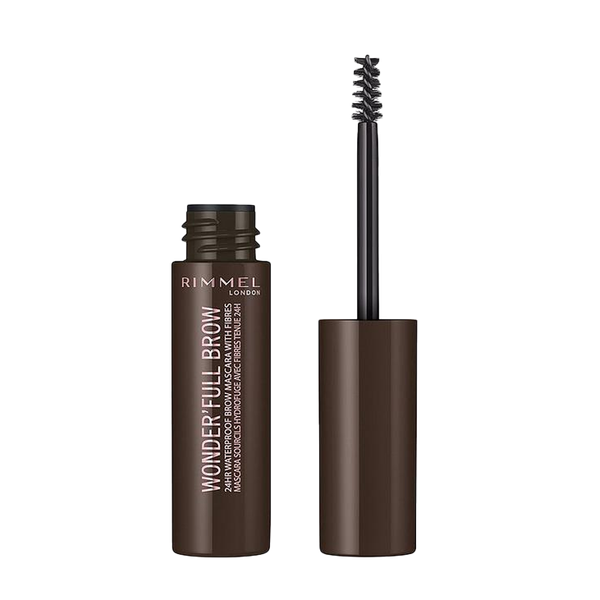
Shop Our Favourite Products For Defining & Filling Brows
DISCLAIMER: We endeavour to always credit the correct original source of every image we use. If you think a credit may be incorrect, please contact us at info@sheerluxe.com.