
The Beauty Insider: The Best Blushers & How To Use Them
Blusher is a miracle maker. A touch of blush can make or break your entire look. Many a day I’ve looked in the mirror and grimaced, only to chuck on a bit of blush and transform my complexion in ten seconds. That’s a make up miracle right there.
If it were a popularity contest, and blusher and bronzer were up against each other, in recent years bronzer would have won, thanks to the love of the contour trend. Although rewind to the 80’s and the competition would be very close as back then, intense, bright blush was all the rage. However, the reality is bronze and blush look beautiful together. And even though I’m a HUGE fan of bronzer, if I had to choose, blusher would be my number one, due to its impact and simplicity of use.
Okay, let’s talk about where to put your blusher, as you need to tailor application to compliment different face shapes.
Round face
Think Kelly Clarkson and Emma Stone.
Put the blush slightly lower than the apples of the cheeks and sweep up towards the top of the ears. This will give a “lifted” effect and looks fab on spherical face shapes.
Square face
Think Rihanna and Lady Gaga.
Blusher can really help to soften the strong jawline of a square face. Concentrate on the inner apples of the cheek, towards the nose. And then extend out to the hair line.
Oval faces
Think Salma Hayek and Kate Middleton.
To gently widen the appearance of an oval face, place the blusher in the centre of the cheeks, not directly on the “apple”, and softly blend up towards the top of the ear.
Heart shape
Think Halle Berry and Scarlett Johansson.
This face shape tends to have high cheek bones. To accentuate this feature (I mean why would you not)?! Apply your blush in a C shape, going slightly under the cheek bones and up towards the temples.
Blusher Formulas
I mix and match the type of blush I use. Makeup is all about experimenting. Powders, creams, gels & stains are the main formulas. The key rule is this – if you have dry skin, avoid powders.
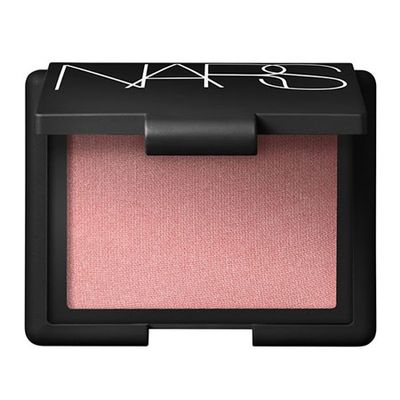
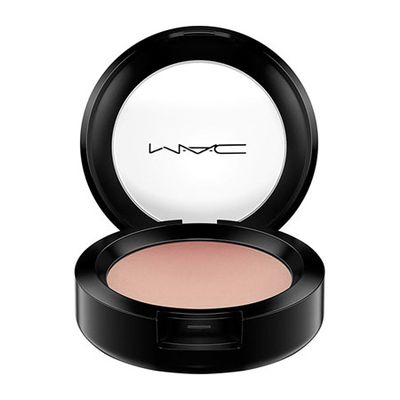
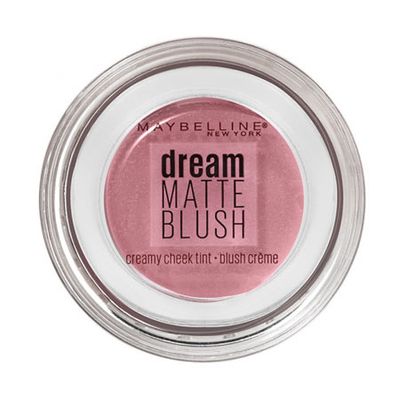
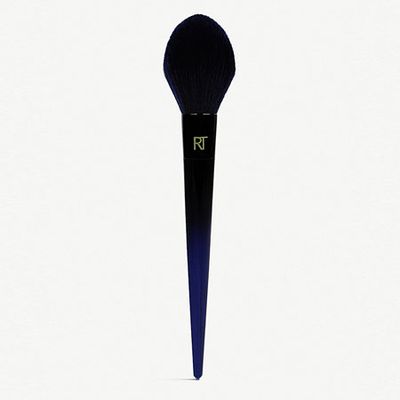
Powder
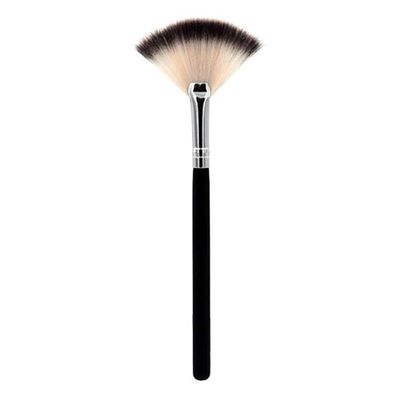
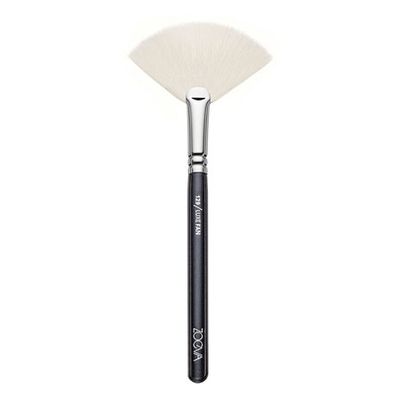
There are so many different types of powder blushers out there. Different textures as well as different finishes. The great thing about this blush is it’s buildable and easy to apply. Use a blusher brush, tap off the excess (preferably back into the blusher so you don’t waste it), and then sweep on. Start with a small amount and build as desired. If you always pick up too much blush with a big fluffy brush, try a fantail one. This is my most used brush when on set. It’s perfect for a natural flush.
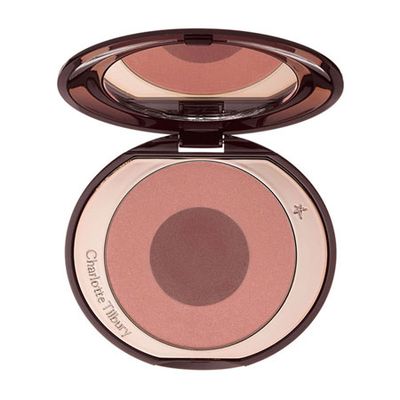
Favourite Powder Blush
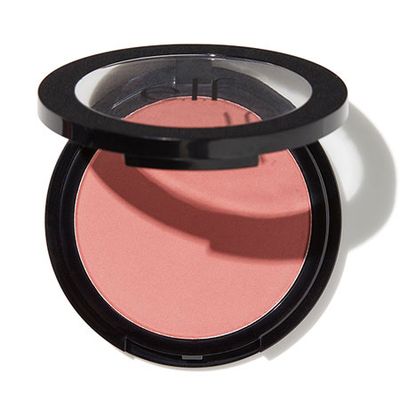
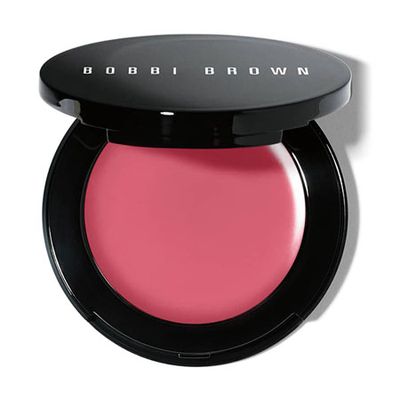
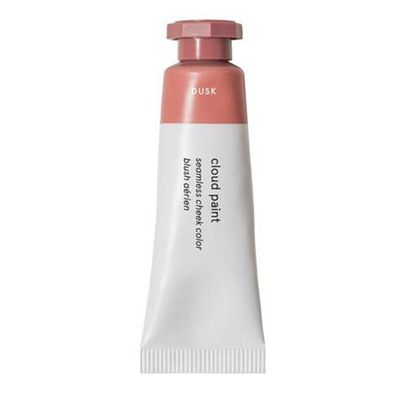
Cream
Oh how I heart a cream blusher. In fact, I’m not going to lie, I actually tend to use lipstick as my cream blush. Particularly if I’m wearing the shade on my lips too. I love using my fingers when applying a creamy formula. The warmth from them helps to blend the product perfectly into your skin.
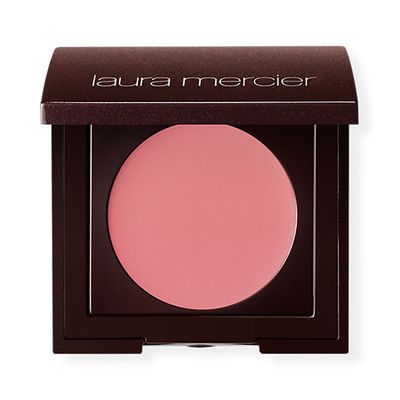
Favourite Cream Blush
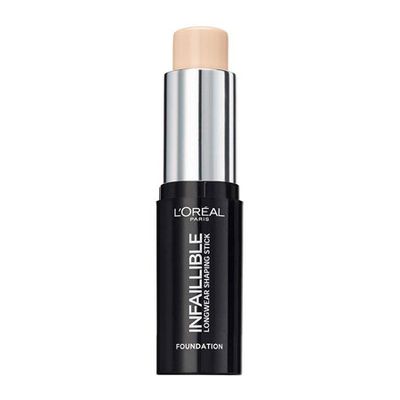
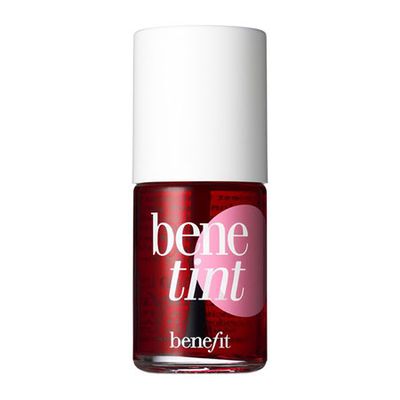
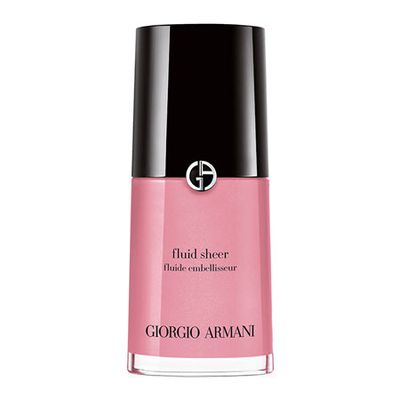
Stains & Gels
These can look pretty scary at first, as the colour in the bottle tends to be brighter than the actual pay off. But don’t be fooled as stains and gels can be stunning, and tend to be extremely long wearing and lightweight. You know when you go for a walk in the cold and come back with natural, glowing flush of colour? Well chuck a red stain on the apples of the cheek and voila, you don’t even need to leave the house to create the look. I tend to buff stains and gels into cheeks with a fluffy blusher brush. You can use your fingers, but then wash them immediately, as stains are called that for a reason!
Favourite Liquid Blush

How to pick your blush shade for your skin tone...
There are hundreds of different skin tones with varying undertones – that’s what makes us so unique. Here’s my basic guide on picking the right blush shade for you.
Dark skin – anything in the brick-terracotta family is gorgeous. Think reds, deep plums or even bright oranges and pinks. Think pigment. You want a bold blush as anything too light can appear chalky. Stick to mattes as shimmery blushers can look too reflective on dark skin, especially in photos. This doesn’t mean you can’t use creams and tints, just stick to matte versions.
Medium skin – blushers with a bit of punch to them look awesome on medium skin tones. Pinks and corals are my favourite as medium skin tends to have a yellow undertones, so these shades knock back any sallowness instantly. Shimmery blushers with a hint of gold can look fab.
Fair skin – you can’t go wrong with a cool pink or peach. These are super complimentary and brighten the complexion without being OTT. I adore a cream blusher on fair skin.
To summarise my blusher 101 – my main advice is use it. It can make even the most tired, sallow skin, look vibrant and glorious. So chuck it on girl!
Lisa Potter-Dixon is a presenter, make-up artist and Head Make-Up Artist for Benefit Cosmetics. Follow her @Lisapotterdixon, tag her in your beauty pics with #LearnwithLisa and @Sheerluxe on Instagram.
DISCLAIMER: We endeavour to always credit the correct original source of every image we use. If you think a credit may be incorrect, please contact us at info@sheerluxe.com.