The Best Beauty Tips Of The Year
MAKE-UP
For The Smoothest Skin Prep
“All great make-up looks start with good skin prep – it's what creates that smooth, hydrated canvas for make-up to adhere better to and stay looking flawless for longer. One of my favourite tips is to have a good exfoliation routine. The Dr. Dennis Gross Extra Strength Peel Pads are a great way to get that professional-level glow at home. Follow up with a hydrating, barrier-repairing serum like Naturium’s Barrier Bounce to lock in moisture, and keep your skin calm and plump.” – Adeola Gboyega, make-up artist & SL contributor
For A Flawless Base
“I always start with thin layers and build up coverage only where it’s needed. I use moisturiser as a primer to create that ‘lit from within’ glow – I love emollient-based formulas as they work well with make-up. My favourite is Tatcha's Dewy Skin Cream. That, mixed with my SurrealSkin Foundation, is the answer to skin-like luminosity. I take time to blend it out too, using a stippling motion to get everything buffed into the skin.” – Mario Dedivanovich, make-up artist
For A Natural Skin Look
“Use concealer lightly. I avoid getting it too close to the lash line, which can look overly bright and unnatural. I do recommend using concealer alongside a good setting powder, though, to add grip and enhance the brightness of the concealer. It also blurs a little too.” – Mario
For A Fanned-Out Flutter
“Applying your mascara at the root first will give you beautiful separation. Nestle the wand back and forth into the roots for as long as you can. Eventually, lightly zig-zag out towards the tip. Do that a few times, then you can always glide back through for further separation.” – Lisa Eldridge, make-up artist
For Serious Staying Power
“Instead of misting it over your face at the end, use a setting spray throughout your routine. Layering helps each step set properly and boosts longevity without adding extra weight. I rate Makeup By Mario's ultra-fine formula and One/Size On 'Til Dawn, both of which lock everything in place.” – Benjamin Puckey, make-up artist & global colour director at Clé de Peau Beauté
For Eye Make-Up That Lasts
“Eye make-up that has migrated south by lunchtime is a common issue. A waterproof mascara will help, but an even more useful tip is setting your concealer with powder. That way, your mascara and liner won’t have anything creamy to cling to. A little goes a long way – press and roll a triangle puff under your eyes to help your make-up stay put.” – Sophie Tilley, make-up artist
For Multi-Tasking Like A Pro
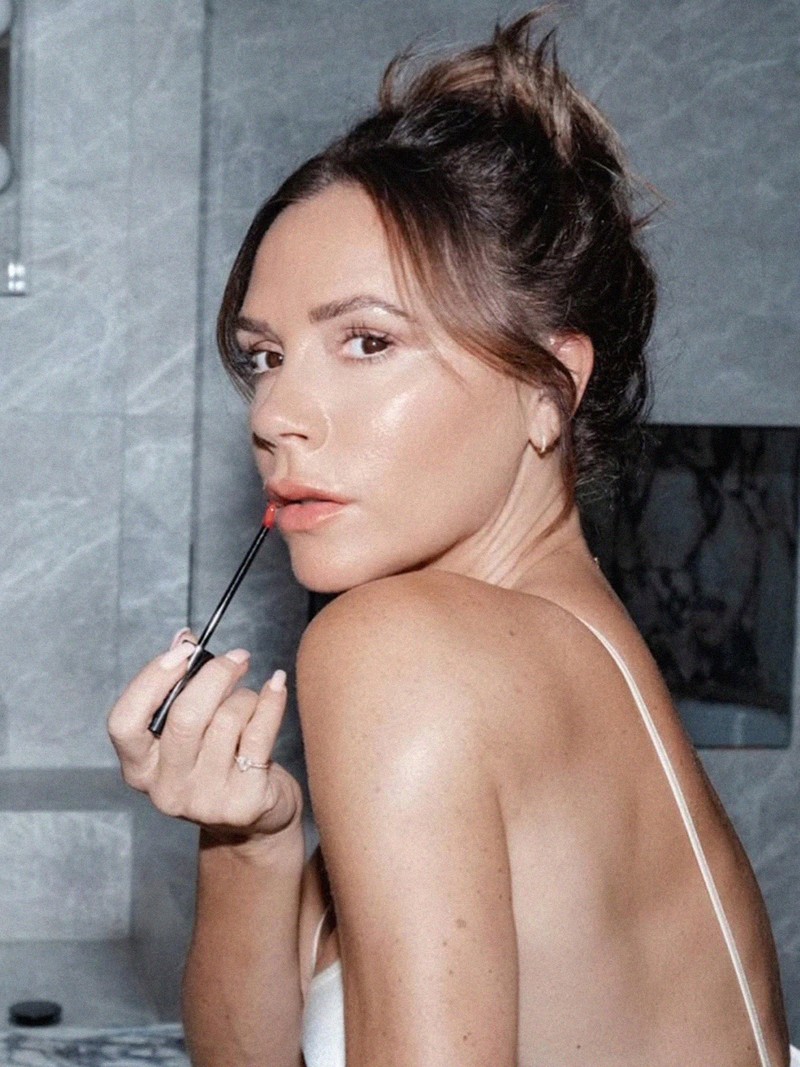
“A good bronzer can be one of the hardest working products in your make-up bag because it can be used in multiple ways. If you’re creating a strong eyeliner look with minimal eyeshadow, use your bronzer to gently carve out a crease. Just don’t overload the eyelid. Alternatively, use your bronzer as a base colour under shimmers and darker shades to build a soft, smokey eye. You can also use it under your lower lashes as a softer lined look. In terms of sculpting, you can also contour the sides of the nose and tuck a little under the jaw for a soft contour. There's so many out there, but I love Victoria Beckham's Matte Bronzing Brick which is so easy to work with.” – Jessica Kell, make-up artist
SKINCARE
Get It All Off
“A double cleanse is key. I’ve always done it and won’t stop. Lots of people are still debating whether ‘doubling up’ is essential. In my opinion, it is – because so many of us don’t effectively remove the day’s grime, leading to dull skin and breakouts. It gives you extra security when you do it twice. The trick is using gentle formulas. I start with BYOMA’s Melting Balm Cleanser as it dissolves stubborn products, then I’ll follow up with CeraVe’s Hydrating Cleanser. Both are proof that you don’t need to invest a fortune in your cleansers to see good results.” – Natasha Clancy, facialist
Tread Carefully With Acids
“Acids can be a powerful ingredient for boosting glow and getting rid of congestion, but it’s important you don’t overdo it, and use the right concentration and formulation for your needs. Always start with a lower percentage and build up gradually. The one thing I really recommend is vitamin C. It has a multitude of benefits, is well tolerated by most and can brighten skin, minimise scarring and promote collagen production.” – Keren Bartov, aesthetician
Introduce New Products Gradually
“Introducing a powerful skincare product – like a retinol, for example – requires careful consideration and patience. Start slowly, especially if the product contains potent ingredients. You can do this by starting with patch testing the product on a small area of skin to check for any adverse reactions. Then, gradually incorporate the product into your routine, starting with a lower frequency of use and gradually increasing that as your skin adjusts. It’s best to introduce only one new product at a time – this allows you to monitor its effects on your skin without overwhelming it with multiple changes at once.” – Dr Simon Ourian, dermatologist
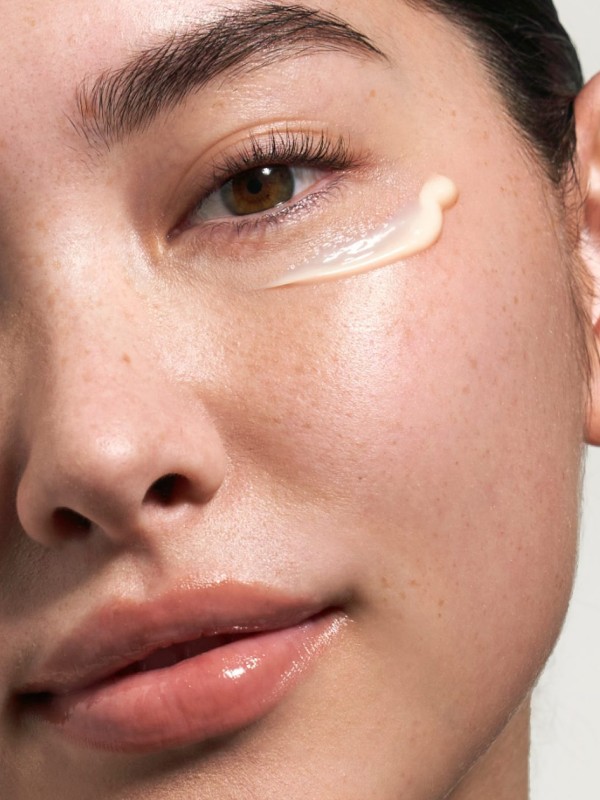
Swap Your Eye Cream For A Gel
“Nothing reduces puffy eyes and brightens darkness more than a good night’s sleep, but I do recommend a lightweight eye gel too. Gel is lightweight, so it will absorb easily to deliver those hard-working ingredients. Gel textures are also immediately hydrating and brightening. For a quick bit of de-puffing, use ice cubes in fast sweeping motions for roughly two minutes around your eyes. It sounds simple, but it works and feels really good.” – Debbie Thomas, facialist
Have A Pigmentation Strategy
“If you want to fade pigmentation and age spots, the best solution is to incorporate the right skincare with some in-office procedures, like laser treatment. As for products, look for ingredients such as vitamin C, azelaic acid, arbutin and kojic acid. These will all help to reduce the appearance of pigmentation and age spots. This type of skincare paired with treatments like chemical peels, IPL and MOXI laser can work well to fade pigmentation – of course, with a good dose of SPF too.” – Dr Alexis Granite, consultant dermatologist
Factor In A Toner
“Toners are beneficial in any skincare routine, but they’re particularly effective at minimising oiliness and breakouts. They’re able to get down deep into the pores thanks to their thin consistency, so they efficiently get rid of grime and build-up while limiting sebum production and excess grease. Though they aren’t essential, I do advise using a toner if you wear make-up regularly. That way, you’re guaranteed to get rid of any leftover product and minimise the bacteria that gets left on your skin.” – Emma Wedgwood, founder of Emma Wedgwood Aesthetics
HAIRCARE
For A Big & Bouncy Blow Dry
“A quick tip is to clip the roots up after blow drying while the hair is cooling down. This will give the root maximum lift. Don’t be afraid of heated appliances either; using a barrel tong even just at the root will give you a strong base and foundation for bouncy hair. I personally like Sam McKnight’s Cool Girl Spray and Oribe’s Maximista Thickening Spray.” – Sam Ashcroft, advocate stylist at Josh Wood
For Healthier Strands
“Brushing your hair when it’s wet will only cause more damage. Try combing a conditioner through your hair immediately after you’ve washed it to bind the product right into the hair shaft – the smoothness of the formula will mean you’re less likely to pull or snag your hair as you go. The same goes for drying your hair after you wash it. Avoid any vigorous towel-drying as this can cause further damage to the cuticle. Instead, loosely wrap your hair in a towel and leave it to dry naturally.” – Ken O’Rourke, hair stylist
For A Healthier Scalp
“It’s important to understand that, like the skin on your face, your scalp will benefit from a bit of gentle exfoliation. An exfoliating mask will remove dead skin cells and flakes, and it can improve the overall health of your scalp. For a flaky or itchy scalp, my suggestion is to use a targeted anti-microbial scalp mask twice a week. Our Flaky/Itchy Scalp Anti-Dandruff Mask is formulated with anti-fungal piroctone olamine, exfoliating salicylic and lactic acids, soothing celery seed extract, and antioxidant-rich green tea extract. It helps to rebalance your scalp microflora. If your scalp is sore and/or dry, a soothing, hydrating scalp mask containing calming aloe vera and olive oil can be really helpful.” – Anabel Kingsley, trichologist & brand president, Philip Kingsley
BROWS & NAILS
Pay Attention To The Arch
“One of the most common mistakes is taking the arch too high and shortening the length of the brows. The length, width and placement of the arch is key to balancing the face. Misshapen brows make you look permanently surprised and are noticeable for the wrong reasons.” – Vanita Parti, founder of Blink Brow Bar London
Take A Haircare Approach To Your Brows
“Regularly applying serums with peptides and other nourishing ingredients will ensure your brows are as healthy as possible. Brow serums are like a nourishing boost for your eyebrows. They’re formulated with ingredients like peptides, vitamins, and oils that aim to promote hair growth, strengthen hair follicles, and condition.” – Yana Gushchina, founder & CEO of Browfique
Get A Nail Fix It Kit
“We all think a gel manicure is magic – how could it possibly chip or lift? Pre-application nail prep is key, but sometimes we can just catch or knock our nails. If you do chip one, find a polish in a matching shade to tide you over until your next appointment. Bio Sculpture’s Gemini range is made up of polish shades that perfectly ‘twin’ with their gel counterparts.” – Michelle Class, manicurist
Switch Up Your Nail Routine
“We adapt our facial skincare depending on the season, so we should do the same for our hands and nails. I personally exfoliate my hands every other evening, and follow up with a nourishing hand and cuticle treatment before I go to sleep. This allows the products time to work overnight. I then re-apply both a hand cream and cuticle oil about three times throughout the day. Where possible, avoid biting the nails or irritating the skin surrounding it. Additionally, I love the Essie Treat Love & Colour Strengthener in the shade ‘Minimally Modest’.” – Georgia Rae, manicurist
Read More From Georgia Day


DISCLAIMER: We endeavour to always credit the correct original source of every image we use. If you think a credit may be incorrect, please contact us at info@sheerluxe.com.
/https%3A%2F%2Fsheerluxe.com%2Fsites%2Fsheerluxe%2Ffiles%2Fwebsite-images%2F2025%2F03%2Fsign-up-pop-up.jpg?itok=zlMvamfa)