8 Ways To Get More Out Of Your Eye Make-Up Brushes
Use Them Strategically
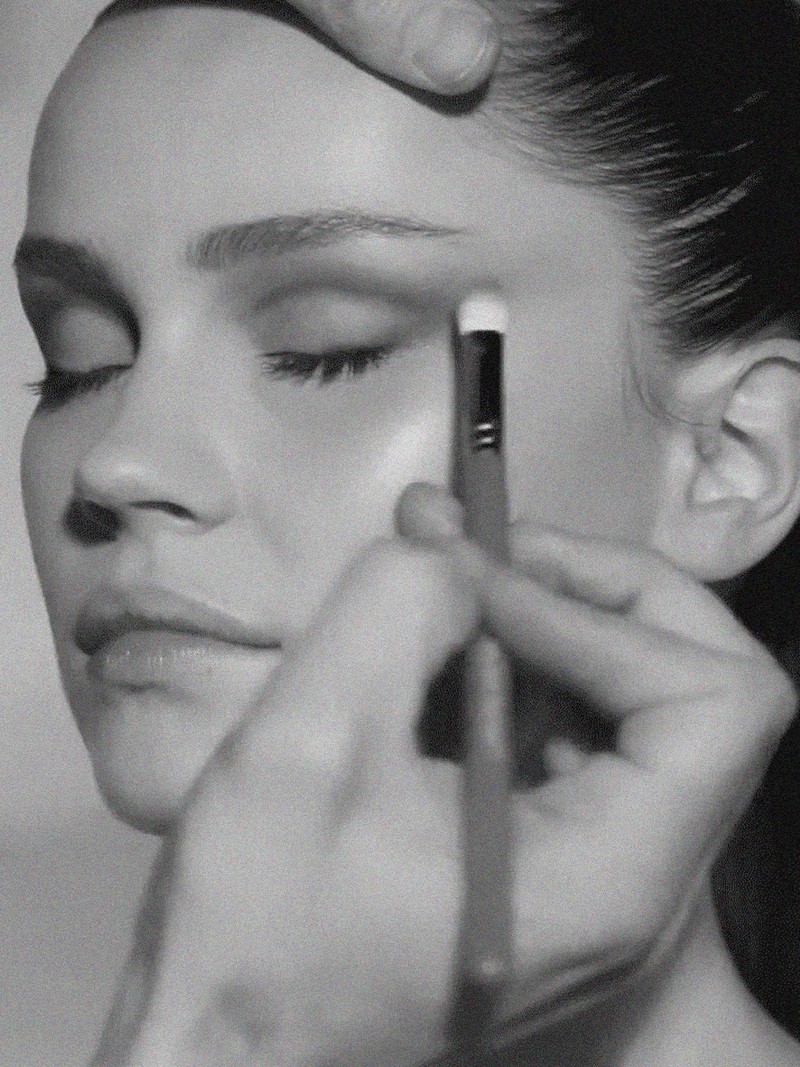
“The first step to professional-looking eye make-up is to use a brush to apply your chosen colour directly onto the area where you want the most intensity. This is normally in the socket or what’s sometimes referred to as the ‘crease’. Then, use your brush to blend everything outwards. Always take your time, as rushing means your product will inevitably break down as the day goes on. Use a press-and-roll motion to ensure everything settles in properly.”
Treat Creams Differently
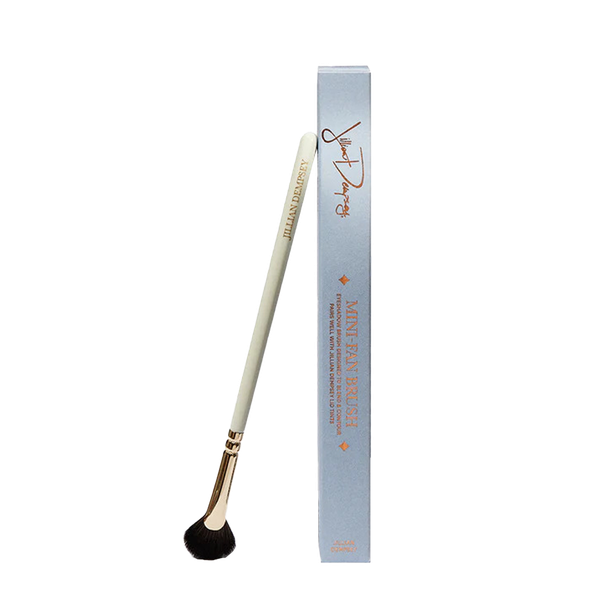
"For cream and highlighter eyeshadows, some brushes work better than others. I recommend Jillian Dempsey's Fan Brush for blending these out. The soft bristles and rounded edges are great for blending and smoothing the colour, while the fan shape means you can get into all the nooks and crannies of your eyelid. This type of brush is great for patting product down onto your eyelids – it never settles into creases or fine lines."
Invest In The Same Brush Twice
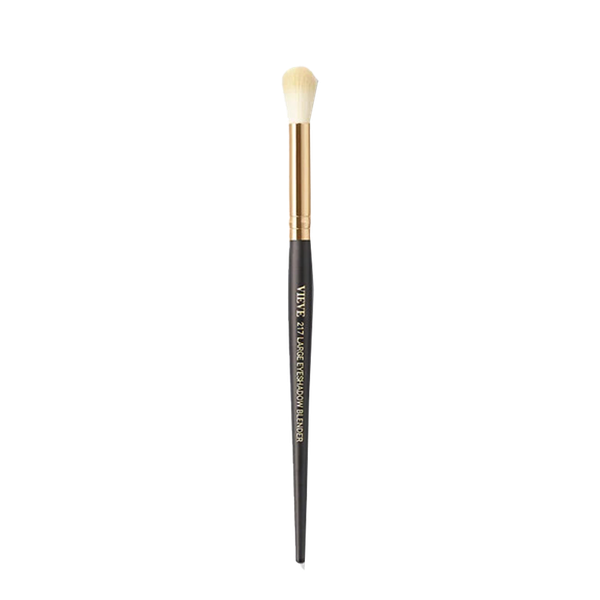
“It sounds excessive, but if a brush works for you, I recommend buying two – one to apply the colour and one to blend it out. This keeps the colour exactly where you want it, with a beautiful, smooth finish. I love the Vieve 217 Large Shadow Brush – it’s great value for money.”
Wet Your Brushes
"Dampening your eye make-up brush will enhance the intensity of the colour. This trick works particularly well with metallic and shimmery shades. Only wet the bristles, though – not the product you're using – otherwise the shadow can become quite messy.”
Get A Soft-Focus Finish
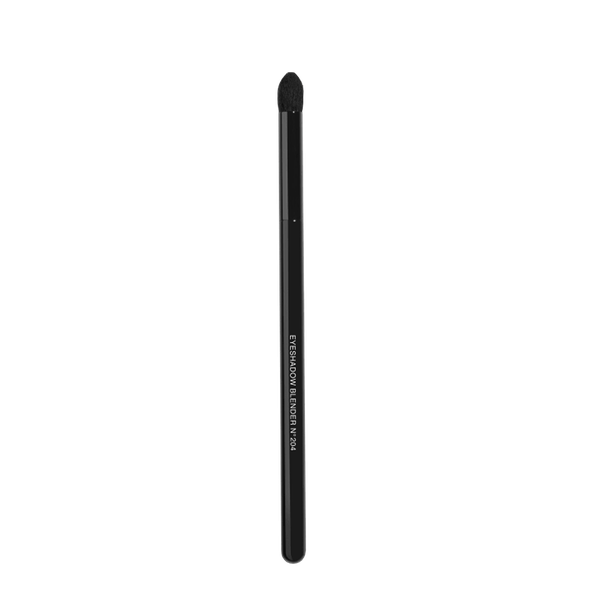
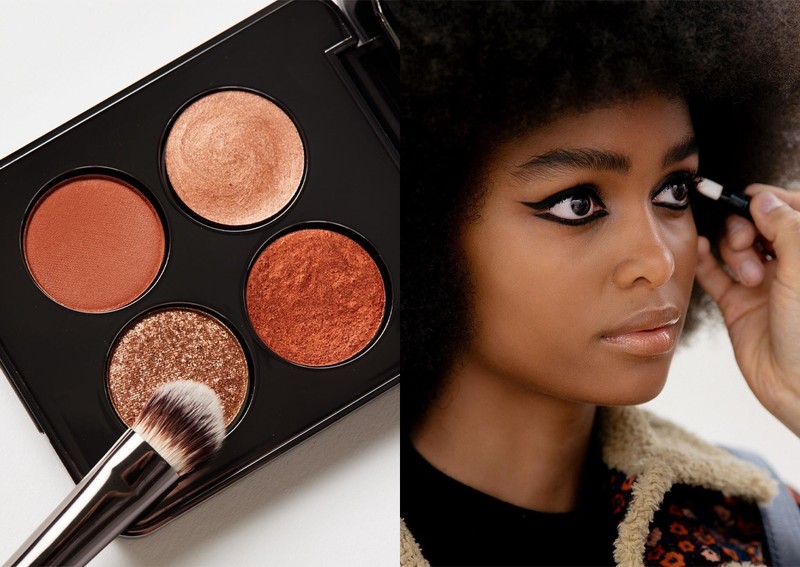
"In my opinion, you can only create a 'soft focus' halo of colour with a brush. I recommend starting with a smooth gel pencil along your lash line, then blending upwards. The Maybelline 24-Hour Colour Eye Liners are great as they're so velvety and easy to buff out. Then, go in with a small, fluffy brush that has a bullet-like design. I love a Chanel Pinceau blending brush. Use it in the eye socket crease, then blend out to the edges for that blurred, diffused effect. This brush is also great for smoothing out any colour transitions to give extra dimension. My final tip is to apply a paler colour over the top – this will set the blurred liner and give life to your soft-focus finish.”
Create Feline Flicks
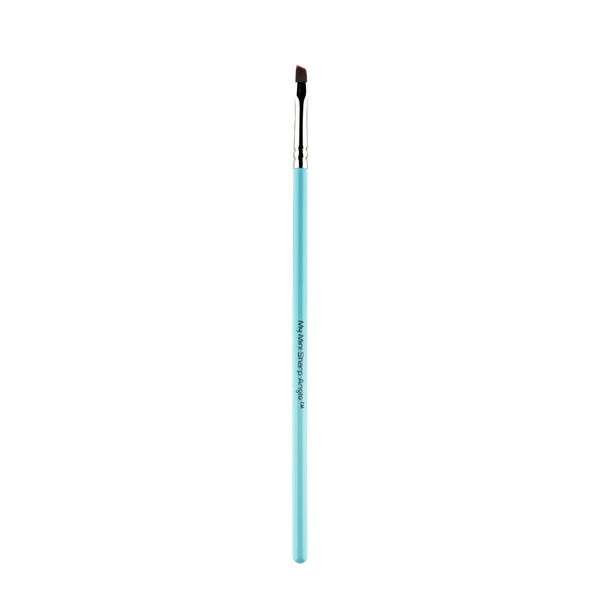
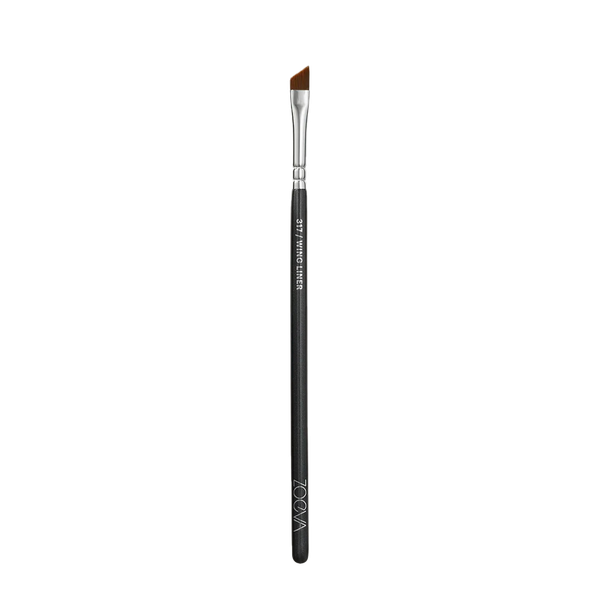
“Often, we revert to liquid pens to create feline flicks, but brushes are so much easier. I often use a fine, flat brush to apply liner directly from a pencil or a shadow. The MyKitCo 1.9 Pro Shape Angle will change the game. The hairs are packed so tightly together, you always get a sharp line. Keep the brush as close to your lashes as possible. Start by pressing the colour on then sweep upwards. The good thing about applying liner this way is you can build it up gradually, rather than in one thick go.”
Keep Everything Clean
"Make-up artists say this a lot but, of all your brushes, the ones you use on your eyes should always be clean – a gentle shampoo will do the trick in between uses. If you leave them to fester, product clings to the bristles and stays there, which leads to patchy application – and worse, germs and bacteria transferring onto your eyes. The Chanel Eye Brushes are a great investment as they’re easy to clean and also come with a cap to keep them hygienic. Plus, the hairs are soft and exactly the right shape and size for all eyes."
Finally, Try A Brow Brush
“Brow brushes are often slender in style but come with stiff, angled bristles. They’re designed this way to mimic single brow hairs, but their shape means they also work well to create very defined liner looks. Eyebrow brushes that are firm and pointed will allow you to create sharp flicks and get really close to your lash line – plus, they serve several purposes at once, so you don’t have to buy endless brushes.”
Follow @ZoeTaylorMakeUp on Instagram.
SHOP ZOË'S FAVOURITES
DISCLAIMER: We endeavour to always credit the correct original source of every image we use. If you think a credit may be incorrect, please contact us at info@sheerluxe.com.
