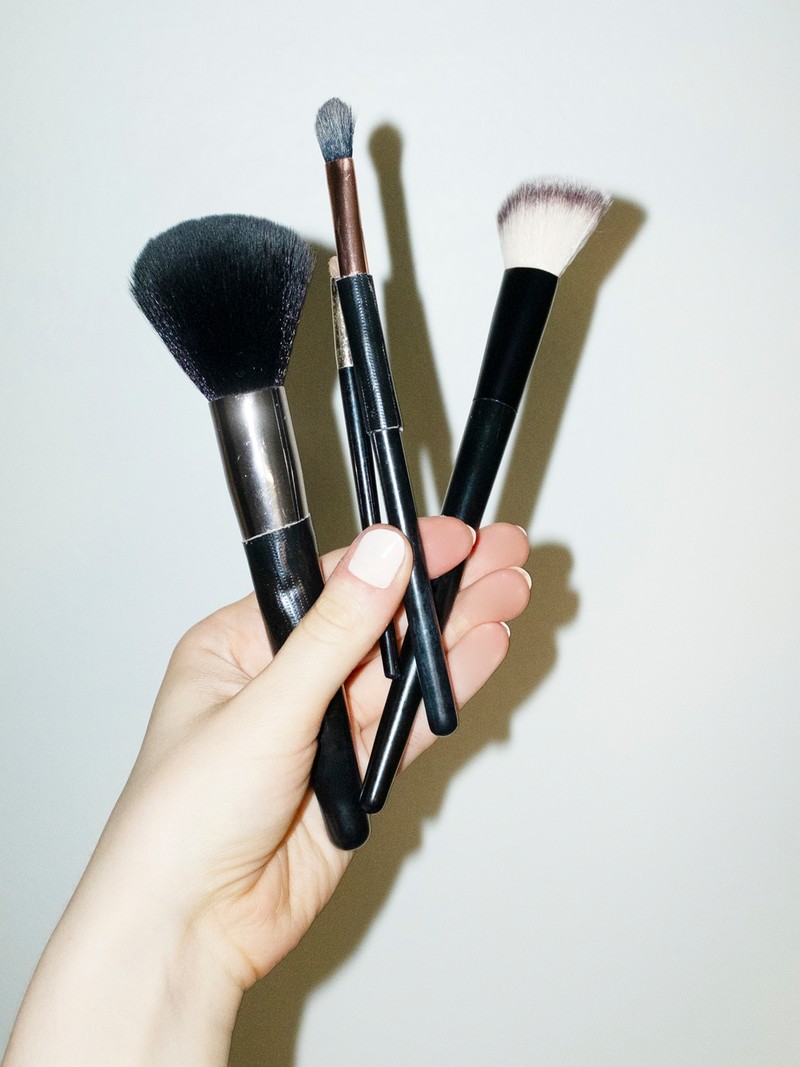
A Simple Guide To The Best Make-Up Brushes
THE BASE
Flat vs. Buffer
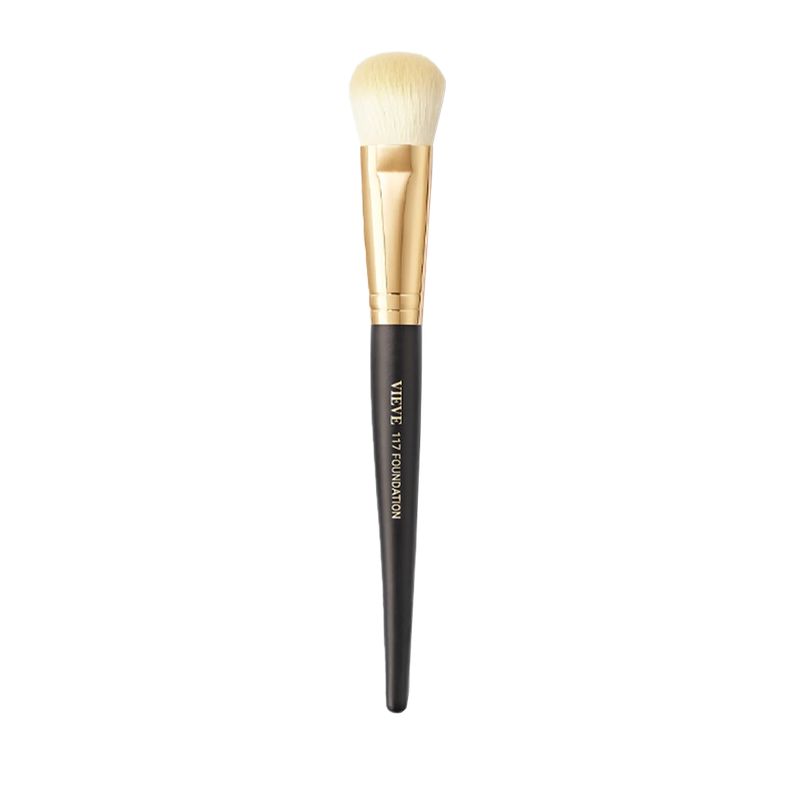
“Flat brushes are perfect for applying liquid or cream formulas thanks to their densely packed bristles. Buffer brushes are also great for applying these kinds of textures as they allow for a streak-free finish, but the larger surface area means application is smoother and speedier. For a natural-looking finish, choose a buffer brush, as they are better at blending rather than painting – a flat brush is best suited to those looking for higher coverage. Recently, I’ve been applying our new Skin Nova Complexion Balm with the 117 Foundation Brush. The closely packed bristles and soft, domed shape help blend the foundation into my skin for a flawless finish.” – Jamie Genevieve, make-up artist & founder of Vieve
THE SHADOW
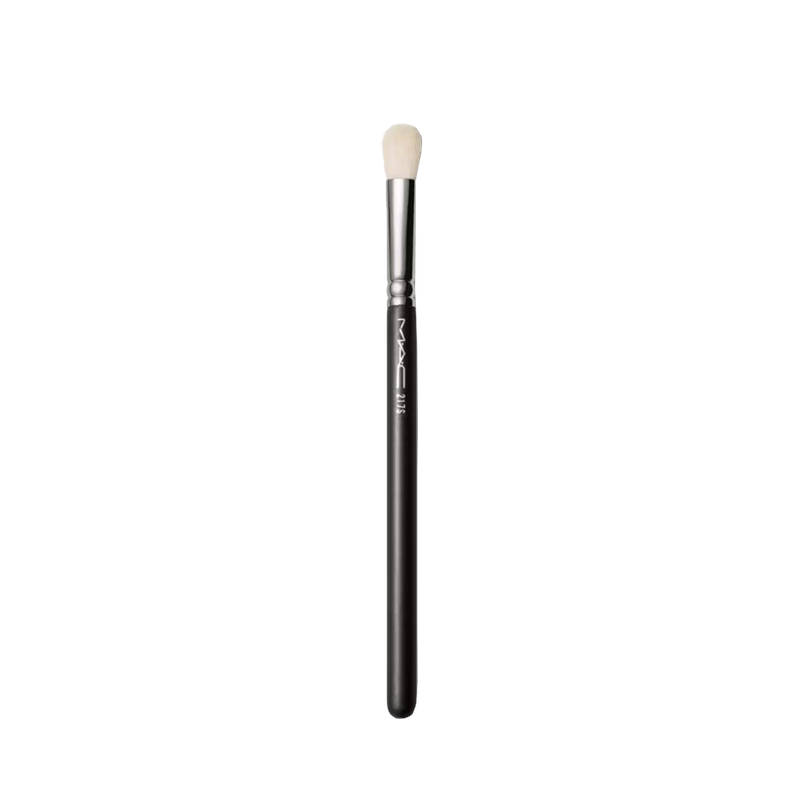
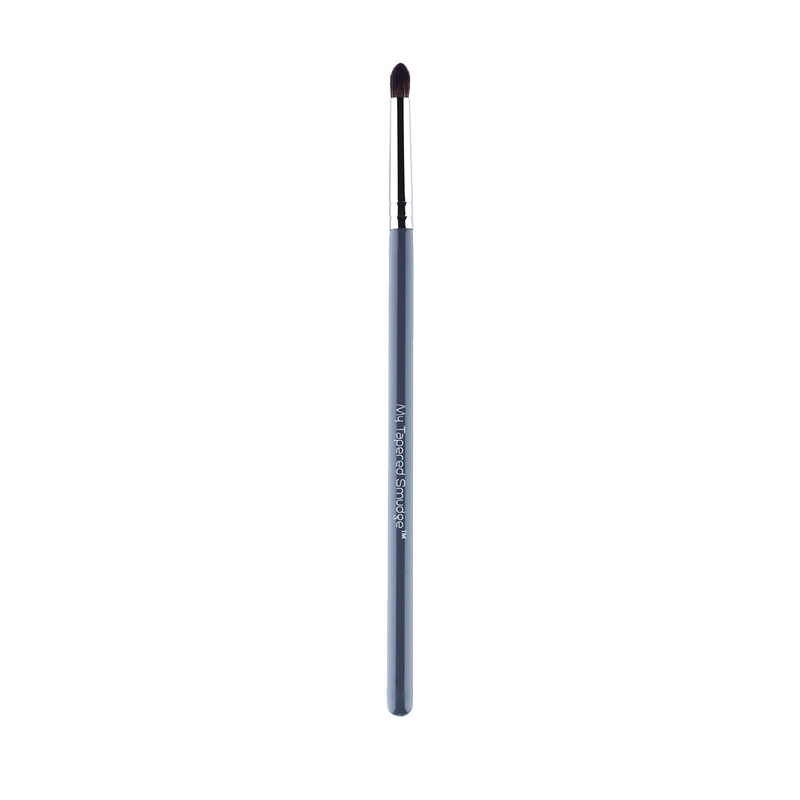
Smudger vs. Fluffy
“The fibres on a smudger brush tend to be short and densely packed, allowing it to smudge any formula, from powder to pencil. The density allows you to build depth of colour, use this brush in a feathering motion to blend out product and create a smudged line. Fluffy brushes are for blending eyeshadow; you’ll notice that softer bristles create a lighter blend which is ideal for powder. For a cream texture, choose a slightly firmer bristle as you’ll need the brush to hold its shape so you can control the product.” – James Molloy, make-up artist & founder of MyKitCo.
THE LINER
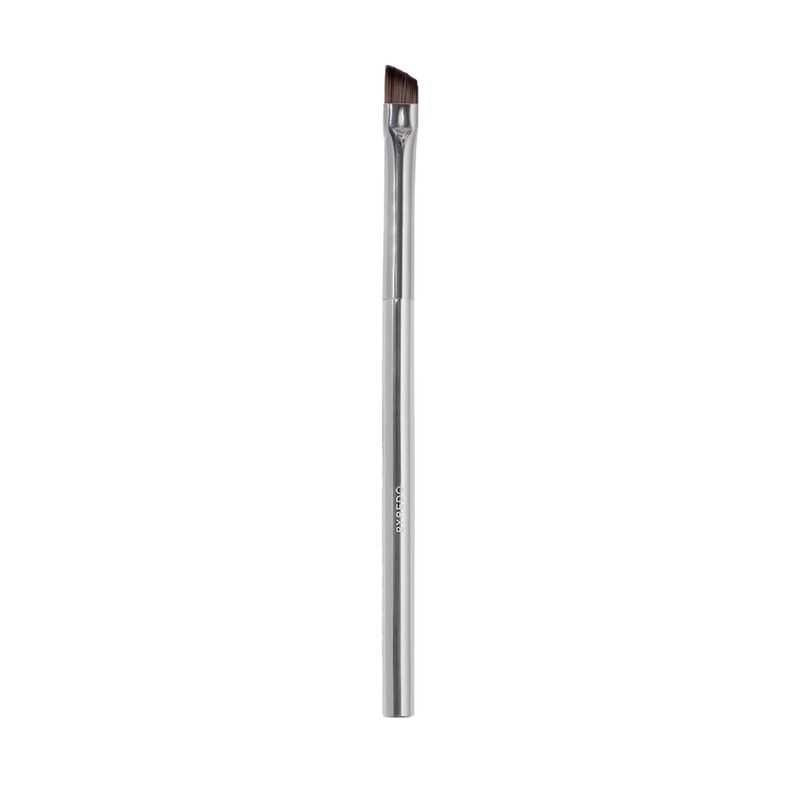
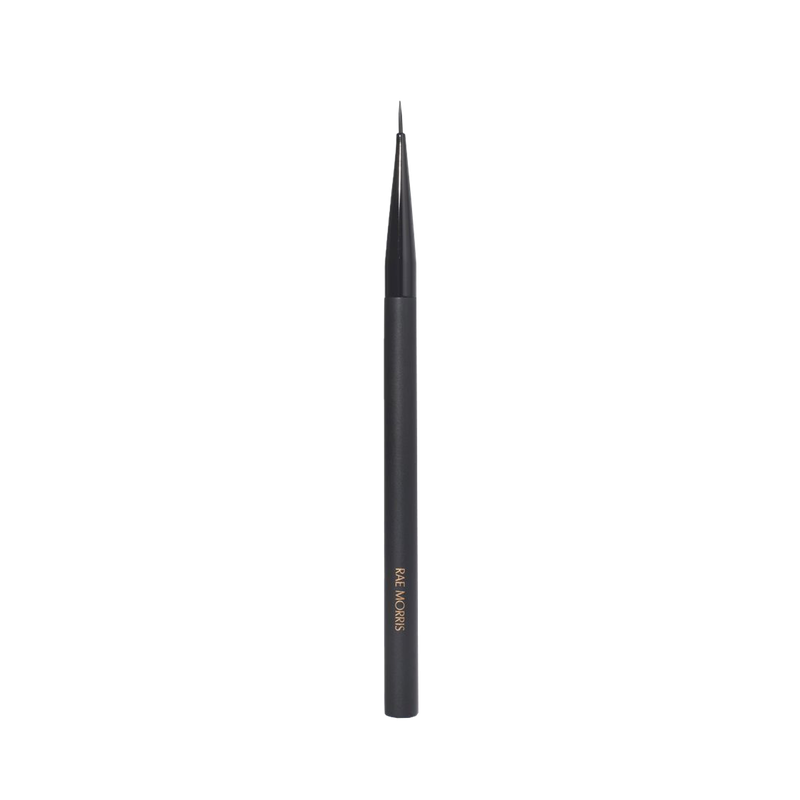
Angled vs. Fine Point
“An angled liner brush lays down product in a definite straight line. This brush is used for applying product in a controlled way – essential for lining both eyes and brows. The tapered shape allows you to create hair-like, fine strokes and it works well with powders, gel and kohl. A fine detailing brush is very precise, and best used with liquids or creams as the small tip gives you control. In general, the bigger the brush, the softer the finish, whereas the smaller the brush, the more it allows for definition.” – James
THE CONTOUR
Flat vs. Angled Cheek
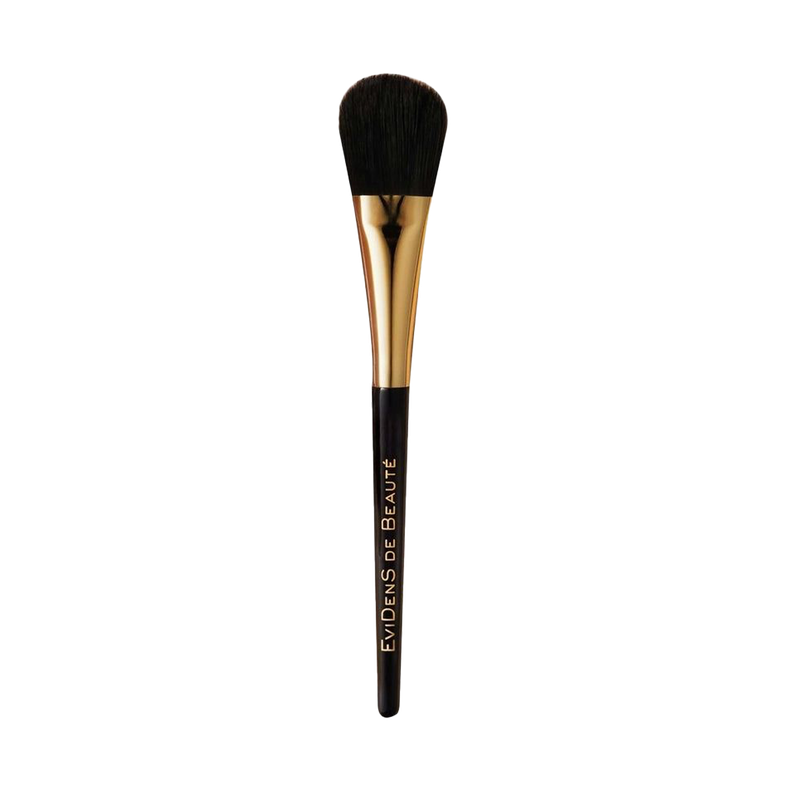
“A flat contour brush is great for adding precise shading on the hollows of the cheeks and around the nose. An angled contour brush hugs the cheeks to sculpt and define the face. This kind of brush works well for targeted application of powder as it gently blends the product for a subtle, sculpted look.” – Jamie
THE BRONZER
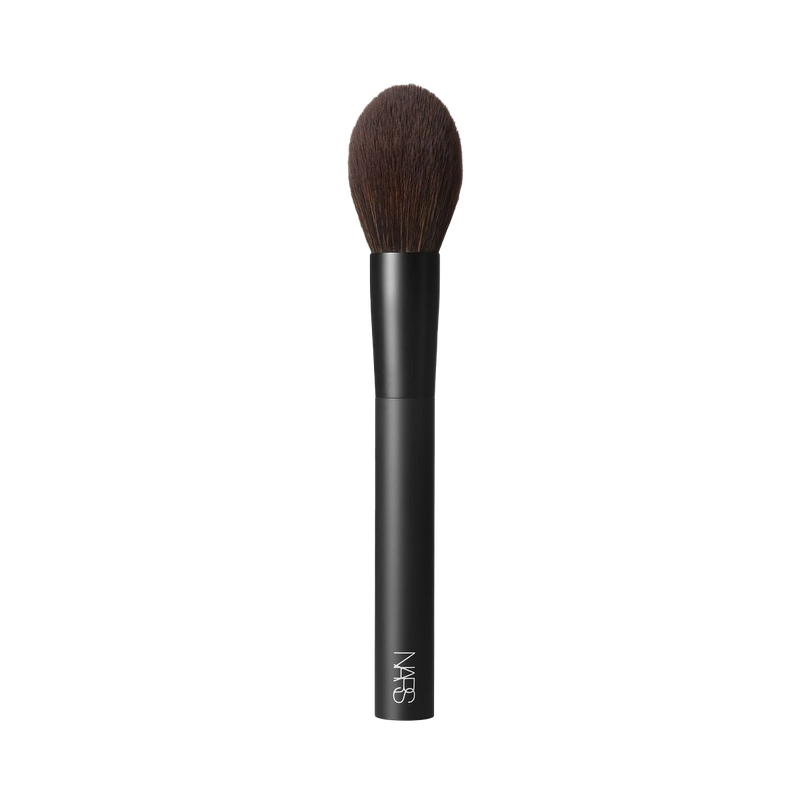
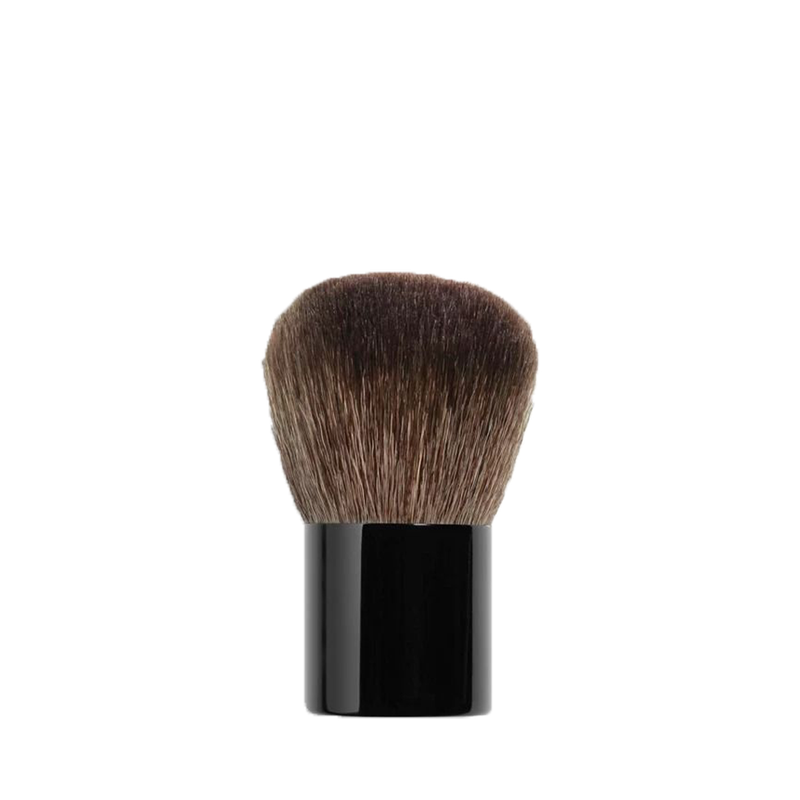
Kabuki vs. Domed Powder
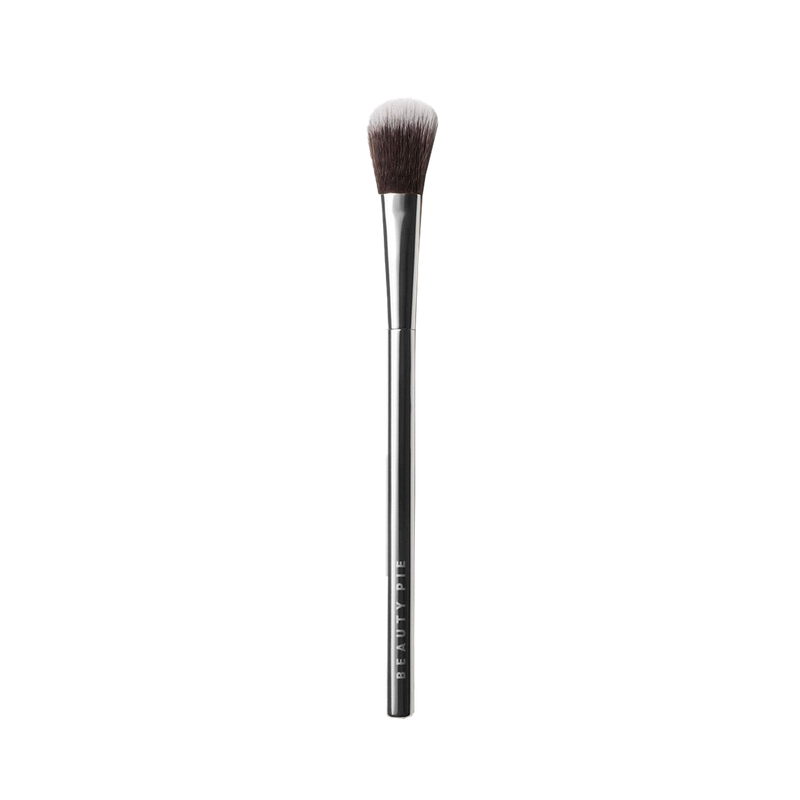
“A kabuki-style brush helps to create even, all-over coverage, especially with powder. The bristles are usually soft yet dense, making this brush ideal for smoothing and blending larger areas of the face. The shape of a domed powder brush allows for even application as the natural graduation in fibre length evenly deposits powder over the skin. It can be used on the temples and cheeks with bronzer, but also on the apples of the cheeks with blush, depending on the brush size.” – James
THE HIGHLIGHT
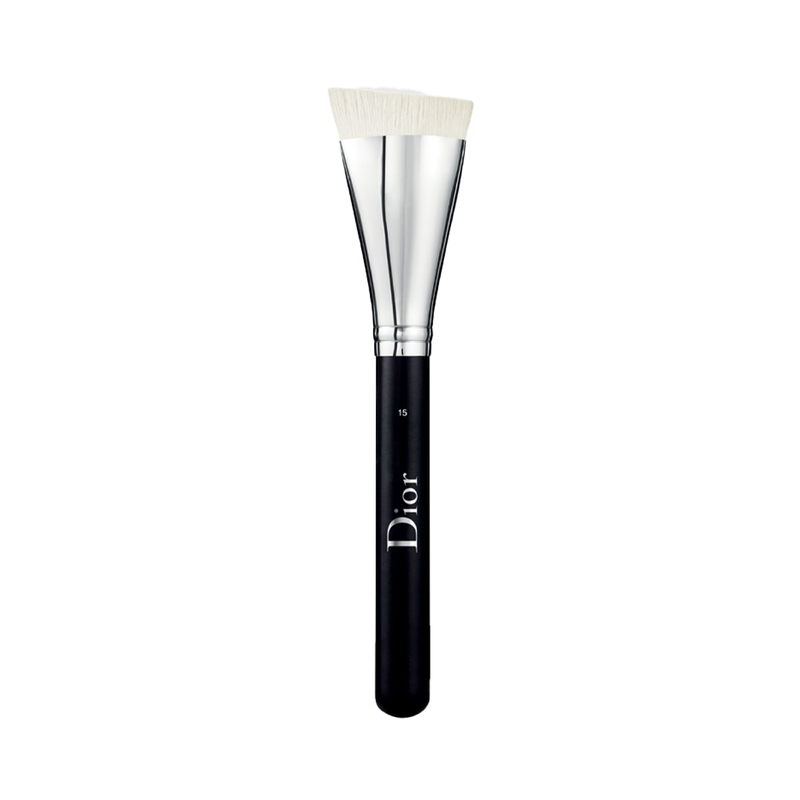
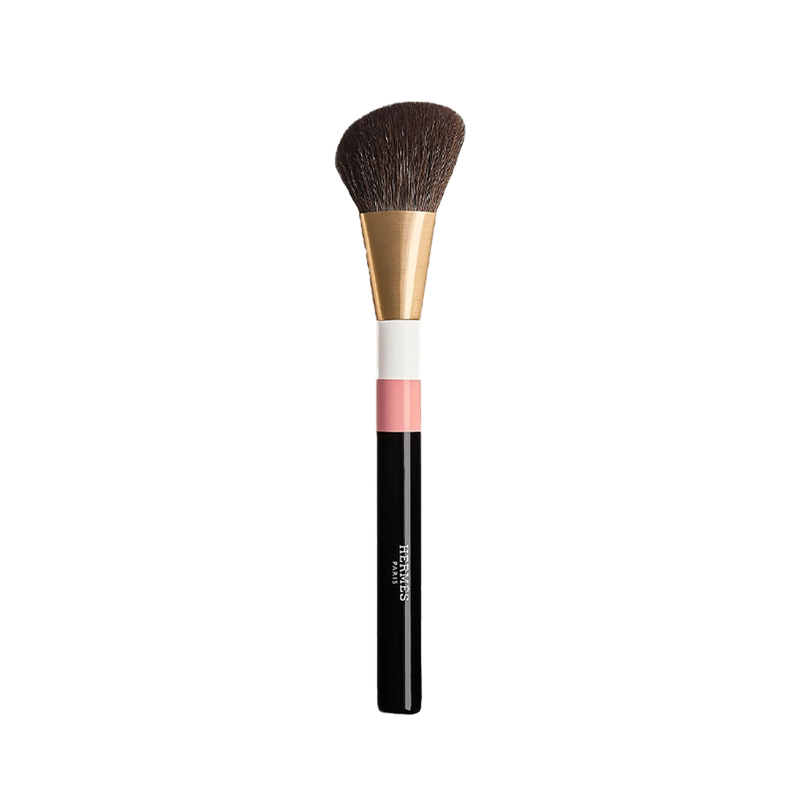
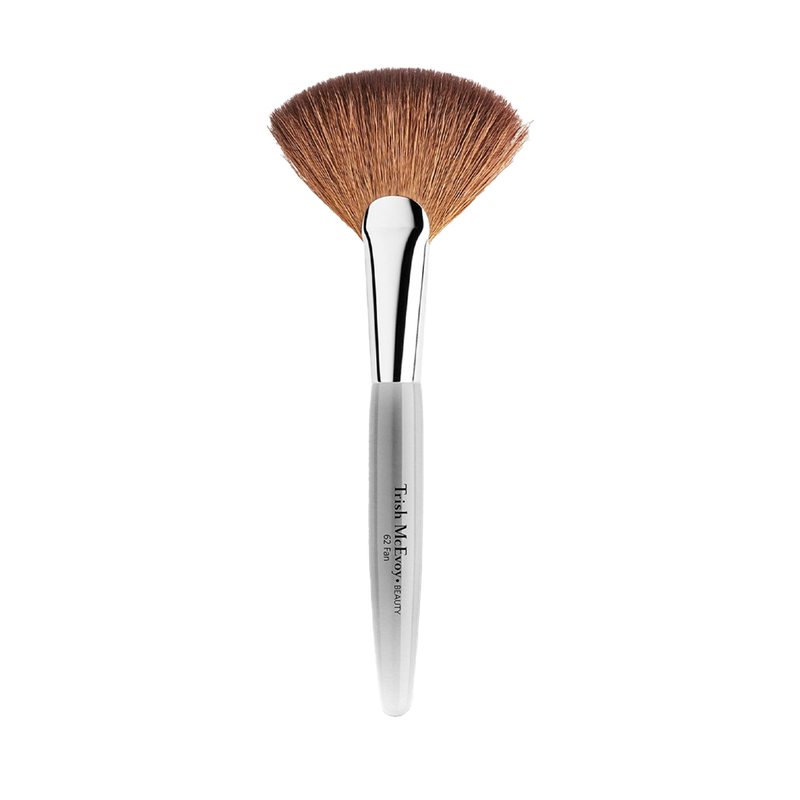
Fan vs. Precision Powder
“A fan brush is used for light application of highlighter and can be used with powder and liquid textures. It can cover a larger area when used on the flat side, creating a softer finish. Or to build the intensity, use the tip of the brush in a side-to-side motion to create a beaming effect. A precision powder brush can add luminosity with a shimmer-infused powder, but it also works well with setting powder if you want to bring down shine in areas like the nose, in between the brows and under the eyes.” – James
Follow @JAMIEGENEVIEVE & @JAMESMOLLOYMAKEUPARTIST on Instagram
DISCLAIMER: We endeavour to always credit the correct original source of every image we use. If you think a credit may be incorrect, please contact us at info@sheerluxe.com.

