6 Popular Make-Up Techniques – Explained By A Pro
Baking
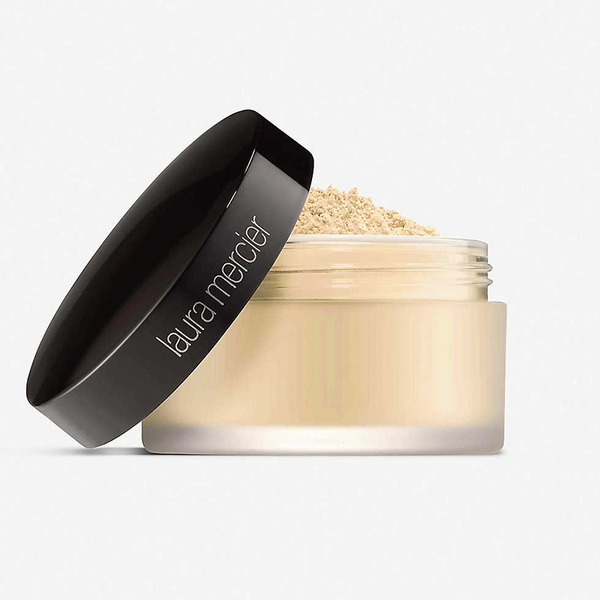
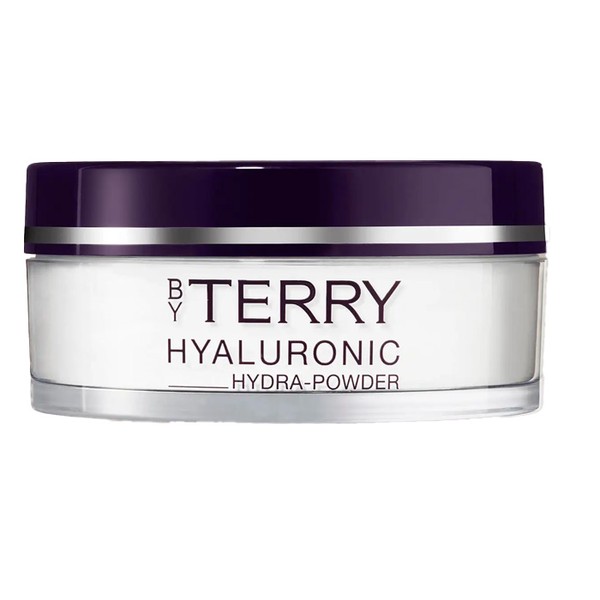
“Baking is a technique used under the eyes, on the forehead, in the creases either side of your mouth – or simply anywhere you feel your foundation or concealer tends to crease. After applying your concealer or foundation, grab a loose translucent or setting powder and apply a reasonable amount to the crease-prone areas. Leave for 5-10 minutes to allow your makeup to ‘bake’. Some of my favourite loose powders to work with for this technique are By Terry Hyaluronic Hydra-Powder and the cult favourite Laura Mercier Translucent Powder. After leaving the powder to bake, dust off the remaining product with a fluffy powder brush and you will be left with a bright flawless, almost airbrushed finish. This technique is especially good for brightening up the under-eye area, and is also great for those with oily skin where the makeup slips and sets into the creases. It can be quite a matte look which some may find a bit heavy ,but give it a try if your make-up falls away quickly.”
Contouring
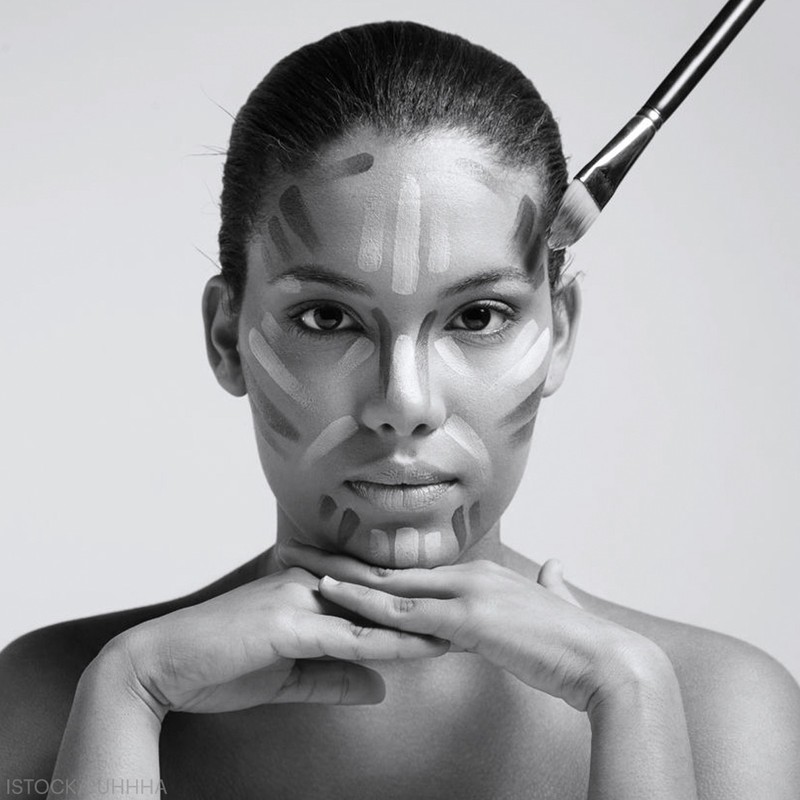
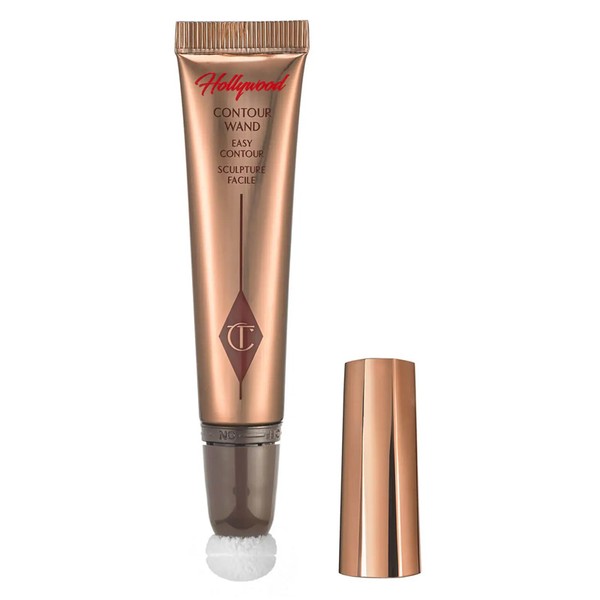
“Contouring shapes the face with a darker tone to create shadow – apply it anywhere you want to chisel and define. If you have a round face, for instance, sharpen up the edges by adding darkness along the cheekbones. Alternatively, if you have a wider nose and would like the illusion of it being slimmer, you can add a shadow to either side to contour. To shape and minimise larger foreheads, add a shadow and blend around the hairline. I love using Charlotte Tilbury’s contouring wands for their cream formulation, which makes them easy to apply over BB cream or foundation and seamlessly blend without cakiness. You want a darker foundation shade for the contour and the trick is to use a product that’s the colour of a shadow (focus on cooler toned browns). Steer clear of warm darker foundations – they will look more like you’ve gone too mad on the bronzer!”
Colour Correcting
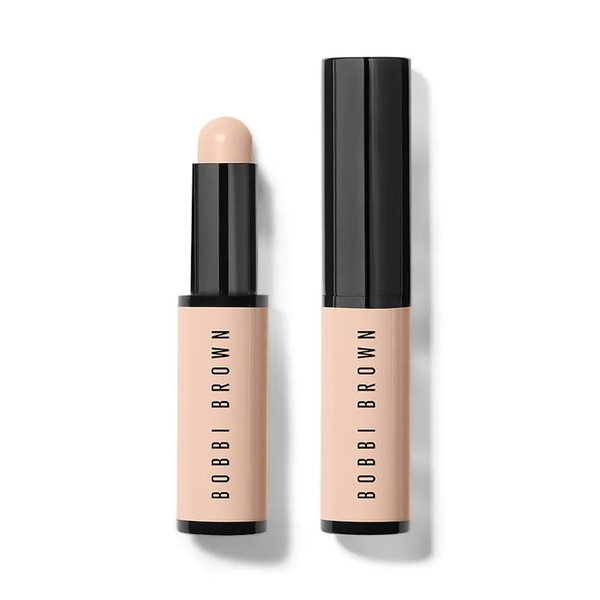
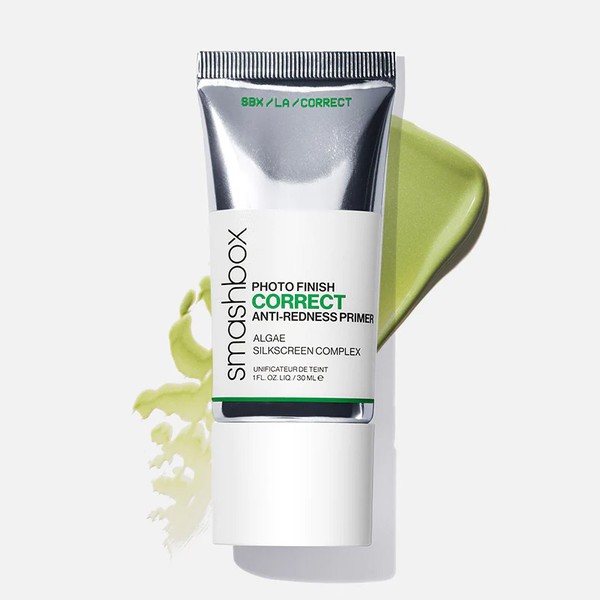
“Make-up artists typically use this technique to neutralise any fiery blemishes or discoloration on the skin, such as dark circles and pigmentation. For best results, apply any corrector under your normal base make-up so it can be covered seamlessly. Green is great for those who suffer from rosacea or have red acne scarring and breakouts – I love to use the Smashbox Photo Finish Correct primer. Pink is best used on the paler skin normally under the eyes to counteract dark blueish circles – I use a Bobbi Brown Corrector to do the job here. I also use Bobbi Brown in the yellow shade to cover bruises, broken purple veins and under the eyes. For darker skin tones to cover darker patches and darkness under the eyes, I would opt for an orange colour corrector – I use Chanel’s. Finally, purple is best used all over as a primer for skin with yellow undertones. This will help with brightening – I would recommend Smashbox for this.”
Tightlining
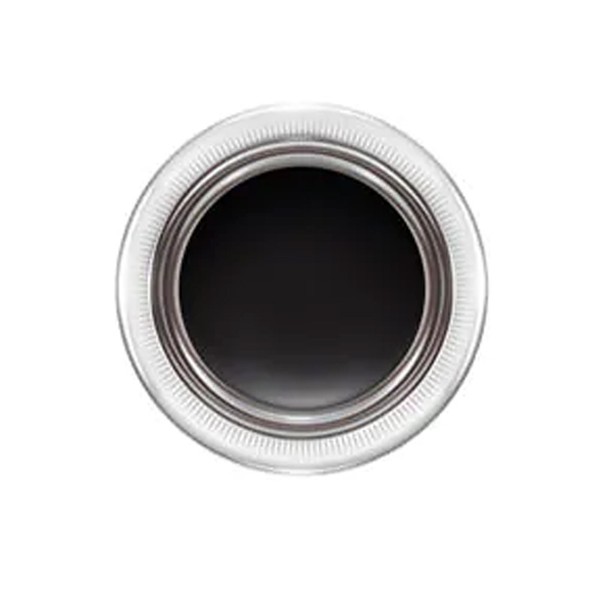
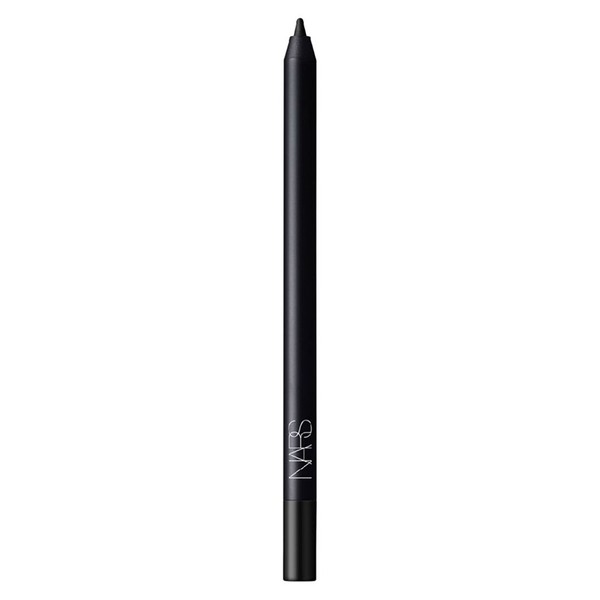
“This technique applies eyeliner to the upper inner lash line. Make-up artists use it to deepen the lash line to give the illusion of fuller lashes or a smokey effect without having to use too much shadow on the lid. It’s great for those who want a darker eye but have a smaller eyelid to work with. I recommend doing it with a soft kohl pencil or a cream. I like Nars eyeliners as they smudge less, or alternatively Mac’s Cream Liner pots. It may feel a bit uncomfortable at first, but if you look down and slightly pull your eyelid up and work the product along the lash line, you will be able to apply with ease. Try to let it dry a bit before blinking as it can transfer to the lower waterline and that may feel a bit dark.”
Strobing
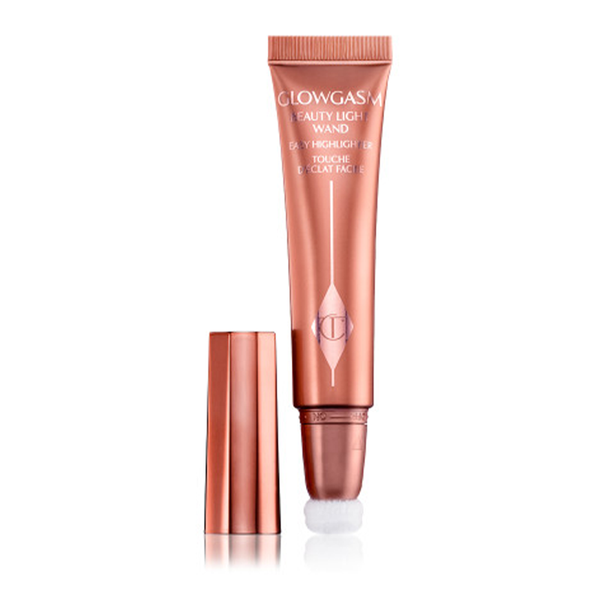
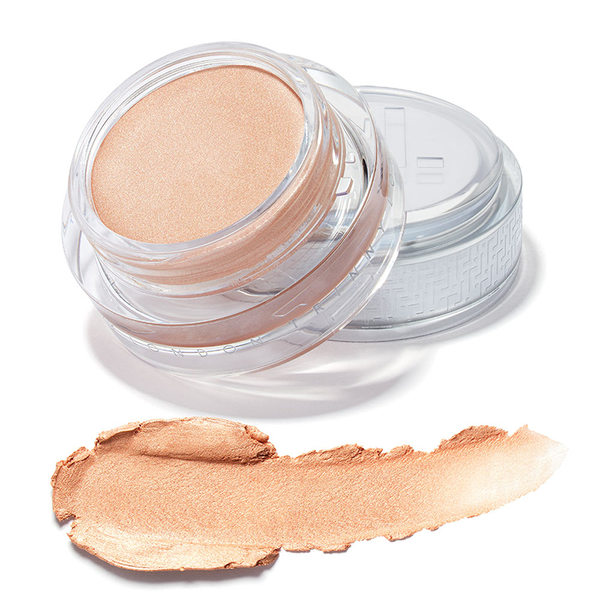
“Strobing is the technique of applying an illuminator or highlighter to areas where light would normally hit, giving you an extra glassy glow in all the right places. The best places to apply product would be the top of the cheekbones to lift and brighten up the face. The centre of the nose is also a great place to strobe, slimming down the nose to make the high points pop. Focusing some product on the inner and outer corners of the eyes, this widens and lifts the eyes, and again aids in brightening. Finally, the Cupid’s bow on the top-most part of your lips helps give a bit of a pout. In terms of product, I love Trinny London’s Candlelight shade, and Charlotte Tilbury shimmer sticks as they have soft and silky formulations to create a natural, dewy finish that just melts into the skin. This method can be used as the final step of make-up or onto bare skin, for example on holidays to add some extra glow.”
Stippling
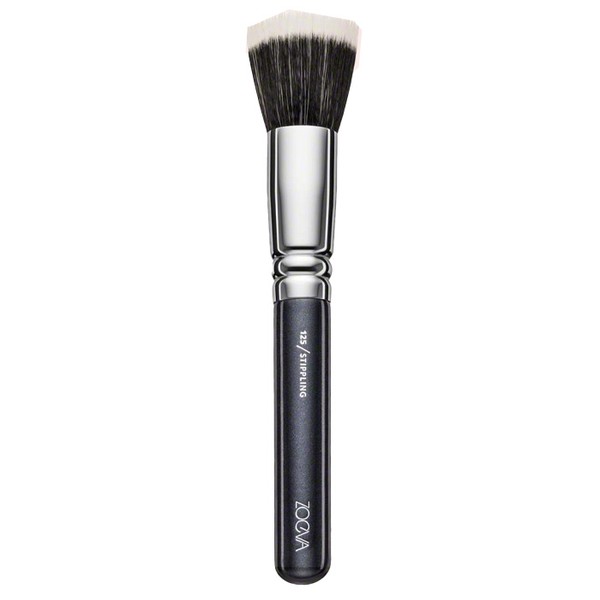
“A stippling brush is a face brush that’s more dense in texture at the bottom, with some fluffy soft bristles towards the top. These work perfectly for picking up your desired foundation and brushing over the face super lightly to give foundation a more natural, lightweight look. For a more flawless airbrushed finish, flatly push the foundation into the skin. For this, I love to reach for my Zoeva or LGFB brushes.
DISCLAIMER: We endeavour to always credit the correct original source of every image we use. If you think a credit may be incorrect, please contact us at info@sheerluxe.com.
