A Make-Up Artist On Her Essential Beauty Tools & Gadgets
For Skin Prep & Day-To-Day Rituals…
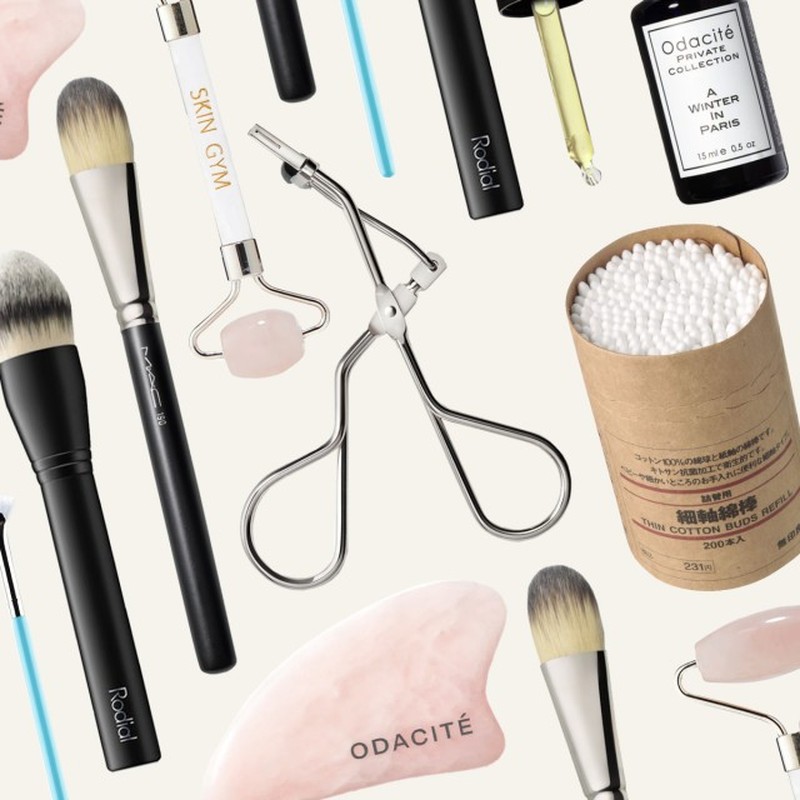
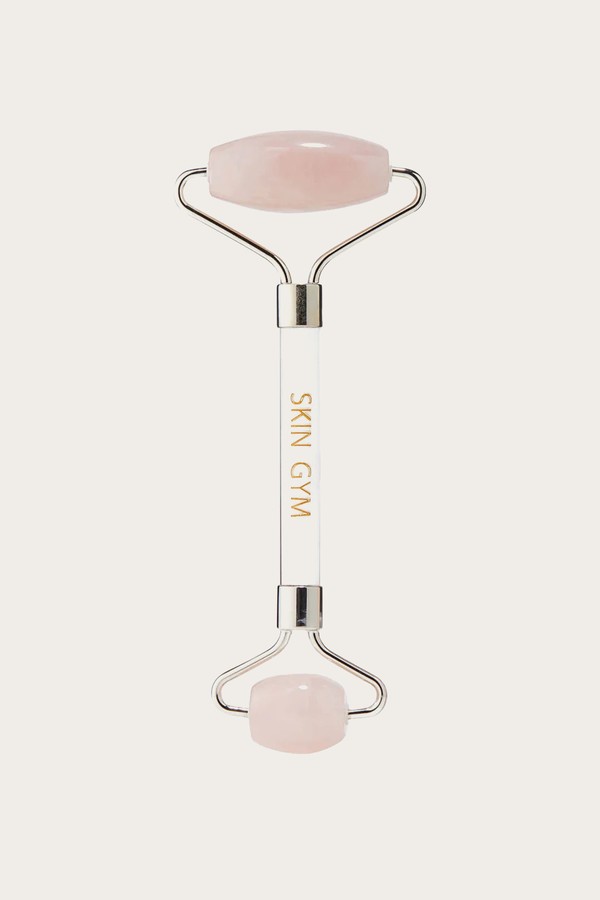
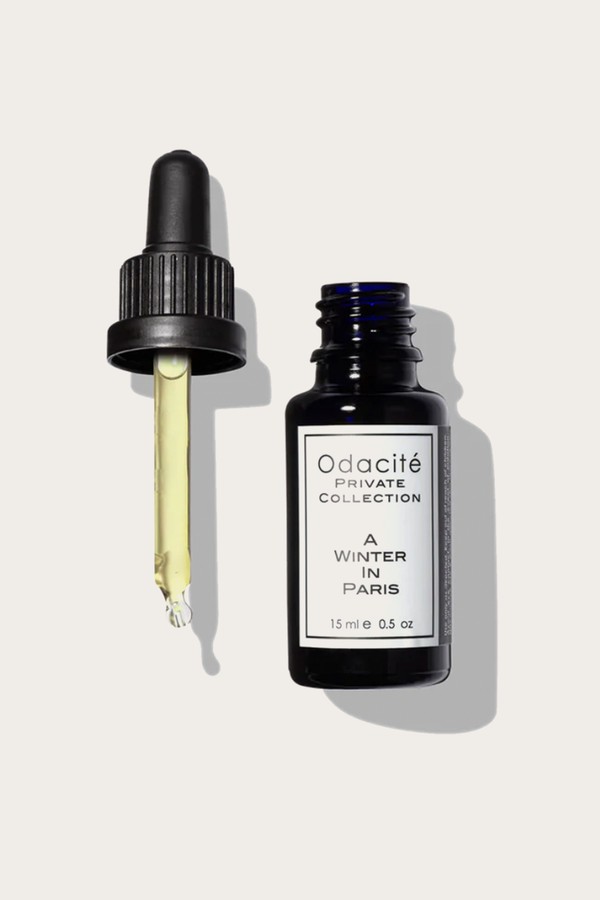
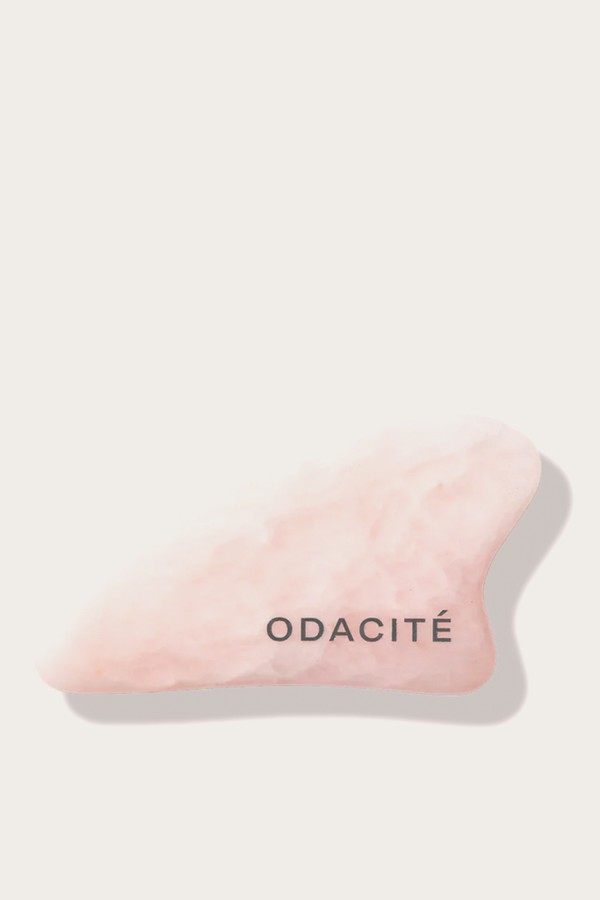
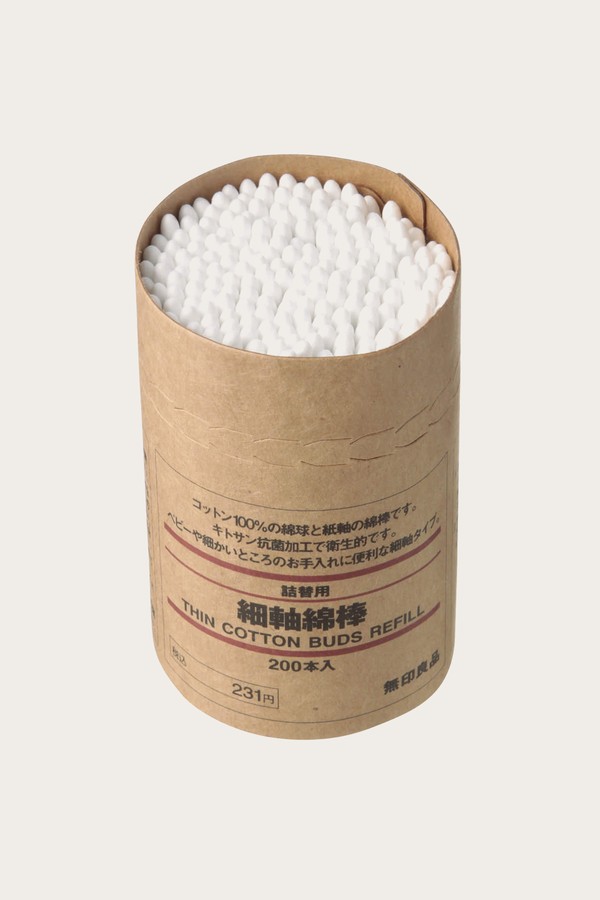
During lockdown I was introduced to a brand called Odacité – an LA-based French-founded beauty brand. It makes amazing facial oils and its Crystal Contour Gua Sha Tool has become a staple in my routine. When it comes to my clients, I always make sure to take a little time pre-make-up for facial massage. If I have time, I’ll use a gua sha too. It makes a huge difference to make-up as I find it tends to sit better on the skin afterwards. I’ve also recently started using some crystal rollers to massage my skin – especially under my eyes to relieve puffiness. They also make a great gift. Finally, the Muji Cotton Buds are always in my personal and professional kit. They’re super thin and are so handy for correcting mistakes and tidying up things like eyeliner or stray mascara.
For Foundation…
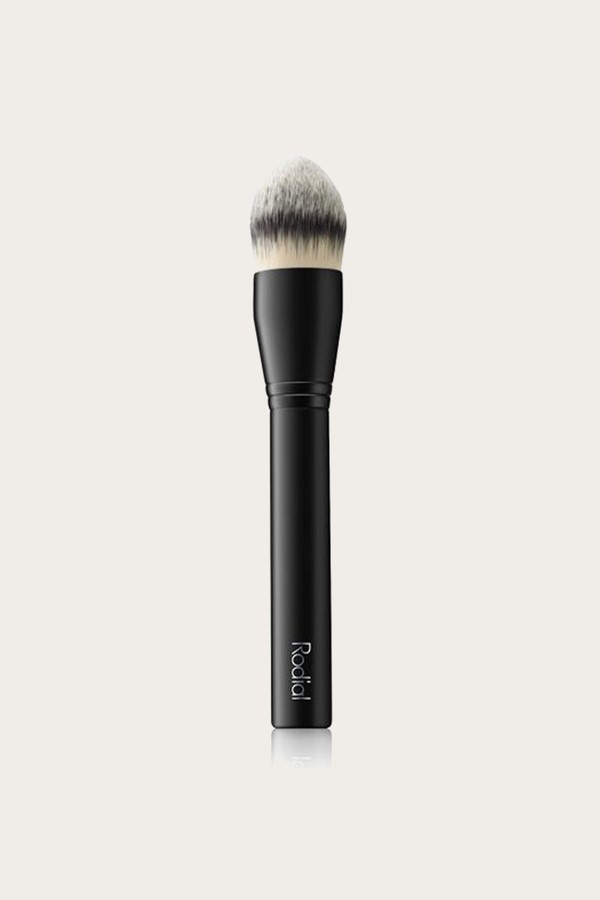
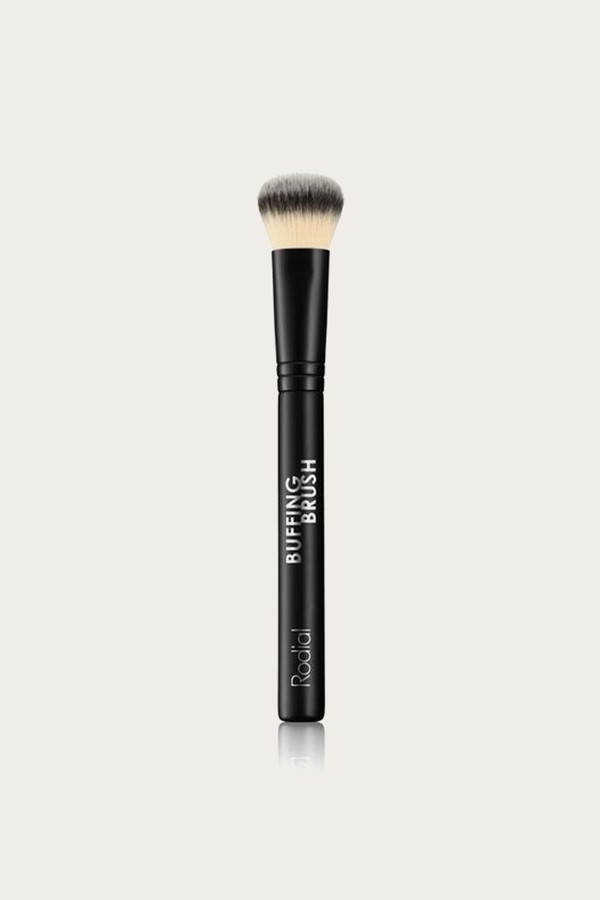
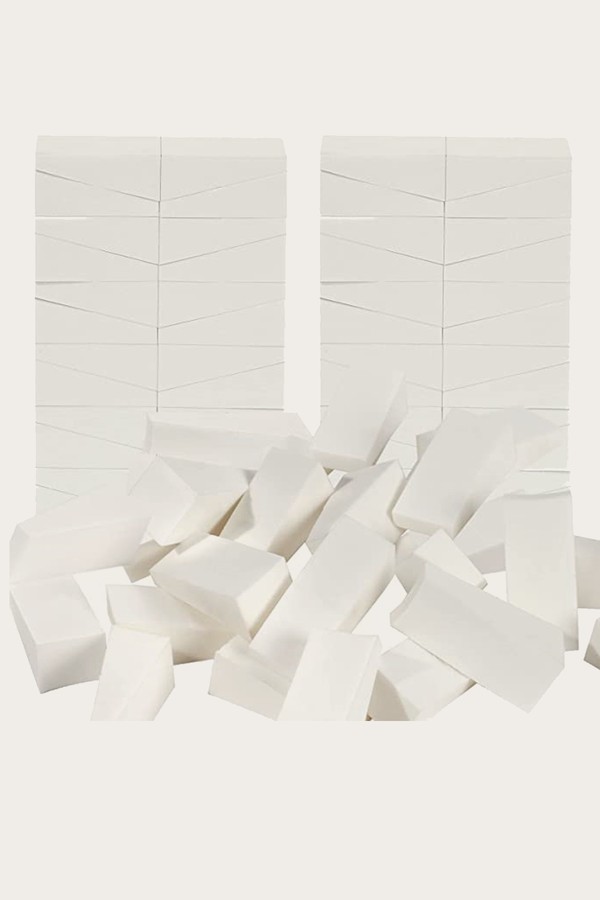
When it comes to liquid and cream foundation, a buffing brush is essential. Quality is the most important thing to me – especially when I have to wash a brush every time I use it on a client. Rodial’s brushes are my favourite. I use a two-step routine which starts with a Buffing Brush to apply the product and then I use the Airbrush Foundation Brush to blend it out for that seamless finish. For more troublesome or textured skin that requires more product, or to improve longevity – like many of my celebrity clients would need on a red carpet – I go in with the same steps as before, plus a sponge for a more airbrushed finish. Interestingly, my favourite sponges are from Amazon. They’re not fancy or branded, but they work really well.
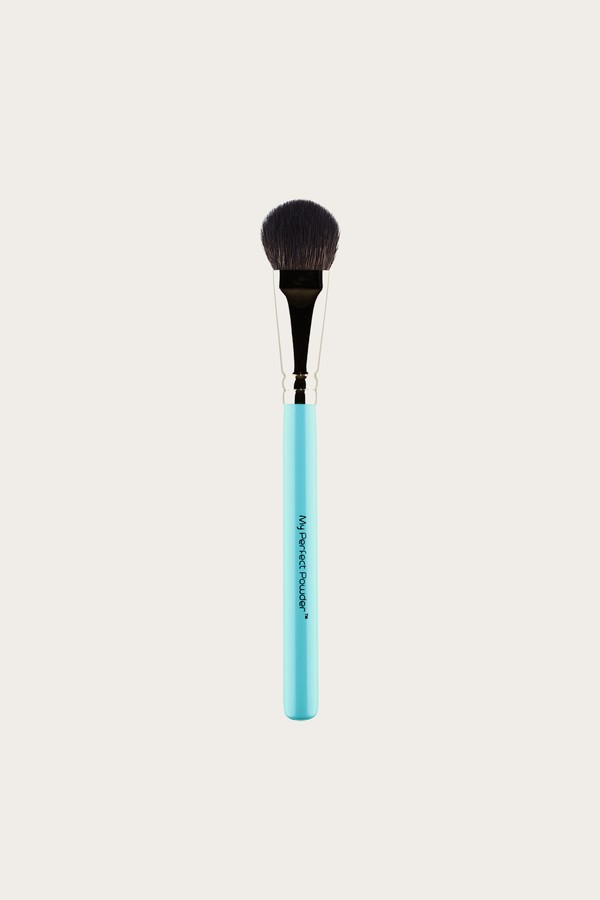
To set the face and apply powder, the My Perfect Powder brush from MyKitCo is a winner. A lot of people use a sponge here, but I’m not a fan. I don’t feel like you can properly control powder well with a sponge, so this brush is a much better choice.
For Eyes & Brows…
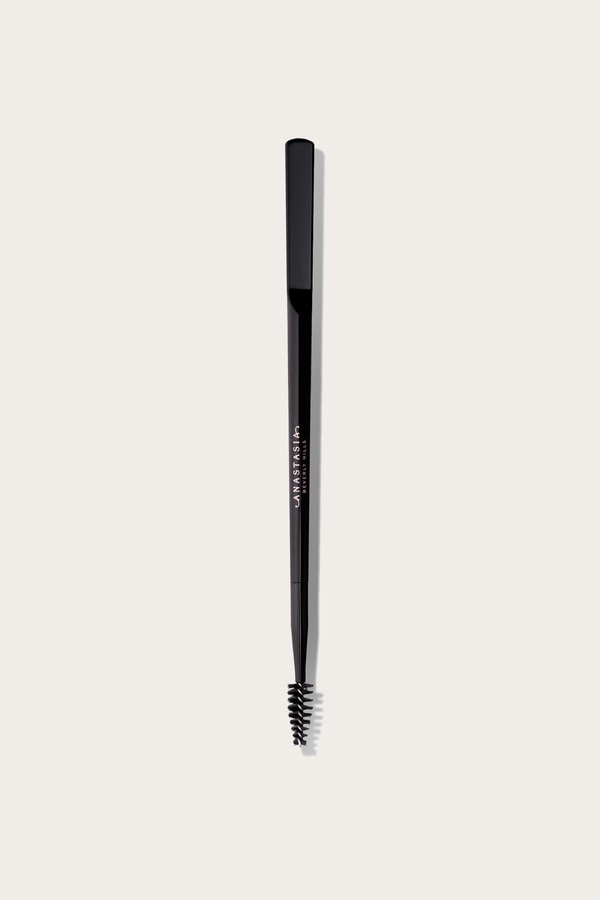
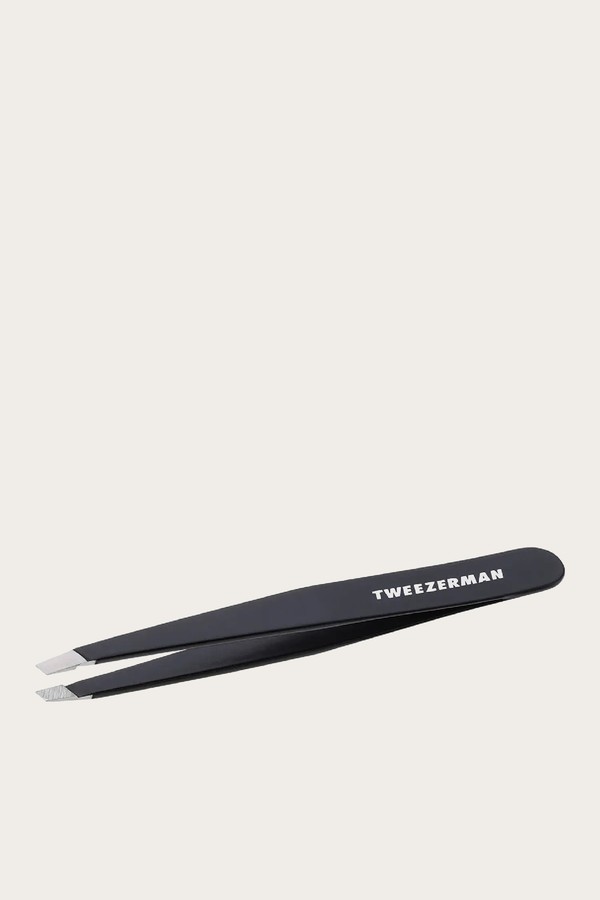
The cult Anastasia Beverly Brow Freeze is always in my kit, but lesser known is the brow tool you can use with it. It’s two-sided – one side has a spoolie and the other is a spatula – and I love a good multipurpose tool. Less is more with the wax, so this is perfect for making sure the product is well dispersed. Tweezerman tweezers are another trusty product for everything from applying fake eyelashes to removing stray hairs, or even adding face gems.
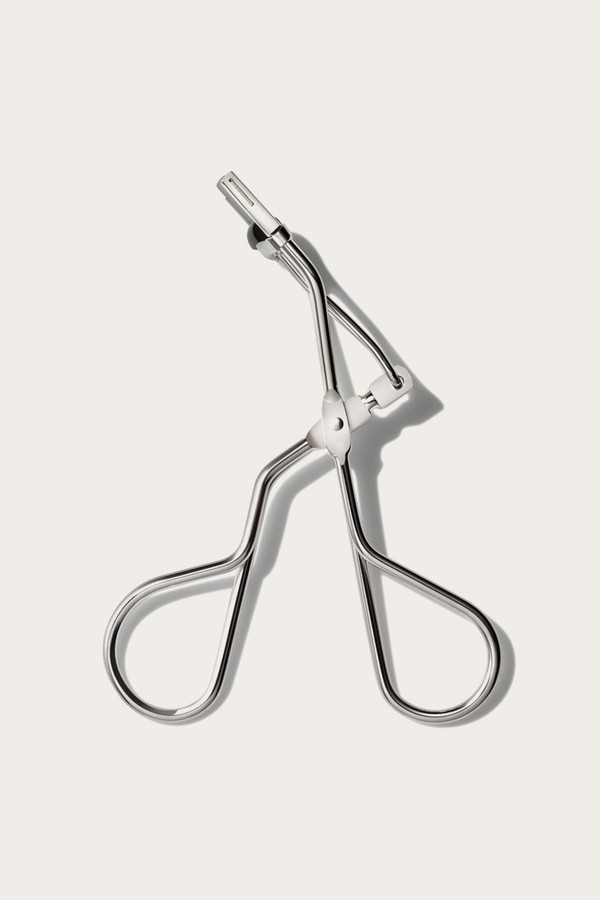
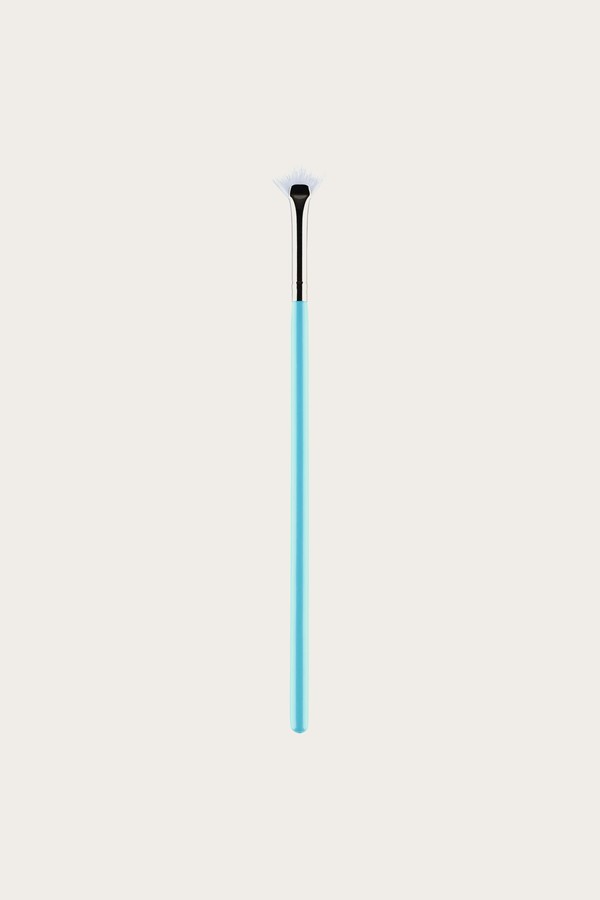
For eyeshadow brushes, nothing beats MyKitCo. The variety of tools on offer is incredible, but my favourite from the brand is the Mascara Brush. It’s not your regular lash-wand style but instead is shaped like a fan, making it the best thing you can use to remove clumps. Another lash-related hero of mine is the M·A·C Half-Lash Curler. It’s much smaller than your average lash curler, so it lets you focus on small sections to really control the shape of the lashes. For example, you can concentrate on the outermost lashes only for a fluttery look and you can tackle each section to make sure every lash is curled.
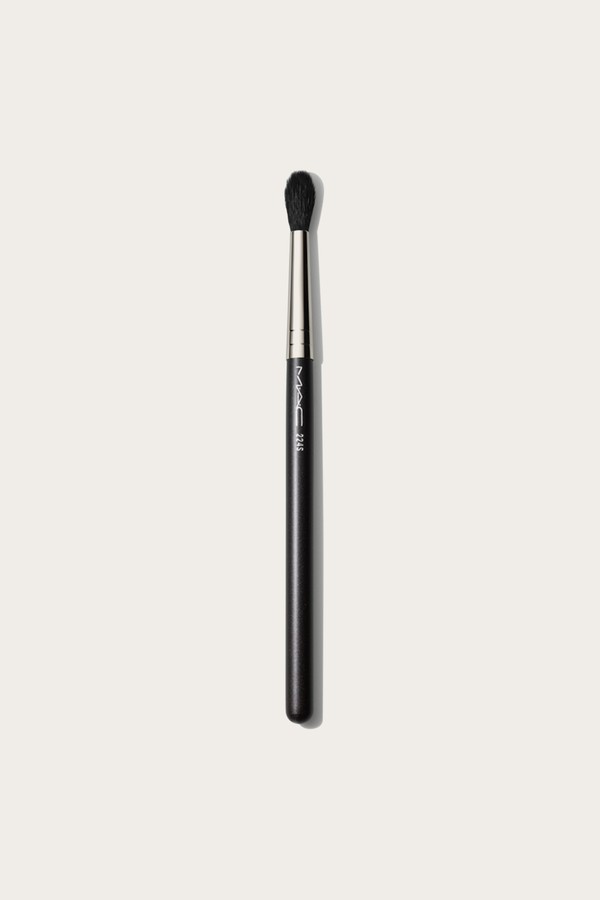
For eyeshadow, I use the same brand’s Blending Shadow Brush – it’s incredibly multi-purpose. I use it to create sharp edges, cut creases and to pick up powder. To pack on the pigment, the Mini Shade & Shadow brush works best. It allows you to really control the product since it’s so small and compact, and ensures as little fallout as possible. For eyeliner, I always buy my brushes from Art Stores. Not only are they cheaper, they’re also high quality and you can find ultra-fine sizes that make applying eyeliner so much easier.
For Lips…
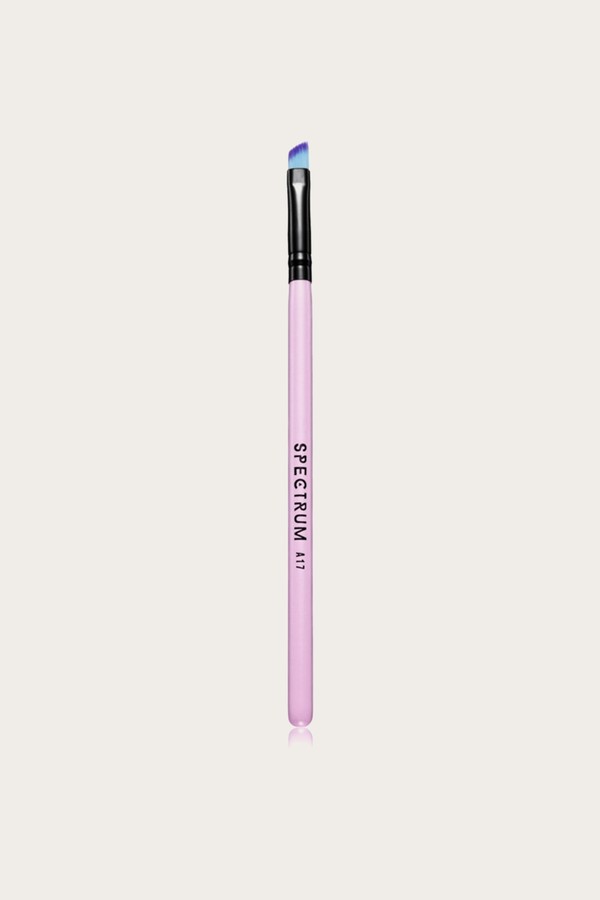
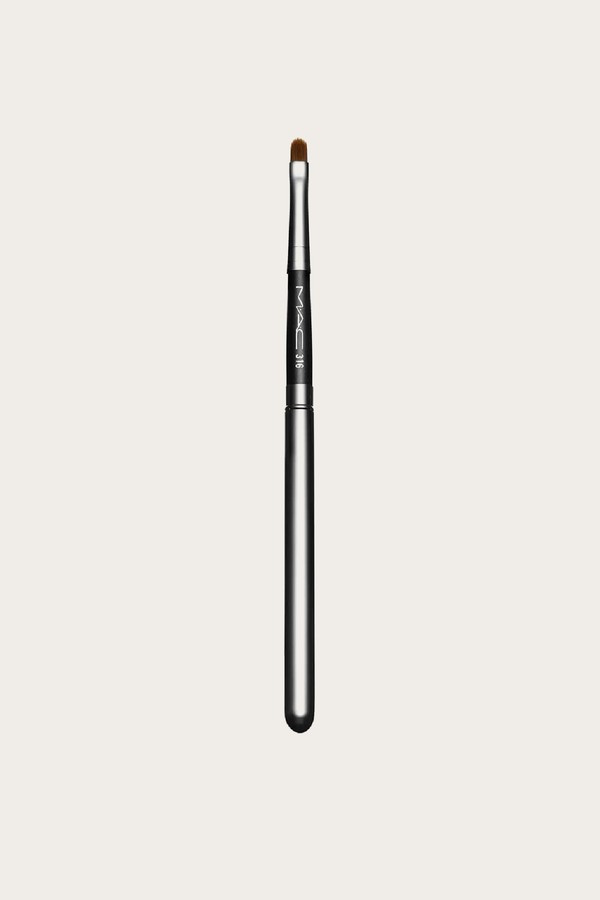
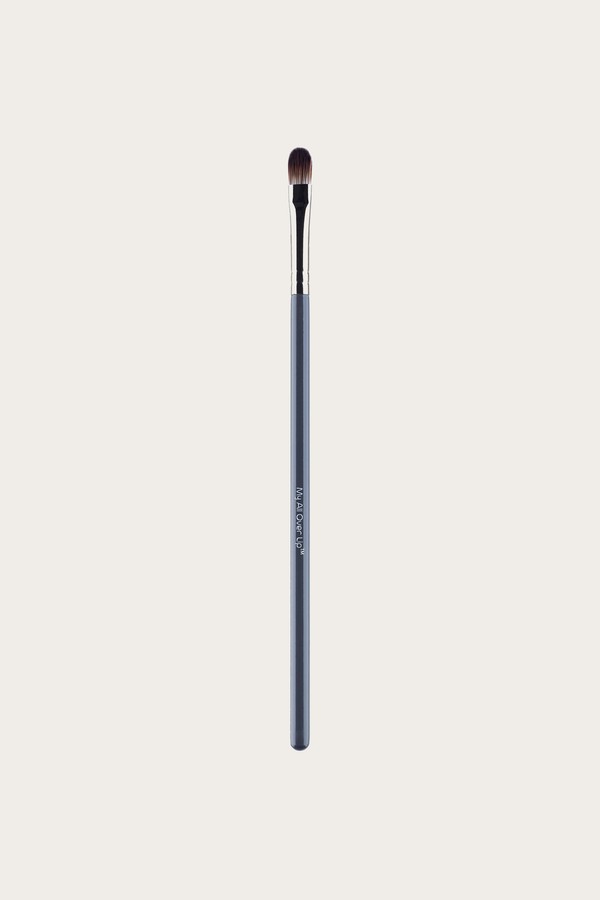
To apply lipstick, I use a flat brush from MyKitCo. It’s great for achieving even application of colour. The secret, however, is to go in with an angled brush to neaten things up. I love the Spectrum Collection Angled Brush and use it with some concealer to make the edges as clean as possible. I typically then use a Fluffy Shadow Brush with a bit of translucent powder to set the actual lipstick. It’s the best way to make sure it doesn’t budge.
For Blush, Bronzer & Highlighter…
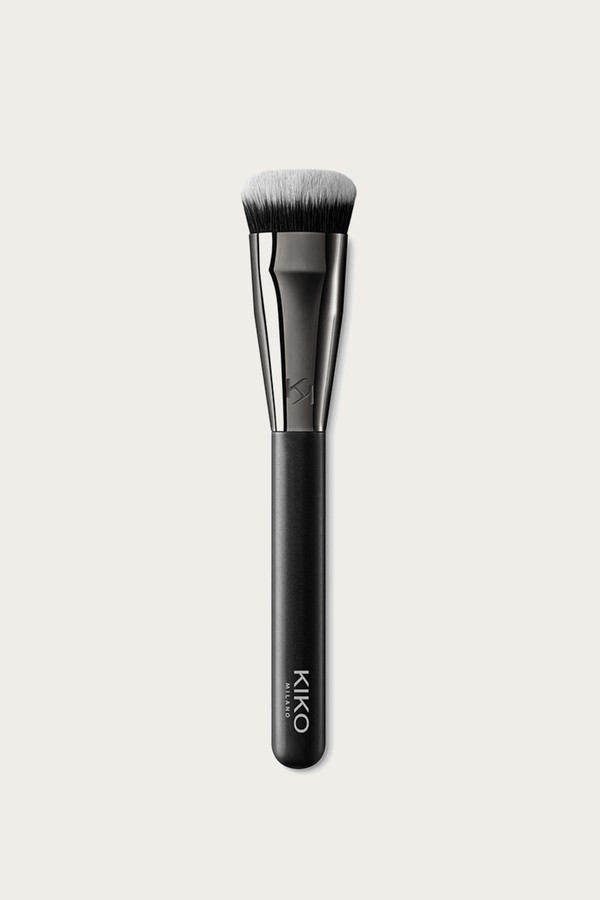
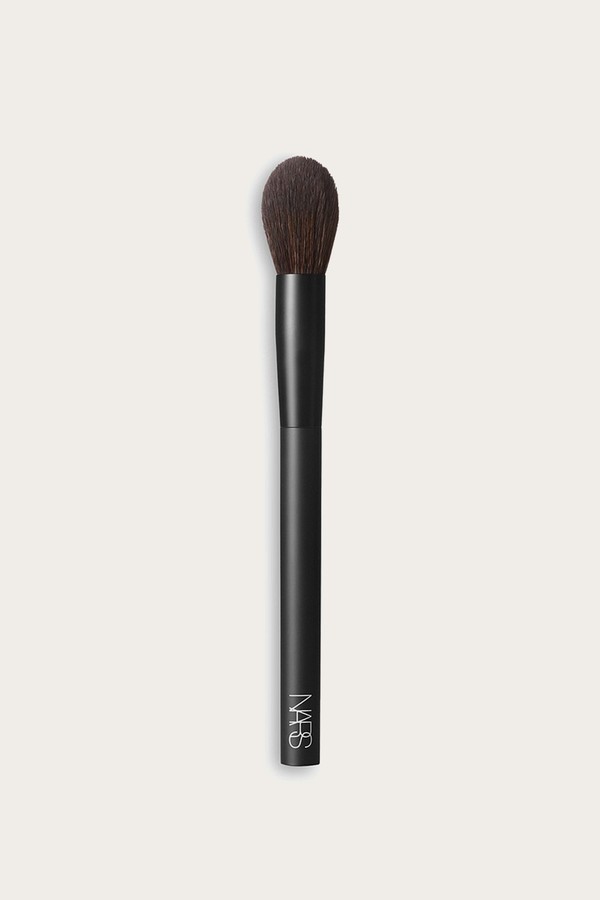
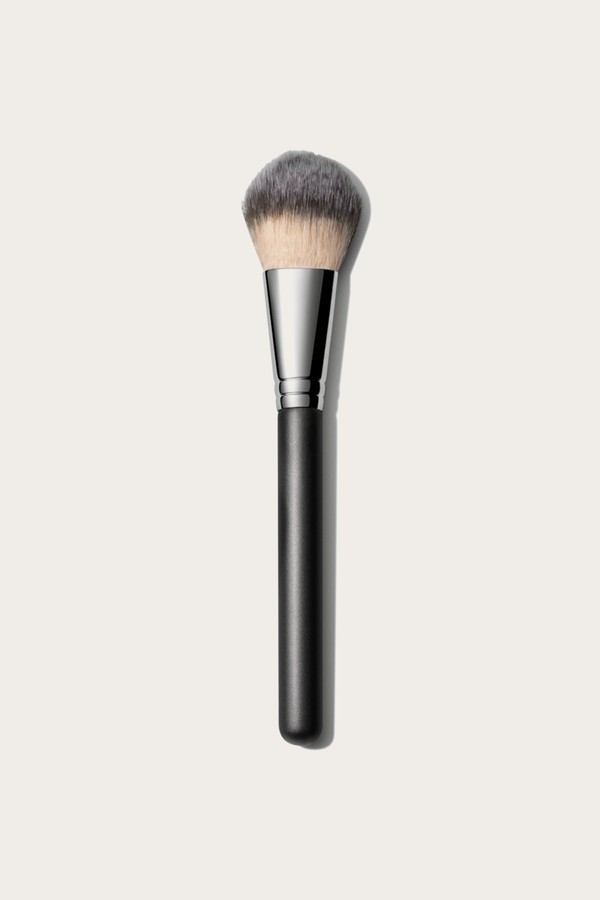
When it comes to powder blusher, I use a dual-sided brush from M·A·C. One side is for picking up the product and applying it, while the other is for blending and diffusing the colour. For bronzer, I like a Kiko Contour Brush. It’s ideal for applying cream textured products and contour. Synthetic brushes always work best for liquid and cream products. After this is blended, I use the NARS Powder Presion Brush to set and define. Contouring the nose isn’t for everyone but to get it right, the NARS Plush Eyeliner Brush allows for detailed application. Just like cheek contour, I go in with the same fluffy eyeshadow brush to blend things in.
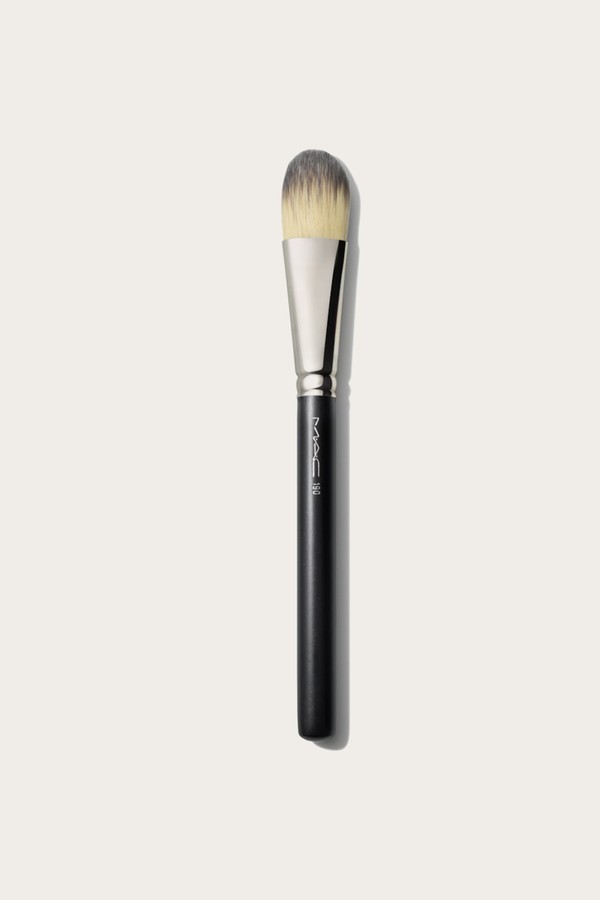
I’m not a fan of the typical highlighter ‘fan’ brushes as they disperse the product a bit too much for my liking. I prefer to use a small fluffy brush to concentrate on specific areas – MyKitCo does a great one. It’s small, but slightly bigger than an eyeshadow brush. If I use a liquid highlight however, I’ll instead use a flat foundation brush.
Follow @ChykaPuka on Instagram.
DISCLAIMER: We endeavour to always credit the correct original source of every image we use. If you think a credit may be incorrect, please contact us at info@sheerluxe.com.
