Gua Sha: What It Is & How To Use It
Understand The Benefits
“Literally, gua sha means ‘to scrape away fever’, so think of it as a tool that brings inflammation to the skin’s surface so the pain or illness can be dispelled. It’s not as simple as using a jade roller – the technique is more specific so you can improve blood flow and make sure your complexion receives adequate nutrients. Overworking on a particular area will bring fresh blood carrying oxygen and nutrients to the tissue that might have previously been deprived. The blood then carries away any build-up of toxins, like lactic acid, which in turn restores radiance and glow. It’s also been known to reduce headaches and jaw pain when done correctly.” – Su-Man, celebrity facialist
Practise Your Technique
“When you use your gua sha, work on the fascia. This is the sheet of connective tissue (primarily made up of collagen) beneath the skin that attaches, stabilises and separates the muscles. Take it over your key pressure points to release tension and tightness. Take it in long, circular strokes, from the inner to the outer areas of your face in upward motions. The only exception is your neck. When using your tool here, activate the skin by stroking in downwards movements to avoid creating flaccid skin.” – Su-Man
“Always open your lymphatic system first, then work from the centre of your facial contours outwards towards your hairline. Gua sha is designed to drain unwanted toxins from the face to the lymph drainage nodes, so use long sweeping motions with a firm hold, but light pressure. Each movement should finish on the outer side of the neck, behind the ear and around the clavicle bone. This process can be repeated daily for best results, either in the morning or evening.” – Michaella Bolder, skincare & tanning expert
Cool It Down
“If de-puffing is your goal, ensure your gua sha tool is as cold as possible before you use it. Store it in the fridge in a clean food bag for hygiene. Morning is the best time to use it cold as, first thing, our skin can be plagued with all sorts of inflammation. Start by doing a quick cleanse, using vigorous massage movements as you go to wake up the facial muscles and stimulate blood flow. Try using your gua sha with a skincare product that has enough slip to it – this can be a cleanser, moisturiser or facial oil, but not a serum as they tend absorb too quickly. Keep it angled slightly as you move it around your skin so the tool is almost lying flat on the face. This technique, combined with the coolness, will take down any unwanted inflammation.” – Michaella
Find The Right Tool
“To reap the best results, you need to invest in the right kind of tool. Pay attention to its smoothness and shape – this is what counts. Ignore the hype around other benefits and claims – it’s pure marketing. For instance, the type of crystal it’s made from doesn’t matter. You want one that has a thick, smooth texture for great results – this style is easier for beginners to use, too.” – Su-Man
Repeat, Repeat, Repeat
“People are often afraid of causing damage to the skin’s tissue. To get it right, you need to take an approach known as a ‘working hand and a holding hand’. Don’t be afraid to repeat the movements in upward strokes – especially around the eyes and cheeks – towards the lymphatic glands, to stimulate circulation and drainage.” – Su-Man
Use It Often
“The gua sha technique works best when it’s done properly and consistently over time. You won’t see results overnight, but in the long run you’ll notice the appearance of fine lines and wrinkles improves, and you’ll be able to see more definition in the contours of your face. Furthermore, scraping will help eliminate the toxins from your body, thus encouraging faster healing of the skin.” – Su-Man
Here, Michaella Shares Her Step-By-Step Gua Sha Routine…
Using the long, curved side of the gua sha tool, start with a slow and gentle gliding motion from behind the ears, down the side of the neck, finishing down into the clavicle bone at the base of the neck. Repeat this eight times on both sides.
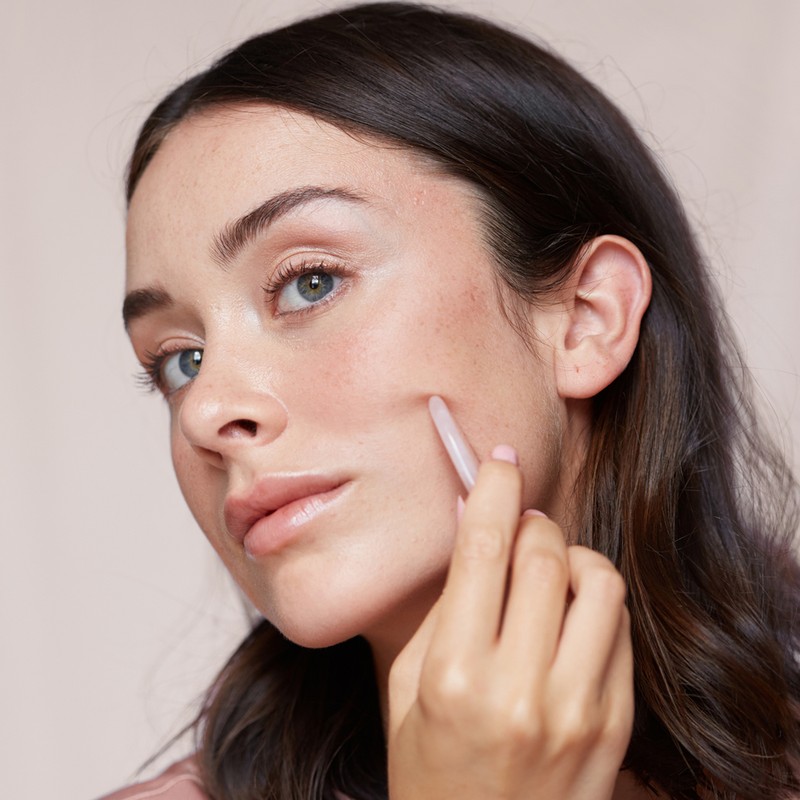
Supporting the face with one hand, use the smaller curve and balance the tool on the centre of the chin before gliding it along the jaw to the ears.
With the tool nearly leaning flat on the upper lip, move it outwards underneath the cheek bone towards the ear, applying pressure as you go.
Again, with the tool leaning slightly flat, smooth the gua sha over the cheek bone, underneath the eyes and out towards the temple. Then, without removing the tool, sweep it down to behind the ear and down the side of the neck.
Using the long curve now, begin working upwards from the top of the eyebrow to the hairline (working from the centre outwards).
Next, turn the gua sha tool and sweep it outwards to the temple again from the centre of the forehead (rather than up and down, or side to side).
Finish by bringing the gua sha all the way down the face to drain away any toxins and fluid. Repeat each movement 8-10 times.
For more techniques & top skincare tips, follow @SuManSkincare & @MichaellaBolder on Instagram. And visit their websites: Msha.ke/MichaellaBolder & Su-Man.com.
/https%3A%2F%2Fsheerluxe.com%2Fsites%2Fsheerluxe%2Ffiles%2Fwebsite-images%2F2025%2F03%2Fsign-up-pop-up.jpg)
