Easy Tips & Recipes To Make Great Sourdough At Home
Clare Marriage, Doves Farm
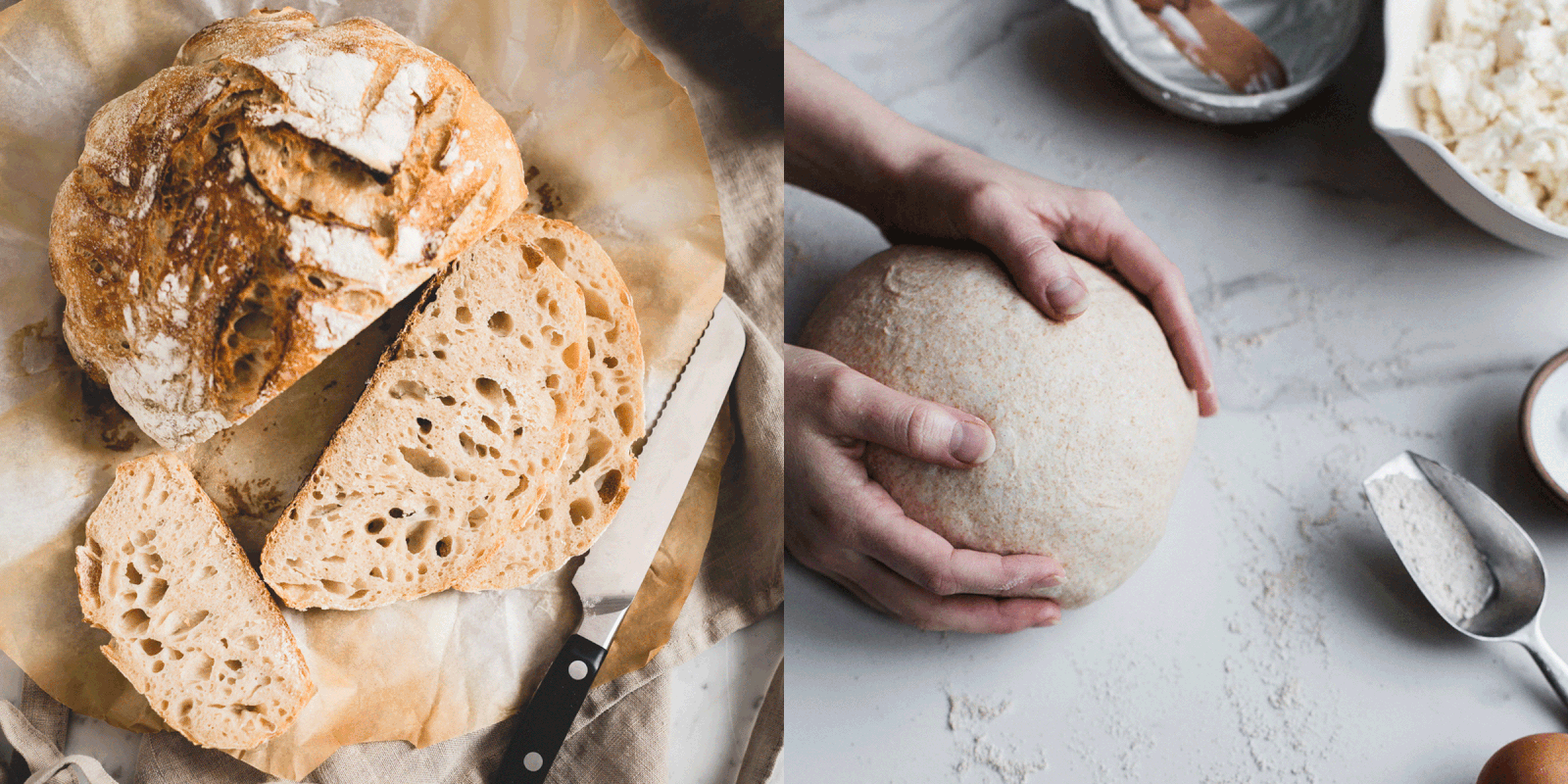
Sourdough is typically bread made from the naturally occurring yeast and bacteria in flour. The sourdough process begins with ‘the mother’, also known as a ‘starter’: a paste made with flour and water. This paste will need regular attention, including ‘feeding’ it with flour and water about every 12 hours, and must be kept in a warm place for 3 to 5 days to become active – but the effort is worth it. Once the starter is active some of it is used to make a ferment, which is eventually mixed with more flour and water to make recipes such as a bread.
Don’t be disappointed if your first attempt at sourdough isn’t perfect. Do persevere however, because much like making pancakes, the first attempt isn’t always perfect but with a little practice, things improve.
Here are a few things to consider…
-
Wholegrain flours are best for making and feeding a starter.
-
Keep your bowl or container of starter loosely covered with some cling film or a clean, wet tea towel rather than tightly sealed.
-
The ideal temperature for all sourdough stages is a warm place at 22-24°C. In cooler room temperatures, the starter will take longer to become active, so allow for more time between feeds. At warmer room temperatures, the starter will become active more quickly and will need feeding more often.
-
A dry, flat, sweaty or watery-looking starter usually means a feed of flour and water is urgently needed.
-
If a dark, alcoholic smelling liquid forms on the surface of the starter it means your starter has been active but is getting tired so pour off the liquid and feed with flour and water.
-
Remove and discard any mouldy looking crust at the edge of the bowl.
-
Feeding a starter when it looks active (i.e. bubbly) will encourage increased activity.
-
If you’re not going to use your starter regularly, don’t worry, all won’t be lost. Just put your starter into a lidded container at the back of your refrigerator where it should go into a dormant state. You will just need to revive it and get it active when you’d like to use it again.
Visit DovesFarm.co.uk
Roz Bado, Bertinet Bakery Sourdough
Make sure your starter has doubled in size before using it in your dough. A good tip is to mark with a pen or an elastic band where your starter level was when you refreshed it, then it’s easier to track its growth.
Dough temperature is key. Don’t be scared to use warm water or hot water if you are mixing in winter or your flour is cold. Your final dough them needs to be above 20°C so the wild yeast in your sourdough starter can get to work, so a warmer dough is preferred. Also keep it in a warm place when proving.
Try out using a mix of different flours to create more diversity in your diet and promote a healthier gut. You can add a seed mix too. If you’re putting seeds into your dough, soak the seeds in equal parts seeds and water a couple of hours before the mixing. This means that the seeds won’t absorb water from the dough and will give a moister loaf for longer and help kick-start the breakdown of the seeds so that your body gets more nutrients from them.
When scoring your bread before you put it in the oven, make sure you are using a super sharp knife or blade to give a clean cut and will help the loaf grow in the oven and get a good ear.
When baking, the best thing to use is a cast iron pot with a lid. If you put it in the oven when you turn the oven on, then it gives it time to warm up enough. The pot acts like a mini deck (baker’s) oven because it holds so much heat. Using means your loaf will get a good spring from the heat and will hold in the moisture release for the loaf and help steam it so you get a lovely crusty crust. After around two-thirds of the baking time has passed, take the lid off and let it bake for another 10-15 minutes to get a wonderful brown crust.
Visit BertinetBakery.com
Tom Aikens, Muse
The one thing that I’ve always loved making is bread, and in particular sourdough. There is something truly comforting, rhythmic and almost hypnotic about making it. You never become a complete master at it, as you are always learning, no matter what. The texture can change, as can the taste, crumb, moisture and crust all due to the flour that you bake with. But think about how many different loaves of bread you can make with all the different flours out there.
Visit MuseByTomAikens.co.uk
James Hearfield, Daylesford Cookery School
In bread-baking terms, proving means allowing the bread dough to rise. Specifically, it refers to the fermentation action of the yeast. In basic yeast bread recipes, such as sourdough, the dough will be proved two times, during which time the bread is allowed to rise. Don’t be tempted to cheat or use a shortcut and be sure to double check the instructions in the recipe for specific timings.
Here’s how to prevent a soggy bottom. When you remove the bread from the oven, leave it in the tin for five minutes and it will steam itself free. Once the bread is removed from the tin, put it onto a cooling rack and allow it to cool down properly. This will prevent a soggy bottom and ensure the loaf is cooked all the way through. Be sure to invest in a sturdy, good quality baking tin, too. Not only do they heat up faster, they retain a higher temperature to keep the bread crisp.
Visit Daylesford.com
Andy Tyrell, River Cottage
Look after your starter. Feed your starter consistently by discarding almost all of it each time you feed. Make sure your starter is fully match fit and very active before trying to use it for baking.
Sourdough isn’t just for those gorgeous, airy, loaves dotted over Instagram. Try turning your sourdough starter into a pizza base for ultra-puffy crusts, baguettes with character and even brioche. Don’t waste the discard, either – that’s the starter you have left over once you’ve finished ‘feeding’ it. Turn it into quick flatbreads or tasty crumpets.
Don’t worry about inaccuracies in shaping or panic if the dough sticks, it’s all perfectly normal. If you’ve followed the first set of advice, you’ll most probably still make delicious bread and be learning as you do.
Visit LearningWithExperts.com
Emily Munsey, Wessex Mill
Always weigh out the exact ingredients carefully. It’s best to weigh water rather than using a measuring cylinder. For reference, 1ml = 1g of water.
Follow the recipe. Never add any flour or oil at the first kneading stage to make the dough less sticky. You’ve kept to the formula to create that dough; you don’t want to alter it when you’re moving the dough around. Instead, use a dough scraper every few minutes to bring the dough back together. Once the bread has risen and you're shaping it, it’s fine to use flour to prevent it sticking.
Think about temperature. Ensure cold ingredients come straight from the fridge and those at room temperature have been left out for a while to get up to the correct temperature.
Don't be afraid to use equipment that helps make the job easier. From hand blenders to mixers, it enables you to have better control over your quantities and ingredients.
Enjoy the process. And take your time – rushing can often lead to mistakes.
Aeration is your secret weapon. Sifting flour for example, makes a huge difference.
There is no need to put your dough in an airing cupboard or oven to help it rise. Normal room temperature should be plenty warm enough to get your dough moving, although if you have a particularly cold house, on top of a radiator might be a great spot.
Visit WessexMill.co.uk
Inspired? Here are five recipes to try…
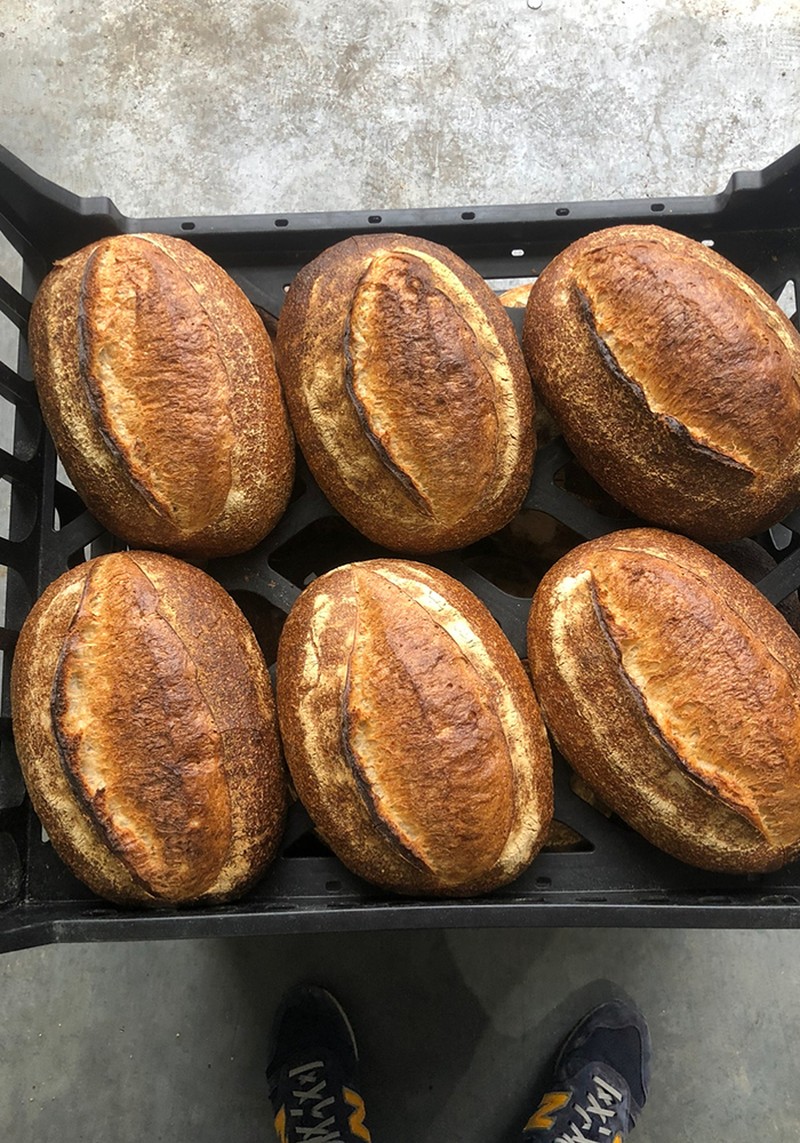
White Sourdough Loaf: Florence Hellier, Co-Founder of Hoxton Bakehouse
To make the starter, mix equal measures of flour and water. Mix and leave it at room temperature in a kilner jar.
Feed the starter daily for seven days.
Then it will be ready to use. You should see lots of bubbles and it should have a yeasty smell.
Once you’ve made your loaf, you can keep the starter in the fridge.
This will keep it alive longer and you will only need to feed it weekly.
When you’re ready to make the loaf, pop the flour, sea salt, starter and water into a bowl. Mix together until it forms a dough.
Pop into a greased bowl and cover, leave for 3-4 hours.
Gently remove the mixture from the bowl and shape into your loaf.
Cover again and place into your fridge overnight.
This will need at least 12 hours. Once removed from the fridge, leave out on the side for 2 hours till it gets to room temperature.
Place a large baking tray in the oven at around 230ºC/210ºC Fan.
Pop a roasting tin on the bottom shelf with 100ml of water.
Once the tray is piping hot remove from the oven and pop the loaf seam-side down on the tray. Slash the loaf on top with a sharp knife.
Bake for 40-45 minutes. Tap the bottom and it should sound hollow.
Leave on a wire rack to cool for around 20 minutes before slicing.
Visit HoxtonBakehouse.com
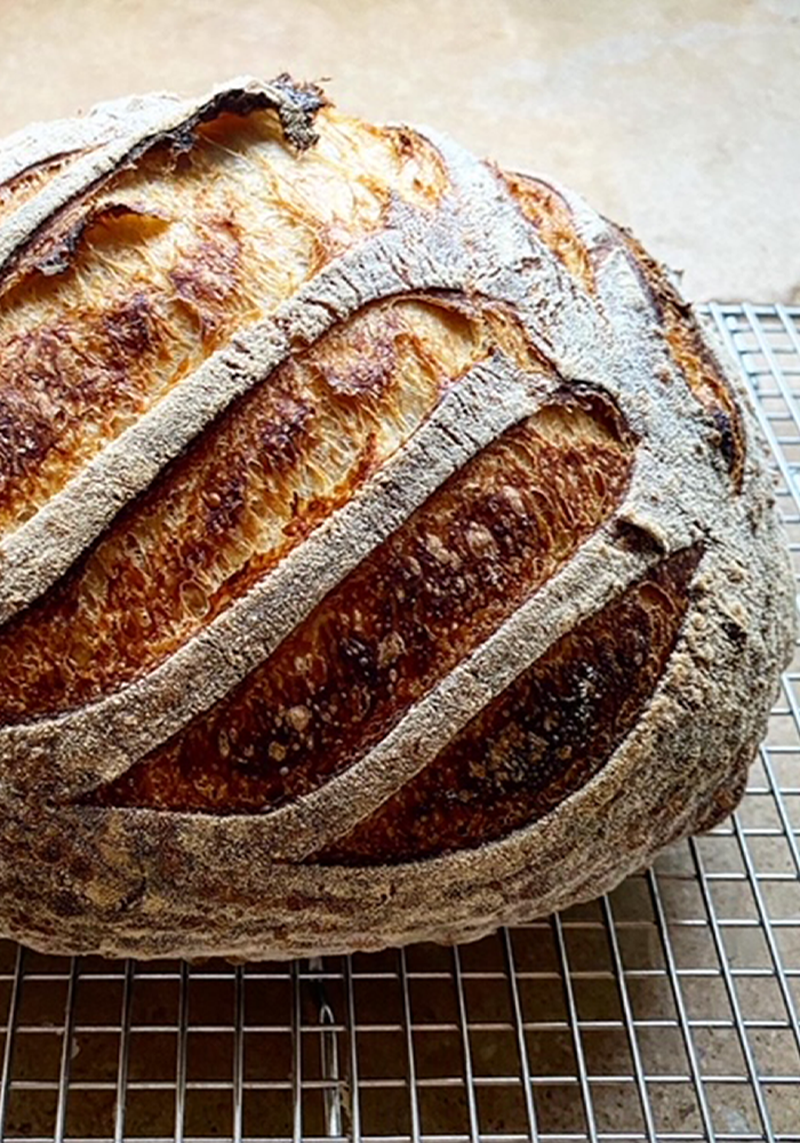
Classic Sourdough, Tom Aikens
Place the mother (your starter dough) into 600g of water.
Disperse the mother in the water by rubbing it and mixing it through your fingertips.
Once this is done, add in the flour.
If using a machine, mix for 2-3 minutes on a slow speed until all the ingredients are well incorporated and there are no dry bits. You may have to scrape down the bowl halfway through.
If mixing by hand, scrunch the ingredients together until it comes together.
Turn out onto the bench and stretch the dough on the bench backwards and forwards, stretching it away from you and then rolling it back towards you.
Do this around 8-10 times, to develop the gluten.
Then slap down onto the bench and roll the dough over itself and repeat several times.
Place into a bowl and cover with clingfilm.
Leave the mixture to rest for 45-60 minutes.
Next, mix the 50g of water and salt together, then add the saltwater mix into the dough and place in the machine for 4-5minutes on a low speed till the dough pulls away from the sides of the bowl.
The gluten should have started to develop well by now. If done by hand, tip the water and salt mix on top of the bread and turn the bowl as you knead the dough in the bowl, turning and kneading at the same time, until the dough becomes smooth, and all the liquid is incorporated.
Leave the dough to rest for another 45-60 minutes covered in clingfilm.
Now, the first fold. Make 4 quarter turns, then repeat this twice more after another 45 minutes has passed.
Pull the dough up from the bottom at the furthest point away from you, lift and stretch the dough upwards, then place down into the middle.
Turn the bowl a quarter and repeat, always taking the dough from the bottom. Do this every quarter turn, a total of four times.
This should leave you with a tighter dough with more structure.
Leave to rest for another 45-60 minutes and repeat.
Leave this to bulk prove for 3-4 hours: sometimes it will take more and sometimes less. Afterwards, tip out on to the work surface and divide the dough gently into two, dividing with a dough cutter/scraper.
Pre-shape the dough into a ball using the scraper, by pulling and scraping the dough round and tucking under so that it becomes into a tight ball shape.
Place into a well-floured basket with the seam pointing up. Leave out for 30 minutes-1hour then place in a fridge for 12-24 hours.
Preheat the oven and cast-iron pan at 235°C. Flip the loaf out of the basket into the lid of the pan then slash the top and add the lid.
Bake for 35 minutes, then remove the lid and bake for 2-3 minutes until you get the desired colour.
Place on a wire rack to cool for at least 15-20 minutes before cutting.
Visit MuseByTomAikens.co.uk
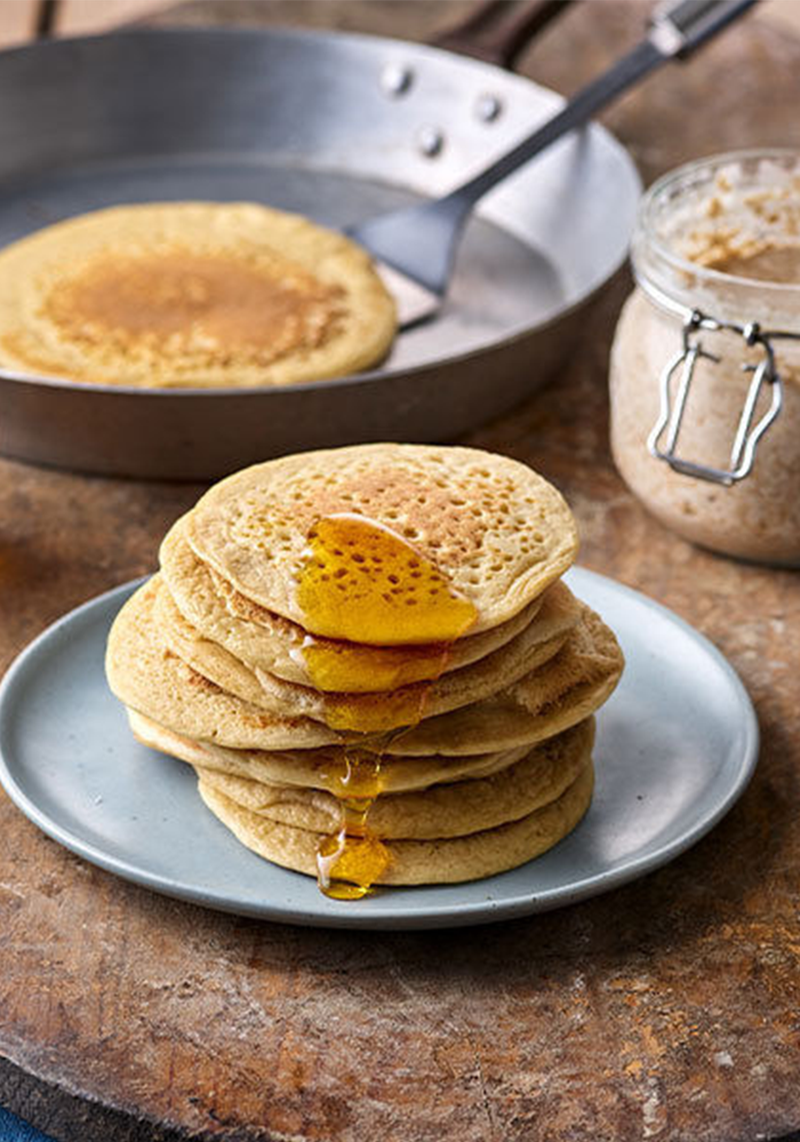
Sourdough Vegan White Spelt Pancakes: Doves Farm
On the first day, put one tbsp of wholemeal spelt flour and one of water into a 500ml glass bowl and mix together. Wet a clean tea towel, wring it out well, lay it over the bowl and leave in a warm place for about 12 hours.
After the 12 hours have passed, add another tbsp of flour and another of water, mix together, cover with the damp tea towel and leave for another 12 hours.
On day two (24 hours since beginning your starter), stir in a third tbsp of flour and a third spoon of water, stir to mix, cover again with the damp tea towel and leave in a warm place for 12 hours.
For the second feed of day two, add a tbsp of flour and one of water, stir to mix, cover with the tea towel and leave in a warm place for 12 hours.
For the first feed of day three (36 hours since beginning your starter), increase the feed by adding two tbsp of flour and two of water, stir to mix.
Re-dampen the tea towel if necessary, lay it over the bowl and leave in a warm place for 12 hours.
On the second feed of day three, add one tbsp of flour and another of water, mix together, cover with the damp tea towel and leave for another 12 hours.
At this point your starter should be bubbly and ready to create your ferment. If the starter is not showing bubbles, repeat the 12-hour feed and water routine, and ensure the starter is kept in a warm place.
Once your starter is bubbly, stir it and measure 25g of the starter into a large mixing bowl. Either dispose of any unused starter or keep it, feed it regularly and use it for sourdough breadmaking.
Pour in half the milk, mix into a smooth paste then mix in the remaining milk. Add the sugar and 150g white spelt flour, beating until well mixed and lump free.
Cover with the damp tea towel or inverted bowl and leave in a warm place for 4-12 hours, or overnight, until bubbles appear.
To make the sourdough pancakes, put a little oil into a frying pan, roll it around to cover the surface and heat until nice and hot.
Sieve the baking powder into the batter and beat well with a whisk. Pour some of the sticky batter into the pan to make 3-inch circles and cook over a medium heat.
When the bubbles appear on the surface and the base is golden turn the pancake over and cook the other side.
Transfer the cooked pancakes to a plate and repeat with the remaining batter. Serve the pancakes warm with a syrup of your choice.
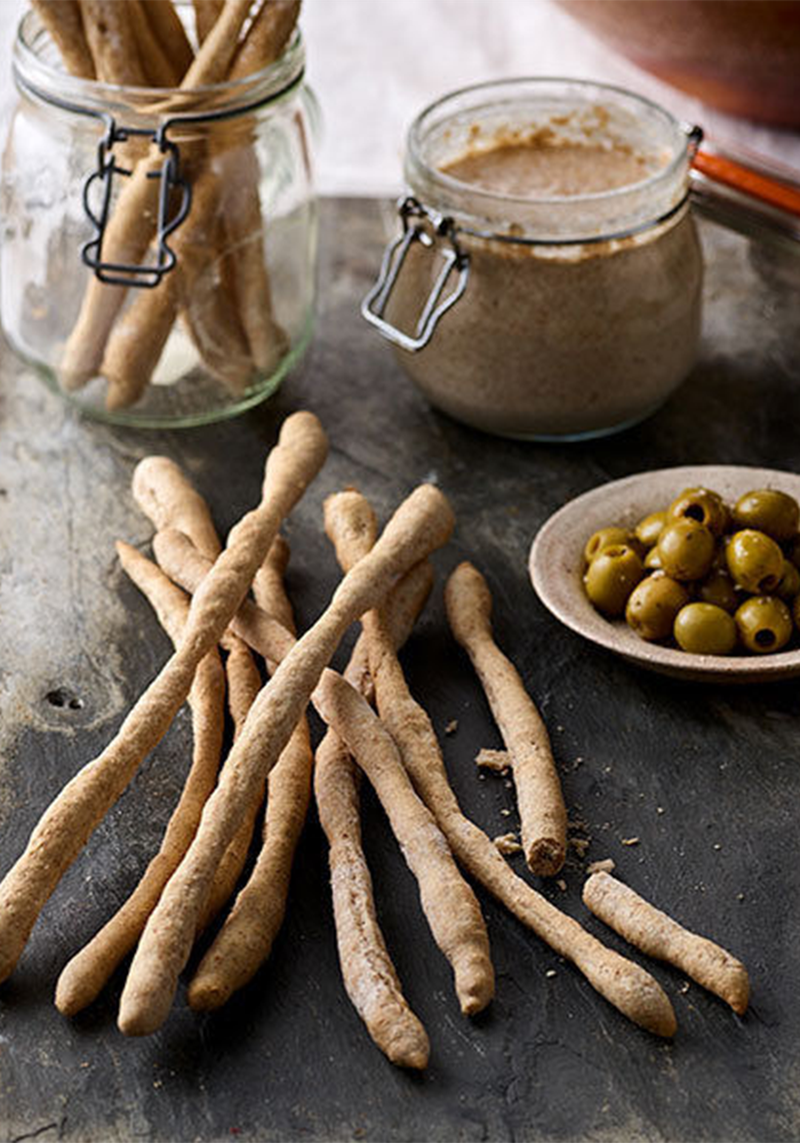
Sourdough Breadsticks
First, make the sourdough ferment. Once your starter is bubbly, stir it and measure 25g of starter into a large mixing bowl.
Pour 75ml water into the bowl and stir until lump free. Add 50g flour and stir to mix. Invert a larger bowl over the dough bowl and leave in a warm place for 4-12 hours until bubbles are appearing.
When bubbly, your ferment is ready to use. Either dispose of the unused starter or continue to feed it daily with one spoon of flour and one of water until your next bread making session.
To make the breadsticks, rub some oil around the inside of two large baking trays or insert a baking liner. Add 200g flour and 75ml water to the bowl of ferment and stir until lumpy.
Sprinkle the salt on top and stir to combine. Stir in the oil and mix everything together.
Using your hands gather everything together, gently pressing into a slightly sticky ball of dough. Knead the dough in the bowl for 100 presses without adding flour.
Cut the dough into four and cut each piece into 5, making 20 small pieces of dough. Roll each piece of dough into a cylinder about 10cm/4in long.
Return to each dough piece and roll it into a 20cm/8” cylinder. Finally roll all the dough pieces into 30cm/12” long cylinders, the thickness of a pencil.
Transfer the dough cylinders to the prepared baking trays, making sure they do not touch each other. Cover with a clean tea towel and leave in a warm place to rise for 1-2 hours.
Pre-heat the oven 20 minutes before baking. Remove the tea towel and bake for 7 minutes.
Carefully take the baking trays out of the oven and roll each breadstick over. Return the baking trays to the oven and bake for a further 5-7 minutes or until the breadsticks are golden brown.
Leave to cool on a wire rack.
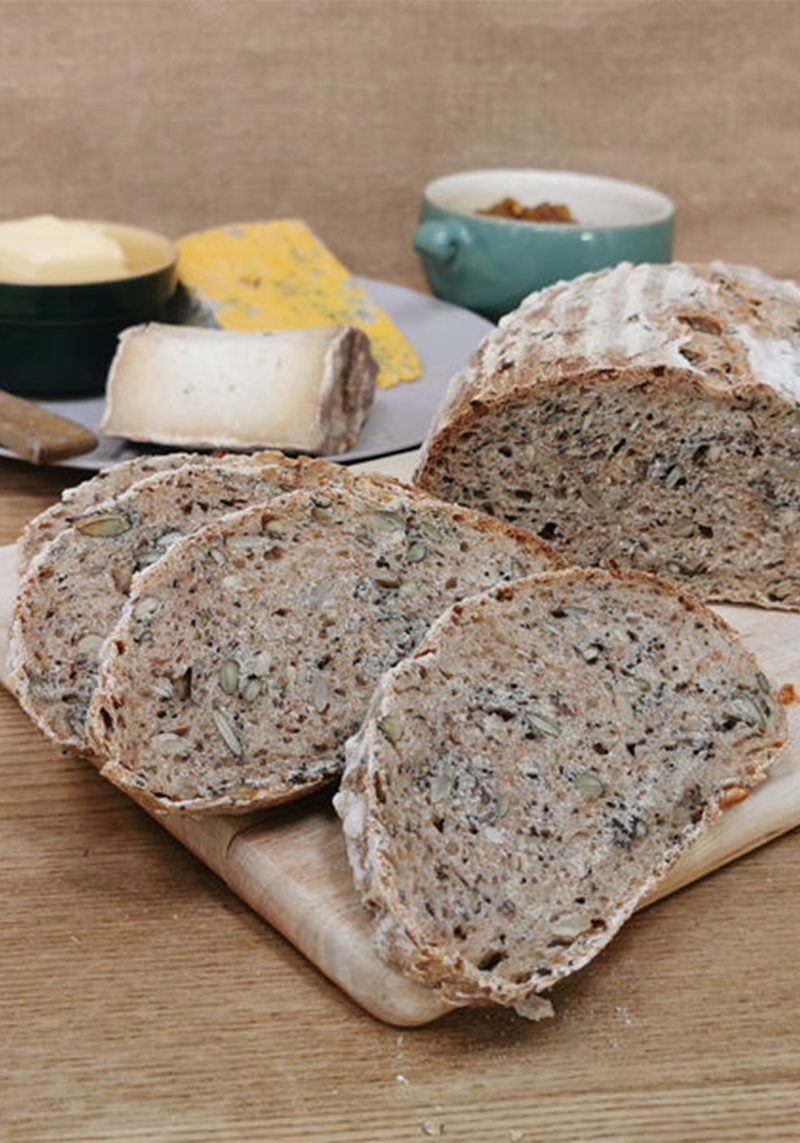
Sourdough Pumpkin & Sunflower Bread Loaf
First, make the ferment. Once your starter is bubbly, stir the starter and then measure 50g of the starter into a large mixing bowl.
Pour 150ml water into the bowl and stir until lump free. Add 100g flour and stir to make a smooth paste.
Invert a larger mixing bowl over the dough bowl and leave in a warm place for 4-12 hours until bubbles appear.
When bubbly, your ferment is ready to use (you can either dispose of any unused starter after bread making or keep and feed it regularly until your next baking session).
For the first dough, pour the tepid water into the ferment and mix well. Add the flour to the ferment and stir to mix. While the dough is still craggy and lumpy, stir in the seeds and salt.
Using your hands gather everything together, gently pressing into a sticky ball of dough. Knead the dough in the bowl for 100 presses without adding flour.
Invert a large bowl over the dough bowl and leave in a warm place until double in size which may take 4– 12 hours.
Run a spatula around the edge of the swollen dough. Pour the oil onto the dough and dip your fingers in the oil.
Pick up the dough on the far side of the bowl, gently pulling and stretching it upwards then fold it forward onto the dough still left in the bowl.
Turn the dough a quarter to the left or right. Repeat the action of lifting and stretching the dough then folding back onto itself five or six times, turning the bowl each time.
Tuck the edges of the dough under to make a ball or oblong of dough, depending on the shape of your banneton.
Transfer the dough into the floured banneton with the smoothest side down. Cover with an upturned mixing bowl and leave to roughly double in size, 2-12 hours.
Pre-heat the oven 20 minutes before you are going to bake. Dust an oven tray with flour or insert a baking liner.
Remove the upturned bowl and very gently tip the dough onto the oven tray. Bake for 35-40 minutes until golden brown.
Transfer the bread to a wire rack and leave to cool.
Visit DovesFarm.co.uk
DISCLAIMER: We endeavour to always credit the correct original source of every image we use. If you think a credit may be incorrect, please contact us at info@sheerluxe.com.
