
How To Get This Make-Up Look For Less
FOR PRE-CLEANSE…
Good skin will always lay the groundwork for even make up application. Which is why Leah gave Rona’s skin a pre-cleanse, getting rid of any surface grime, before going in with further prep. Cleansing like this allows any primer or follow-up product to sink in much deeper, which prevents piling and flaking from your base make-up when you come to buff it in.
FOR BASE…
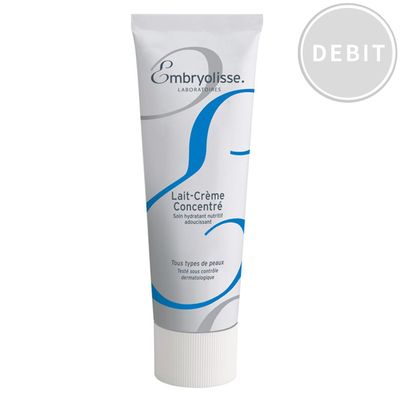
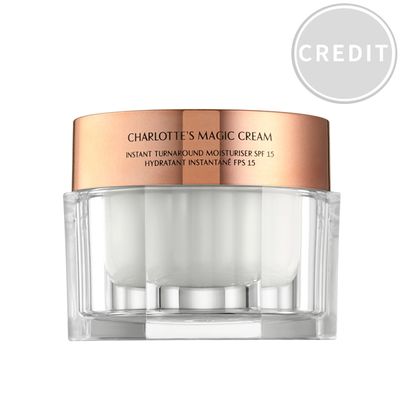
Post-cleanse, it’s key to prep your skin with a base before you go in with foundation. That's exactly what Leah did here for Rona’s look. Try these hydrating formulas from Embryolisse and Charlotte Tilbury, but let them sink in for five minutes before applying foundation to prevent a patchy finish. Massage them in with your fingers to give skin extra stimulation and an enviable glow.
£: Embryolisse Lait-Crème Concentré
££: Charlotte Tilbury Magic Cream
FOR PRIMER…
Leah used Laura Mercier’s Radiance Primer to provide a dewy base for foundation so that make-up lasted for longer. Massage it in like you would a moisturiser to help your skin absorb it properly. You’ll find your skin tone is evened out, with a naturally radiant glow. Let it settle onto your complexion for five or so minutes before applying your make-up.
£: Pixi Flawless Beauty Primer
££: Laura Mercier Radiance Primer
FOR COVERAGE…
To keep the skin luminous, Leah buffed in Armani’s Silk Foundation, which has light reflective particles for that covetable glow you can see on Rona. Given all the prep work that’s been done, foundation should only be used on the areas that need it to even out skin tone – around the nose, chin or cheeks. Use a dabbing motion that pushes the product into the skin rather than wiping it on and off in the same movement – a sponge is ideal.
£: L’Oreal Paris True Match Super-Blendable Foundation
££: Armani Beauty Luminous Silk Foundation
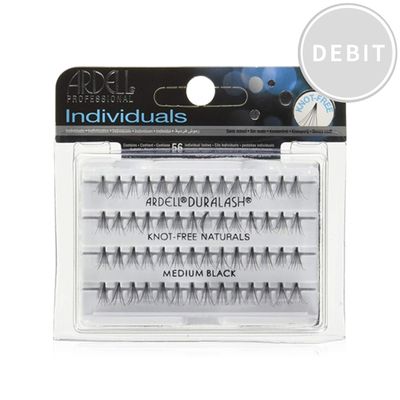
FOR LASHES…
A set of Ardell falsies create the fanned-out lash effect you see here. If you want to take a more natural approach, invest in individual or grouped lashes, or for faster application, use a full set or a half set on the outer corners of the eyes. Just be sure not to overload the top lid. One trick to follow is, rather than trying to get the angle perfect, add glue further along the false lashes and press them onto the natural lash to get them lying flat. If falsies are too much faff, don’t worry, a good mascara will still provide you with a similar effect.
£: Ardell Beauty Lashes in Medium & Long
££: Sweed Beroe 3D Eyelashes

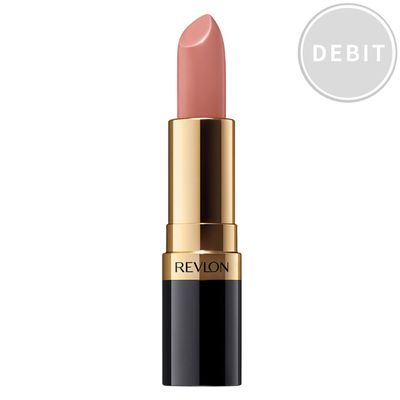
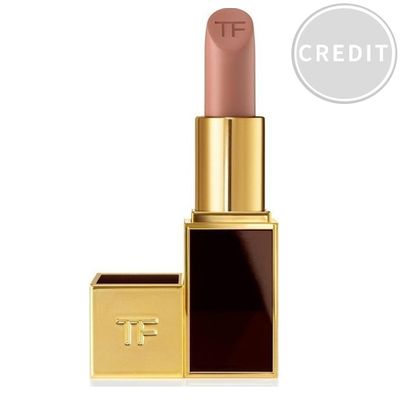
FOR LIPS…
The exact shade used here was Tom Ford’s Lipstick in Sable Smoke, but you can find the same shade and glossy finish in Revlon’s Super Lustrous Lipstick in Bare Affair. Pat it on with your finger to push the colour into the lips and sculpt as you go.
£: Revlon Super Lustrous Lipstick in Bare Affair
££: Tom Ford Lipstick in Sable Smoke
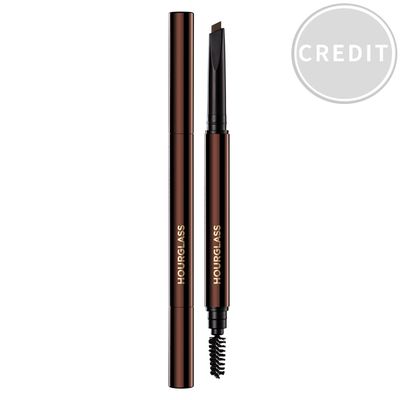
FOR BROWS…
Brow gels were the order of the day for this look. While pencils and powders are effective, they often don’t give the same fluffed up finish you can see here. Create the illusion of buffed up arches, like Rona’s, by running the wand against the hairs and then back again. For example, start at the end of your brows, and work back backwards, before running back the other way. You can keep building up the gel until you’re satisfied with the shape.

FOR EYESHADOW…
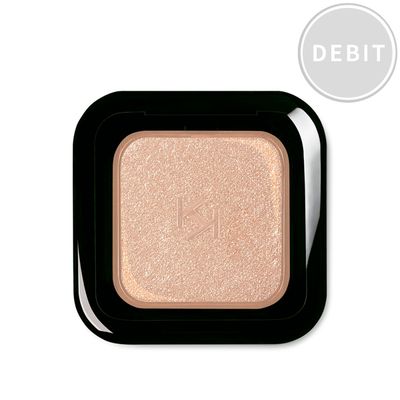
Rona’s lids were swept with a sheer shadow to give a delicate wash of colour all over the eye. Leah used Kiko’s shadow in Golden Beige, applying it from the lash line to the brow bone for maximum impact. Try adding the colour gradually – that way, you can amp it up for night-time or keep it muted for day.
£: Kiko Eyeshadow in Golden Beige
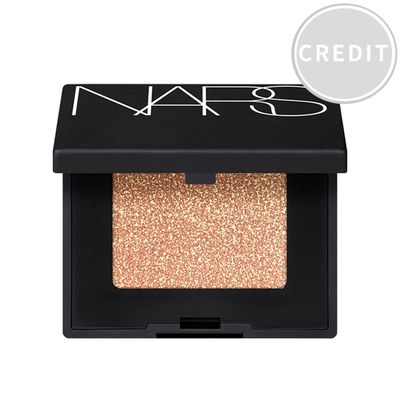
££: NARS Hardwired Eyeshadow in Pattaya
FOR LID LINER…
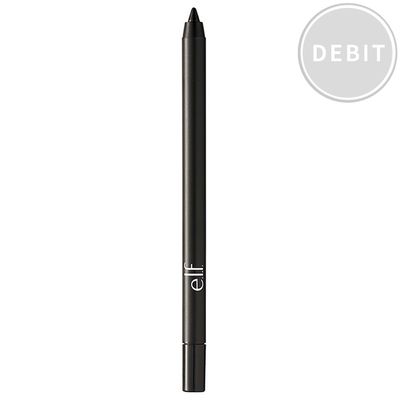
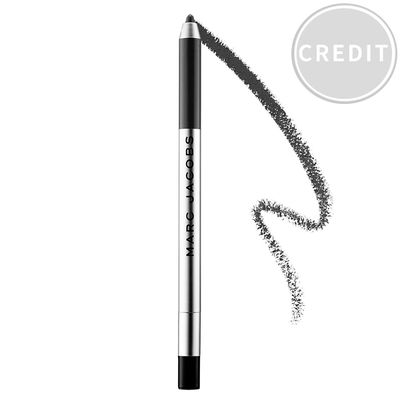
Upper lids were softly lined with Marc Jacobs Black Gel Liner. The benefit of this creamy, gel texture, is that is glides onto skin without dragging it. To replicate the line, work the pencil tip right into the roots of the lash. Start from the outer corner and draw along the lash line towards the mid-point. Use short feathery strokes or draw a series of dots and then smudge them together. Try working it in between the roots of the upper lash line – it works to make lashes look thicker, like Rona’s do here.
£: e.l.f Waterproof Gel Eyeliner Pencil
££: Marc Jacobs Beauty Gel Liner in Black
FOR LOWER LINER…
For a twist on the classic smokey eye, Leah ran a coppery red liner along the lower lash line. A little accent like this is the easiest way to introduce colour into your make-up look. If you want to try it yourself, draw your liner right onto the edge of the rim – not on it, since that makes eyes look smaller. Once you’ve run it all the way along to the outer corners of your eyes, make sure the line isn’t hard by using a smudge brush or your little finger to soften out the line.
£: Wunder 2 Beauty Long-Lasting & Waterproof Eyeliner in Glitter Aubergine
££: Urban Decay Glide-On Eye Pencil in Love Drug
INSPIRATION CREDITS: Instagram.com/leahdarcymakeup
DISCLAIMER: We endeavour to always credit the correct original source of every image we use. If you think a credit may be incorrect, please contact us at info@sheerluxe.com.