6 Year-Round Fake Tan Tips Worth Knowing
Try The ‘Ski Tan’ Technique
“This might sound odd but all it means is tanning around your winter outfit – it’s known as the ‘ski tan’. It’s about tanning on and around the only areas on show – for instance, if you’re wearing a sleeveless dress, it’s the arms, face, hands and neck. Focusing on specific areas allows you to be more precise and thorough – in turn, getting an even blend that’s consistent, instead of frantically sweeping all over your body in a last-minute panic. Always leave tanning the hands until last. This way, you can work the leftover product from your arms downwards for a natural fade. You can also use facial mists on your hands if you’re nervous about it turning too dark.” – James Read, tanning expert
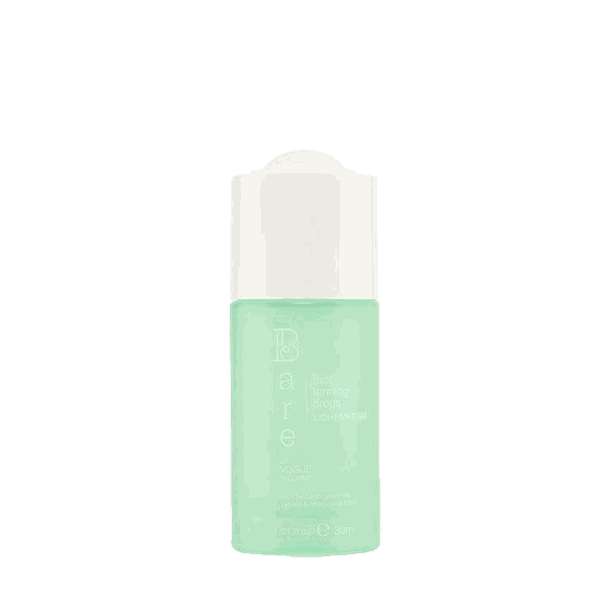
Treat Your Face Differently
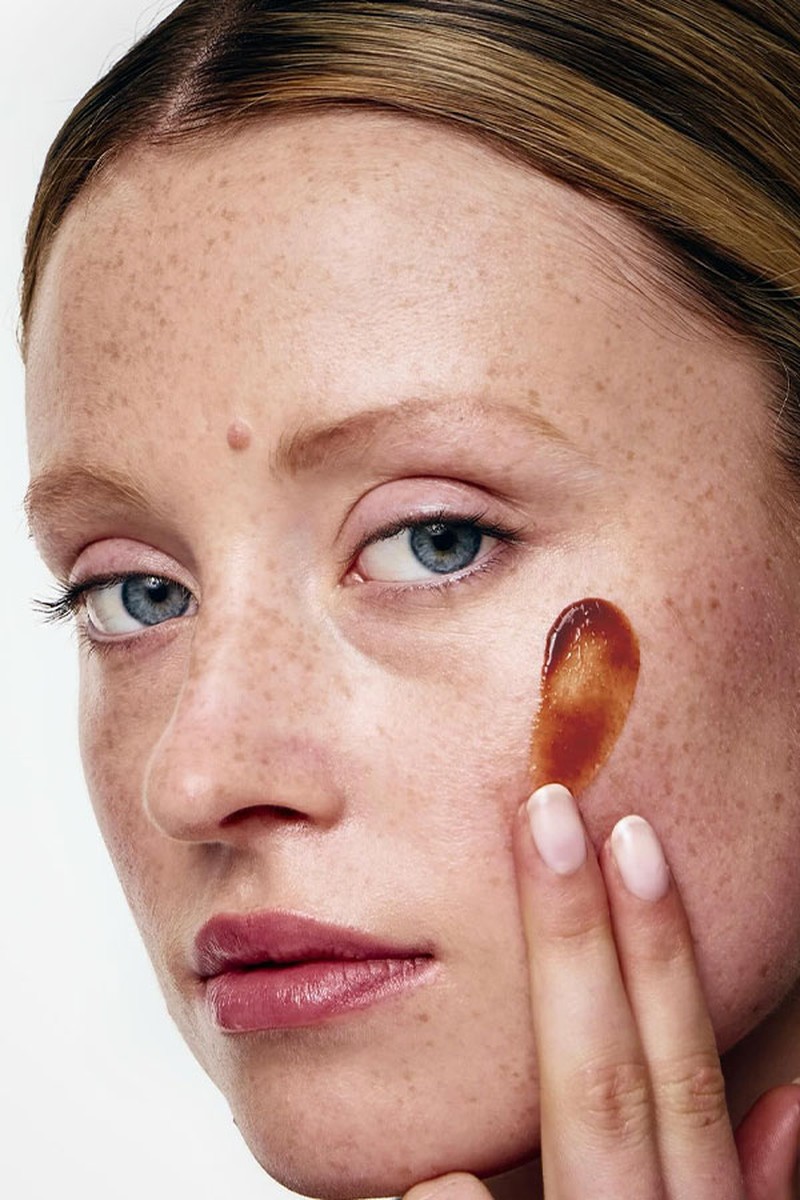
“When it comes to the face, tanning drops are preferable. Just a few pipetted into your night cream will add enough warmth to your complexion. They’re also ideal year-round as you can control the glow or extend it if needed. Plus, being a tanning water, there’s no chance of the residue staining your sheets. Make sure you run it down your neck for natural-looking coverage.” – James Harknett, tanning expert
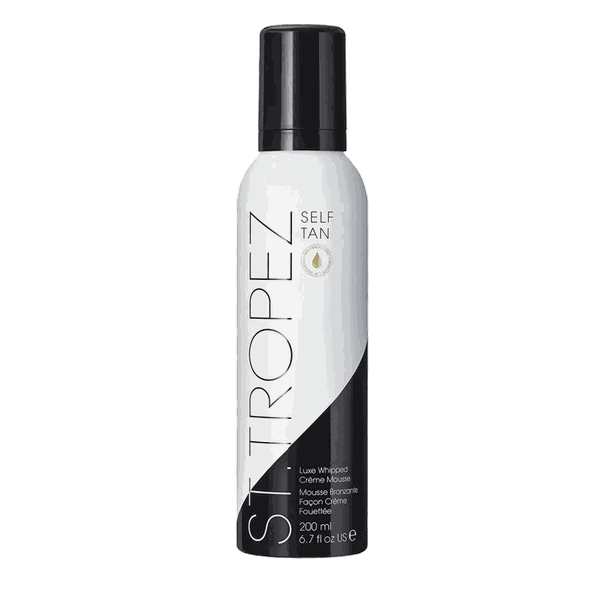
Avoid Formulas With Alcohol
“Some tanning formulas contain high levels of alcohol. Try to avoid these as they can be very drying and come winter, we want to add moisture, not strip it from the skin. Look for gradual tanning products instead. These often contain key ingredients that hydrate and nourish, while providing a subtle glow. Another benefit is you can build them up, which is ideal for the winter months. One day you can have a light golden tone, the next you can amp it up to a much deeper colour.” – James R
Invest In The Right Tools
“A great tip for tanning in winter is to disperse either your mousse, liquid or lotion onto a foam mitt and then apply it in long sweeping motions. This helps you get a more balanced and natural finish towards the wrists and ankles, as the tan is thinned out as it reaches those areas. Also, try using a make-up brush to apply your tan in delicate areas. We all know self-tanners will turn darker on the knees, elbows and feet, so the lighter touch of a brush is ideal for creating a more believable glow.” – James H
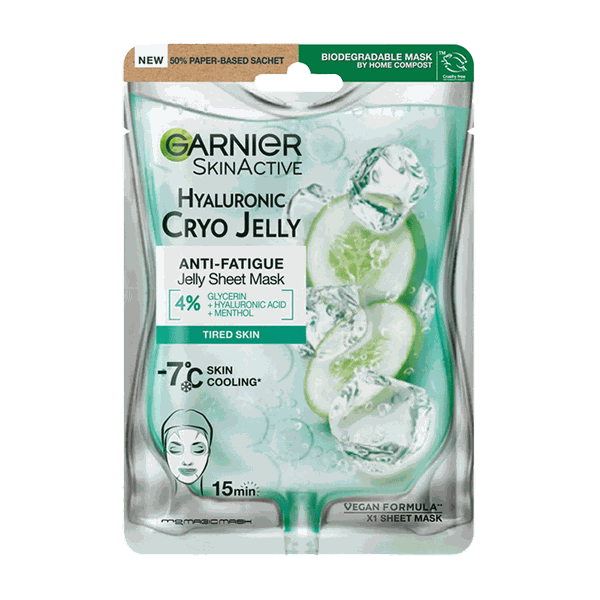
Stock Up On Face Masks
“In winter, use a hyaluronic acid face mask after you’ve self-tanned to prolong your colour. Try to avoid sleeping with the heating on too, as this dries out your skin and can cause your tan to turn patchy. When investing in face masks, stick to hydrating ingredients and don’t use anything with retinol in, as this will just remove all traces of colour.” – James R
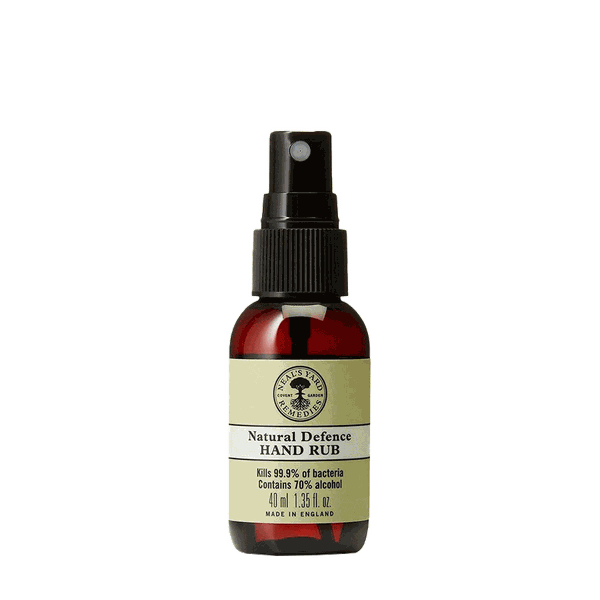
Finally, Make Subtle Tweaks
“A lot of people think once their tan is on, they can’t make tweaks but you can. A good hand sanitiser on the palms and fingertips will remove any excess colour seamlessly. Likewise, use a cotton bud drenched in a fake tan eraser to get rid of patchiness in delicate areas like the eyes, hairline and on your wrists. You should also use a tiny amount of moisturiser on any dry patches pre-tan – this will stop colour turning darker in different areas.” – James R
Follow @JAMESREADTAN & @JAMESHARKNETT_TAN
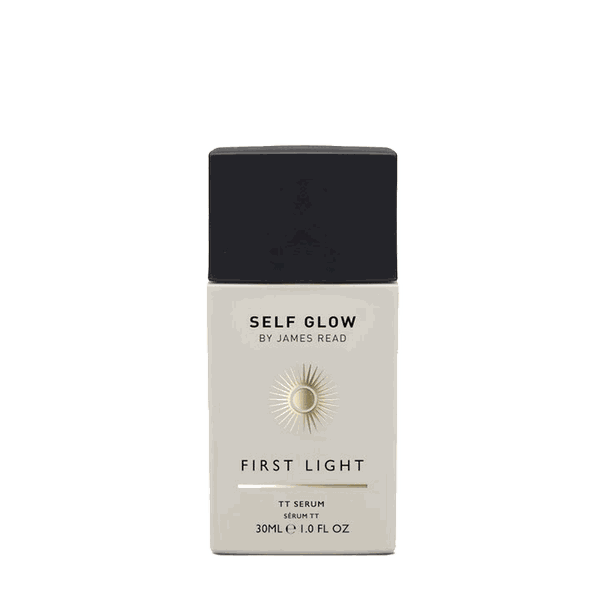
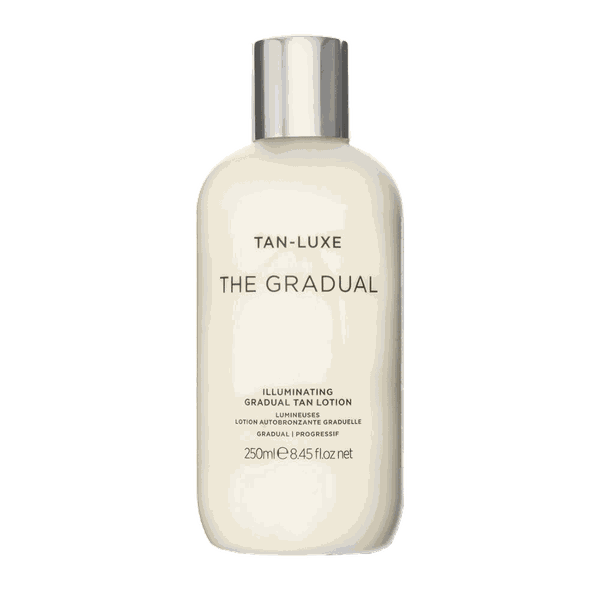
SHOP THE PRODUCTS


DISCLAIMER: We endeavour to always credit the correct original source of every image we use. If you think a credit may be incorrect, please contact us at info@sheerluxe.com.
/https%3A%2F%2Fsheerluxe.com%2Fsites%2Fsheerluxe%2Ffiles%2Fwebsite-images%2F2025%2F03%2Fsign-up-pop-up.jpg)
