The Foolproof Way To Apply Fake Tan At Home
Remember Body Prep Is Key To A Seamless Faux Tan
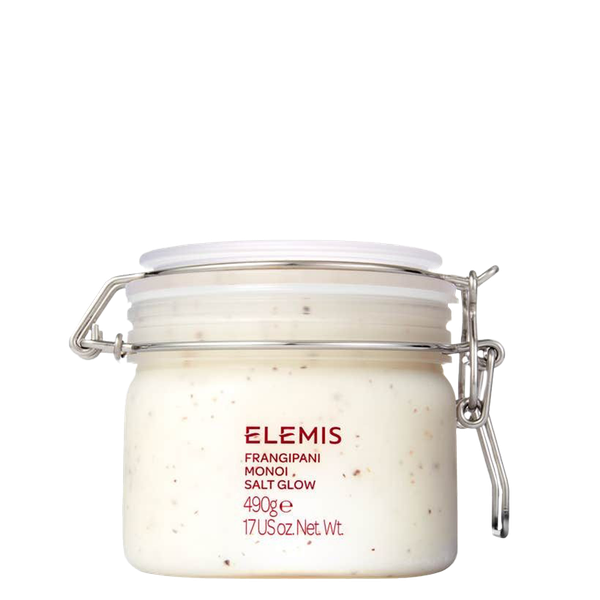
“It’s the most basic step of all but it bears repeating: if you want your tan to stick around, you need to prep that skin. Applying colour over skin that’s not been exfoliated and hydrated will only fade as the cells shed. The key is to use a gentle scrub (nothing too thick and heavy) and do it either the night before you tan, or on the morning of, so you’re giving your skin time to renew again. I also always recommend shaving 24 hours in advance and waxing at least 48 hours, this ensures the pores are closed and there’s no residue on the skin, so you have a clear canvas for your tan to cling to.” – James Harknett, tanning expert
Choose The Right Formula For You
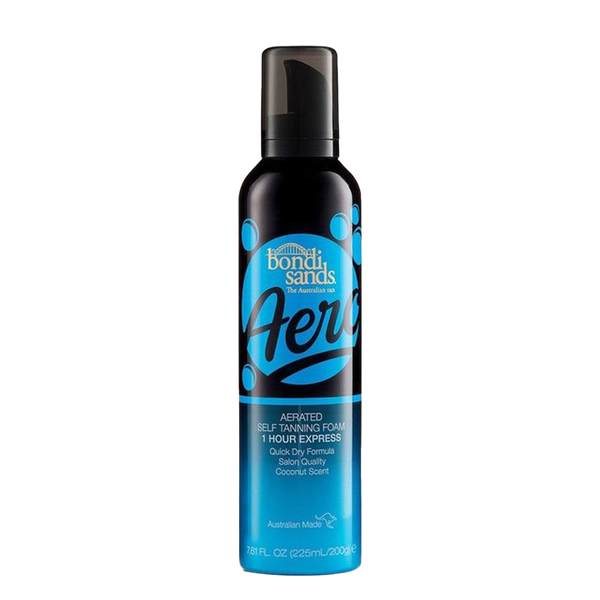
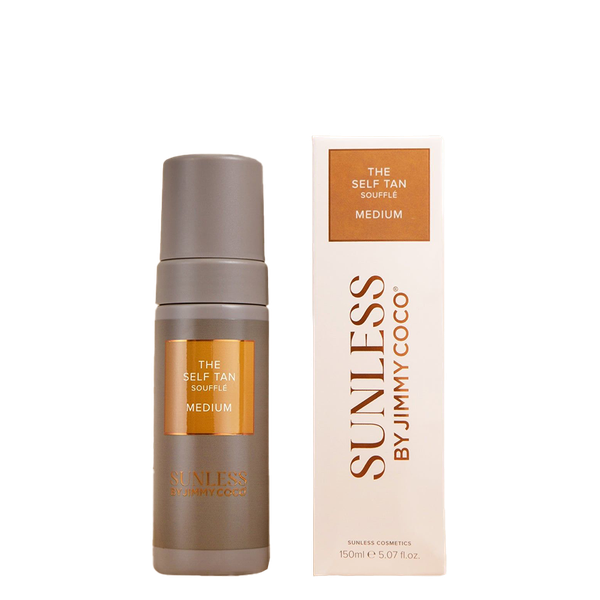
“Most formulas on the market nowadays are sophisticated, full of skin-friendly ingredients to hydrate and prolong the colour. I always recommend using a formula that contains a guide colour so you can actually see where you are applying the product. Easy-to-blend mousses or tinted lotions are ideal, especially if you are a beginner. The Sunless By Jimmy Coco Tinted Tan Soufflé formulas are gorgeous, and for a high-street alternative, try the Bondi Sands Aero Mousse. I’m also a huge fan of St Tropez, it’s the OG for a reason, equally the Isle Of Paradise Express Mousse is great if you are caught short and need quick results.” – Gina Garbutt, tanning expert
Always Work With Your Skin Tone
“If you’re fair, use a lighter shade and if you’re olive-skinned, go for a darker colour. You want to build up the depth of colour by layering the product rather than fighting against your natural skin tone. If you have a warmer natural skin tone but don’t want intense colour, simply apply a lighter layer of product rather than choosing a lighter shade. Women of colour also can benefit from the illuminating and evening the effects of wearing self-tan. Deeper skin tones can often appear ashy when they have not been exposed to the sun, and so a layer of self-tan can really liven up the skin and awaken the complexion.” – Gina
Make Sure You’re In A Cool Room
“Keeping the skin cool is essential when it comes to tanning so that no sweaty patches interfere with the application. Having a cool shower before you apply your colour is also a great way of making sure the tan goes on seamlessly without any stickiness, you’ll just find the tan adheres much better to the skin this way.” – James
Start From Your Legs & Work Up
“To nail your technique, I advise you start by doing your feet and legs first, so you then don’t have to bend back down and cause creases and folds. Start by using just a tiny pump of colour and don’t be alarmed if it looks dark, just continue to work fast and buff it in as you go until you can see that it’s blended in with zero streaks. Then, continue to work upwards using a tanning mitt to keep your hands clean. You can find good mitts everywhere now – my only advice would be to seek one out that’s velvety as they spread colour more evenly, so it never looks dirty, and they help to give you a more uniform, satiny finish.” – James
Pay Attention To Tricky Spots
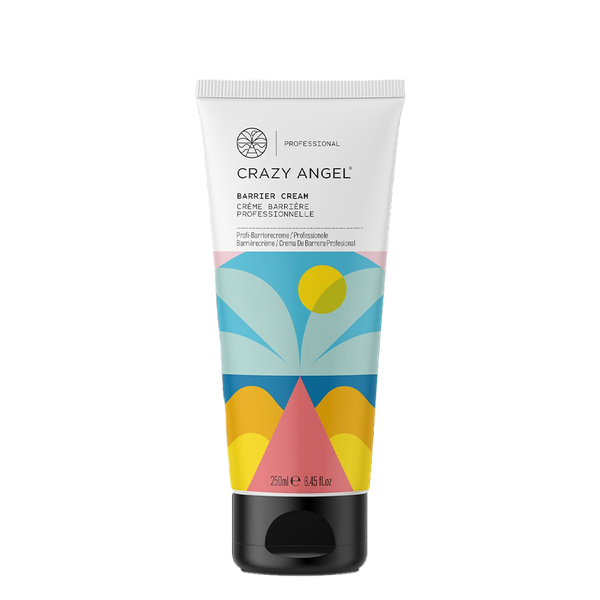
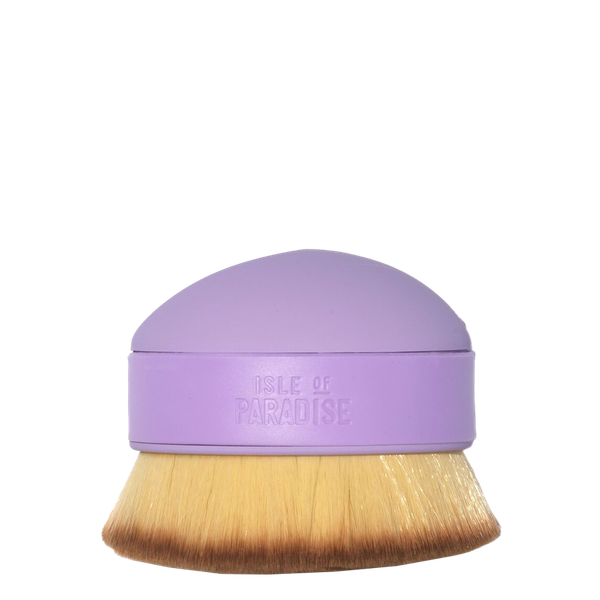
“Before you start tanning, use a light barrier cream on the elbows, knees, hands and feet – Crazy Angel does a great one. Let it sink in for a couple of minutes. If you are applying an aerosol, mist or mousse tanner, apply it liberally, but do not apply it directly to these areas. After you’ve done the rest of your body, sweep your mitt gently over your hands and feet with the product that’s already on the mitt – do not add any more. Alternatively, coat a tanning brush (Isle of Paradise’s is my favourite) with your chosen tanner and then stipple off the excess onto kitchen roll. Work the tan into these tricky areas, sweeping up towards the arms and legs so there are no harsh edges. The barrier cream will dilute the tan, so it appears light when developed to prevent overly saturated knuckles and toes.” – Gina
Use Your Hands To Master Back Tanning
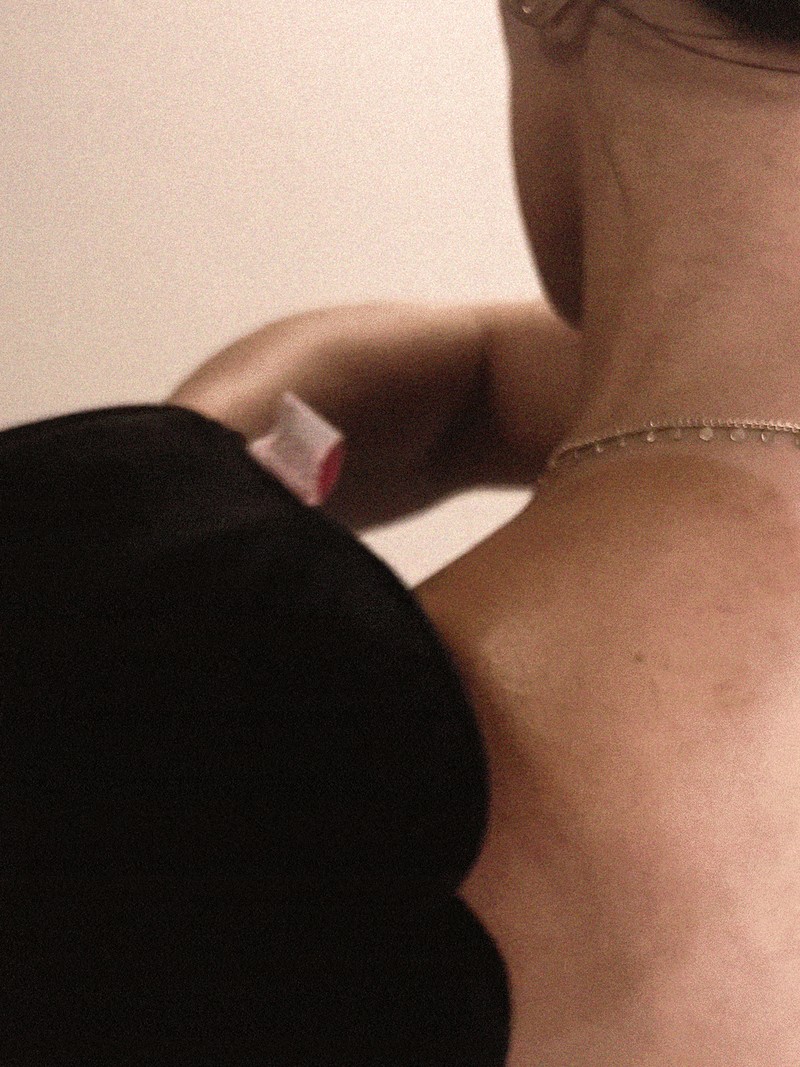
“Tanning the back needn’t be your main struggle. For starters, always make sure you’re standing in front of a mirror and turn yourself sideways, this will really help guide you to get the right and best possible placement. Then try placing two tanning mitts on the opposite side of each hand, then use a tanning mousse and pump gently onto the mitts and wipe on the tan in circular motions with the backs of your hands across and over the back surface. Alternatively, if this is too tricky, it’s worth investing in the Bronzie Back Applicator, a long mitt that disperses the tan with ease across the back and makes light work of getting to those hard-to-reach areas.” – James
Tweak Your Technique For Your Face
“When it comes to tanning your face, it doesn’t hurt to have a light layer of moisturiser on beforehand as the DHA tanning agent can be quite dehydrating. I also recommend using a tan with a guide colour on your face, as you’ll be able to see where you’ve missed and areas that still need a top-up. Always try and think of the places the sun would hit the face and apply in there, working it in as you would your make-up, underneath eyes, over the jawline and tops of the cheeks. I also recommend wearing a shower cap or turban to protect the hairline and always use a dab of balm there and around the eyebrows to make sure the tan doesn’t stain the hairs. As the face can fade first with make-up removal, try and use a gentle cleanser to ensure you don’t strip the tan. Avoid make-up removal wipes as they’ll strip the skin cells prematurely, thus removing the colour.” – James
Keep Patchiness At Bay With Powder
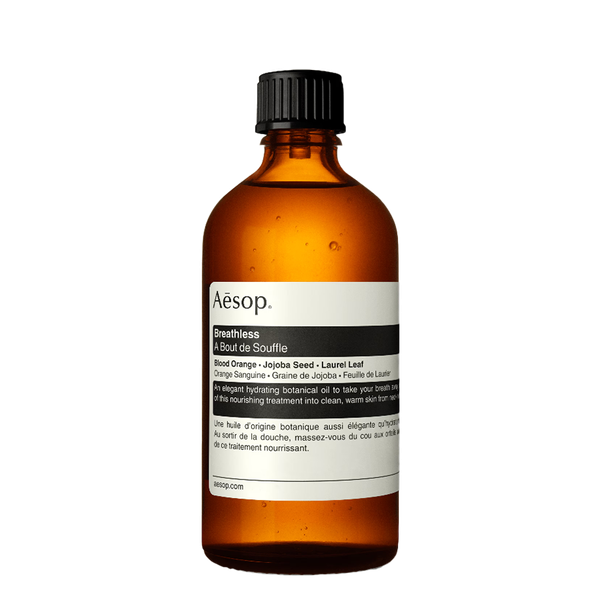
“Sweat and friction from sports fabrics rubbing against the skin can strip the tan off the body completely. As a spray tanner, seeing roughly 70 clients a week, most women feed back to me that the tan dissolves around the breasts, chest and underarms the most. Sprinkling any form of powder in your sports bra and around the joints (like inner arms) will shield the tan from heat and sweat and prevent any patchiness from forming. It will also protect it during a heavy, hardcore workout. If your tan is looking scaly and feels like a lost cause, it’s likely you’re also dehydrated. Rather than reapply more colour, remove the remnants of the older tan first. Try a long soak with a few drops of Aesop’s Breathless Body Oil which will loosen the dead skin, then you can just use a hot flannel to pull the older tan away for a clean base. Wait 24 hours before starting again.” – James
Ensure You Maintain The Tan Properly
“Keep your skin really hydrated with lots of emollient rich moisturisers – avoid oil-based products at all costs, these are known to break down self-tan. If you’re a regular user of liquid exfoliants or retinols, be aware that these ingredients speed up the exfoliation process and will cause your tan to fade quicker. If you are in and out of a pool or the sea, know that chlorine and salt will dehydrate your skin, so try to shower off before reapplying an emollient-rich SPF to keep your skin nourished.” – Gina
Follow @GINA_TANS & @JAMESHARKNETT_TAN
SHOP THE TANNING EDIT

DISCLAIMER: We endeavour to always credit the correct original source of every image we use. If you think a credit may be incorrect, please contact us at info@sheerluxe.com.
