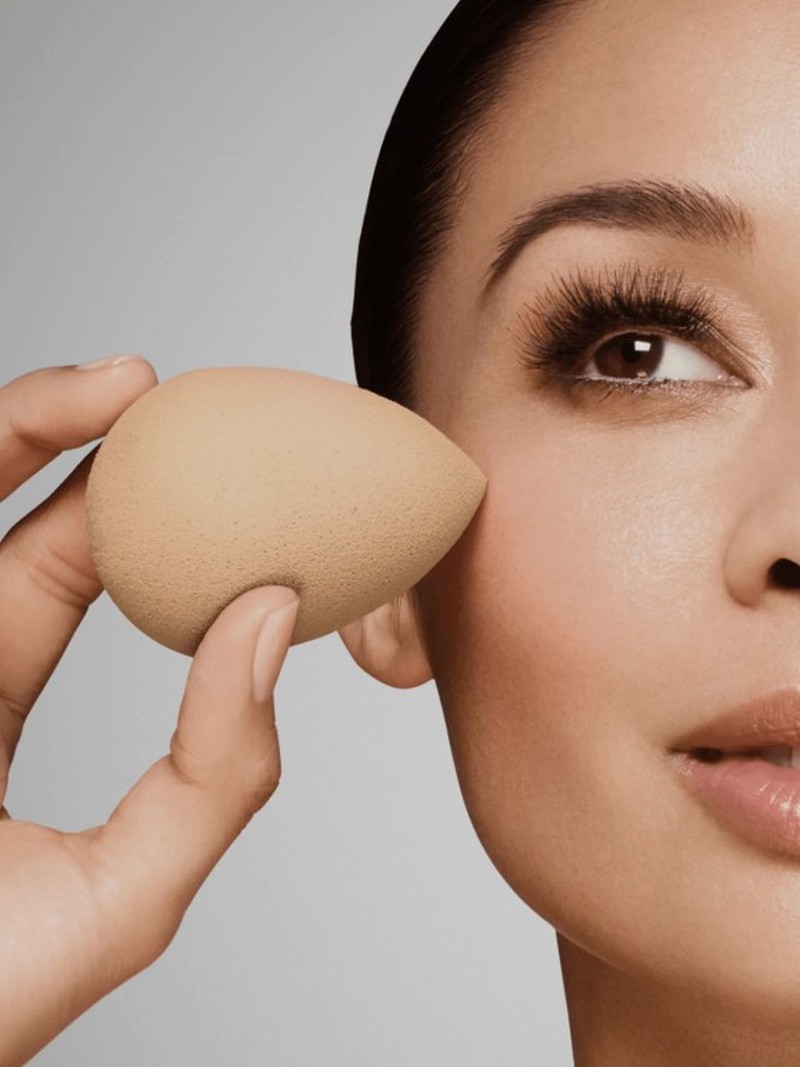
Beautyblender Refresher: 5 Application Tips & 5 Things You Didn't Know You Could Do With One
The Application Tips
Get It Damp
“Before you do anything else, dampen your sponge. Wring out any excess water, then use it to dab on your foundation. You only want your sponge to be damp, never soaking wet. If you’re applying a full face of foundation, spray some setting spray onto your sponge first – this will prevent it from absorbing too much product and help base make-up set in place. Charlotte Tilbury’s Airbrush Flawless Setting Spray is great for this, thanks to a lightweight formula that won’t allow make-up to slip.” – Make-up artist Jessica Kell
Perfect The ‘Blend & Bounce’ Technique
“There are plenty of ways to get that flawless coverage, but the most common way to use a Beautyblender is to blend and bounce your way to that smooth finish. We don’t recommend dragging the blender across your face because swiping it will just move the product around instead of properly blending it. Bouncing creates a uniform, seamless coverage without streaks and lines. After this, you can bounce the pointed tip in hard-to-reach areas like under the eyes and nose.” – The Beautyblender team
Consider Sizing
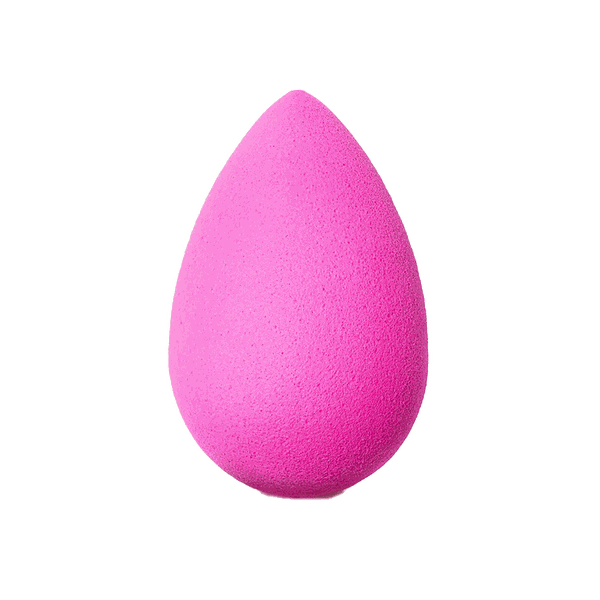
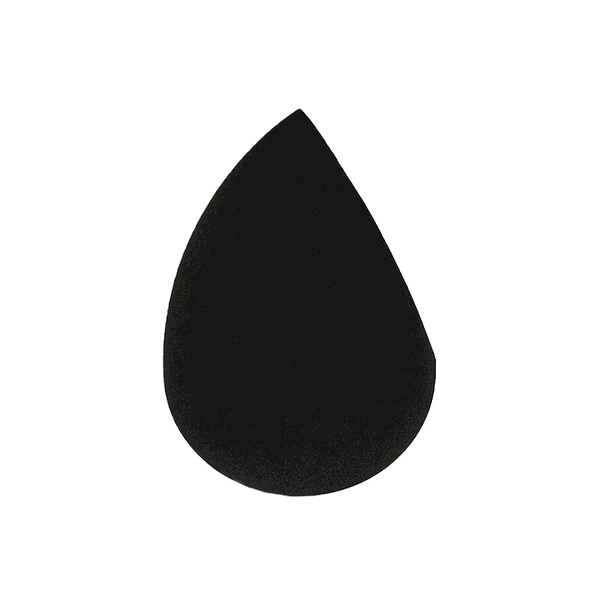
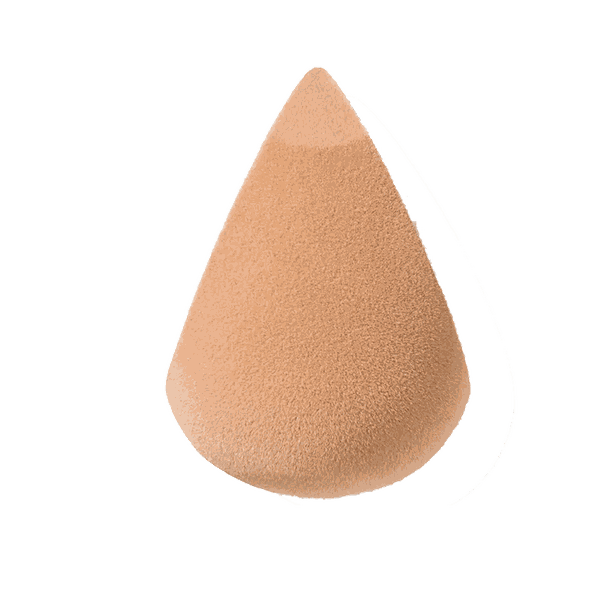
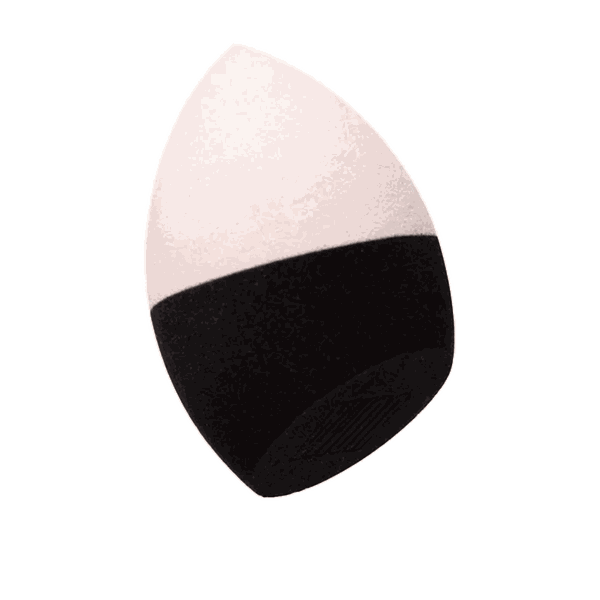
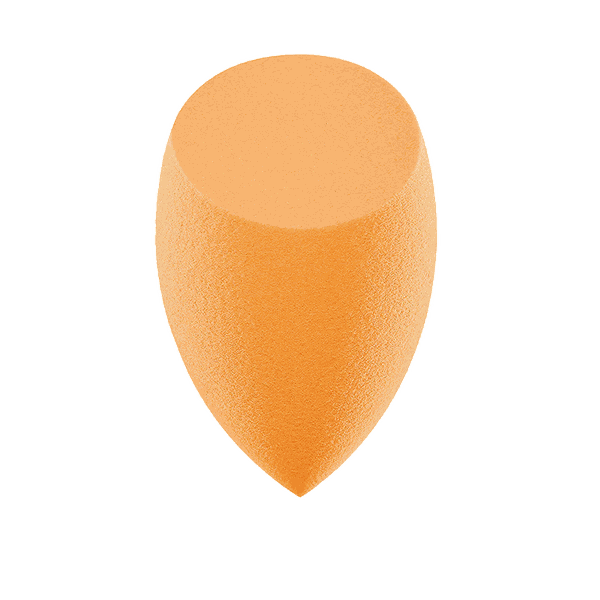
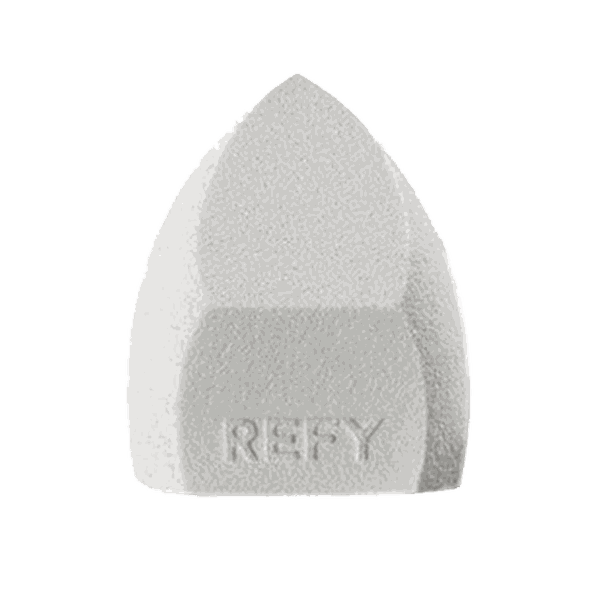
“Your make-up sponge can be used for just about anything in your beauty routine, especially if you have different blender sizes. The original Beautyblender is great for perfecting your base, and laying down that flawless foundation we all love. However, you can also opt for smaller blenders to use for eye make-up, highlight, contour or even setting powder at the end of your look for all-day coverage.” – The Beautyblender team
Store It Hygienically
“You should leave your sponge out to dry after washing and before storing it to avoid bacterial growth and mould – as this can cause breakouts. When travelling, store in a ventilated pouch instead of a make-up bag or plastic bag, so the sponge can breathe” – The Beautyblender team
Clean It Regularly
“Keeping your make-up sponge clean will not only make it last longer, but help keep your skin clean. To avoid build-up of dirt and grime, wash your blender after each use. Our Liquid Blendercleanser solution is a highly effective yet gentle formula you can use every day, on your blender as well as standard makeup brushes. Simply wet your blender with the solution and work it into a gentle lather. Use it with our Keep.It.Clean tool which gives you a solid surface to rub your blender against while you clean it. If you’re on the go and you only have time for a quick clean, pump a few spritzes of our Instaclean spray directly onto your blender and use a towel to remove residue – no rinsing. For maximum cleanliness, we recommend swapping out your Beautyblender make-up sponge every 3-6 months, just like your toothbrush and mascara.” – The Beautyblender team
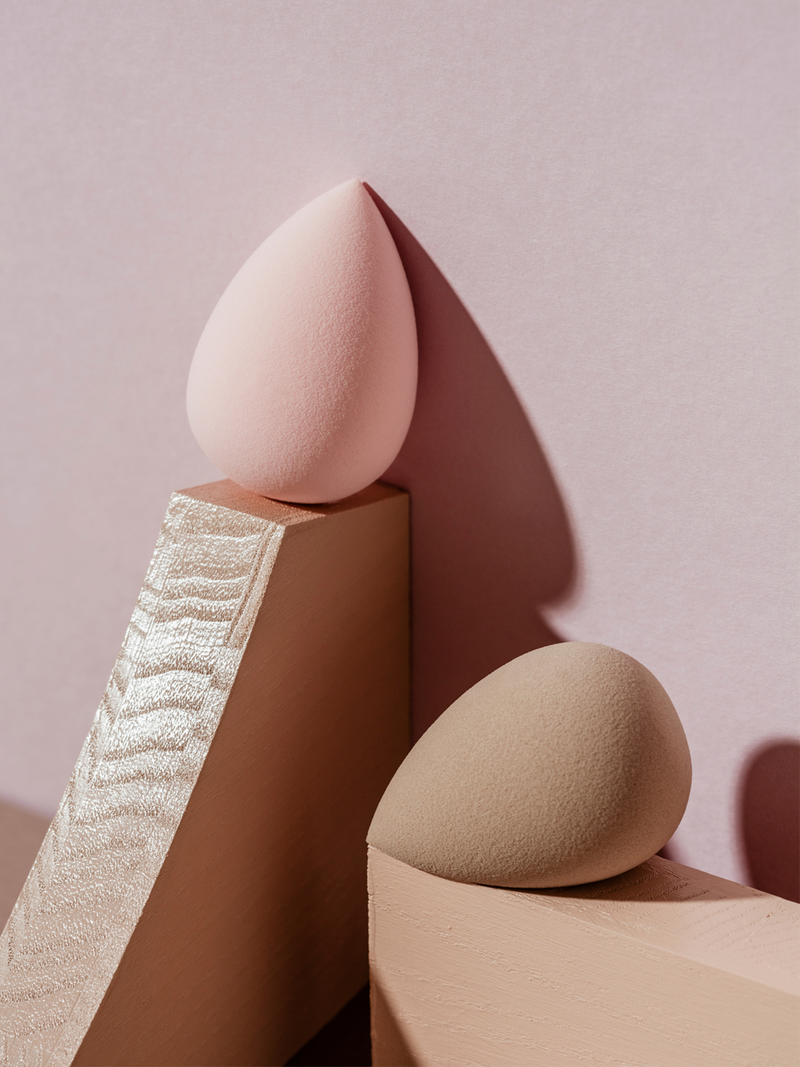
The Things You Didn't Know You Could Do With A Beauty Blender
Cut It Up
“Once you feel your blender has reached the end of its life, simply take a pair of scissors and cut it in halves or quarters. This will give your sponge a new lease of life and the new angles will be great for getting into tight corners. You can also use the new exposed middle to evenly apply night-time oils over the face, neck and chest.” – Jessica
Depuff Your Skin
“Puffy, inflamed skin calls for a ‘cold compress’. Put a Beautyblender in ice cold water, then leave it in the freezer so it gets really cold, before rolling it over eyes and skin to take down swelling and inflammation. It works every time.” — Make-up artist Kenneth Soh
Conceal Your Roots
“It’s often recommended to use a near-the-end-of-its-life Beautyblender to dab into hair root concealer. Simply sponge root cover-up onto hair to get rid of any greys or dark regrowth with ease. Pretty clever and saves you getting your fingers dirty.” – Kenneth
Create Nail Art
“Beautyblenders are now being used for quirky nail art, and they’re great for creating an ombre effect. Pour two nail polishes onto a surface and let them swirl together. Then, take your sponge and dab it onto the polish a few times, before pressing down directly onto your nail. Try dabbing it on lightly, and move it very slightly up and down to achieve a marble effect.” — Beautyblender founder Rea Ann Silva
Apply Your Skincare
“It's possible to use a Beautyblender to apply skincare. It really helps to disperse the product and push it down deeper. The key is to press a thick moisturiser or serum into the blender when it’s damp so it doesn’t soak up any other liquid. This helps everything absorb and, when pressed in, encourages a bit of a lymphatic massage, in turn boosting circulation and depuffing at the same time. You’re less likely to lose product as well, which you often do when applying skincare products with your fingers.” – Kenneth
Follow @KennethSohMakeUp & @JessicaMakeUp and visit Beautyblender.com
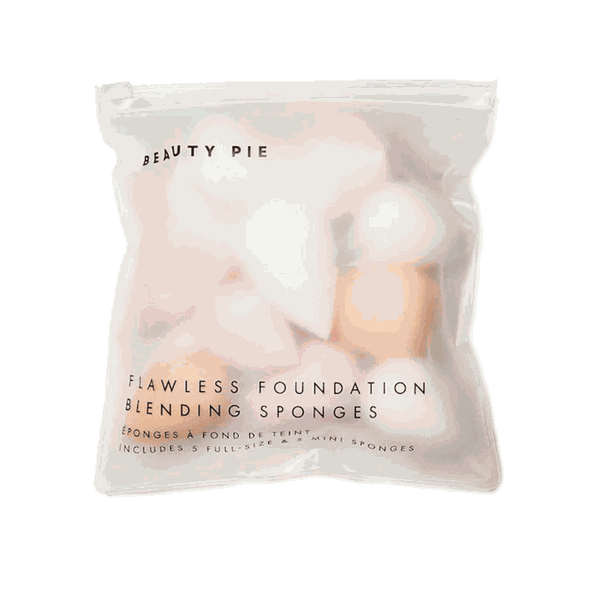
SHOP OUR FAVOURITES
DISCLAIMER: We endeavour to always credit the correct original source of every image we use. If you think a credit may be incorrect, please contact us at info@sheerluxe.com.
