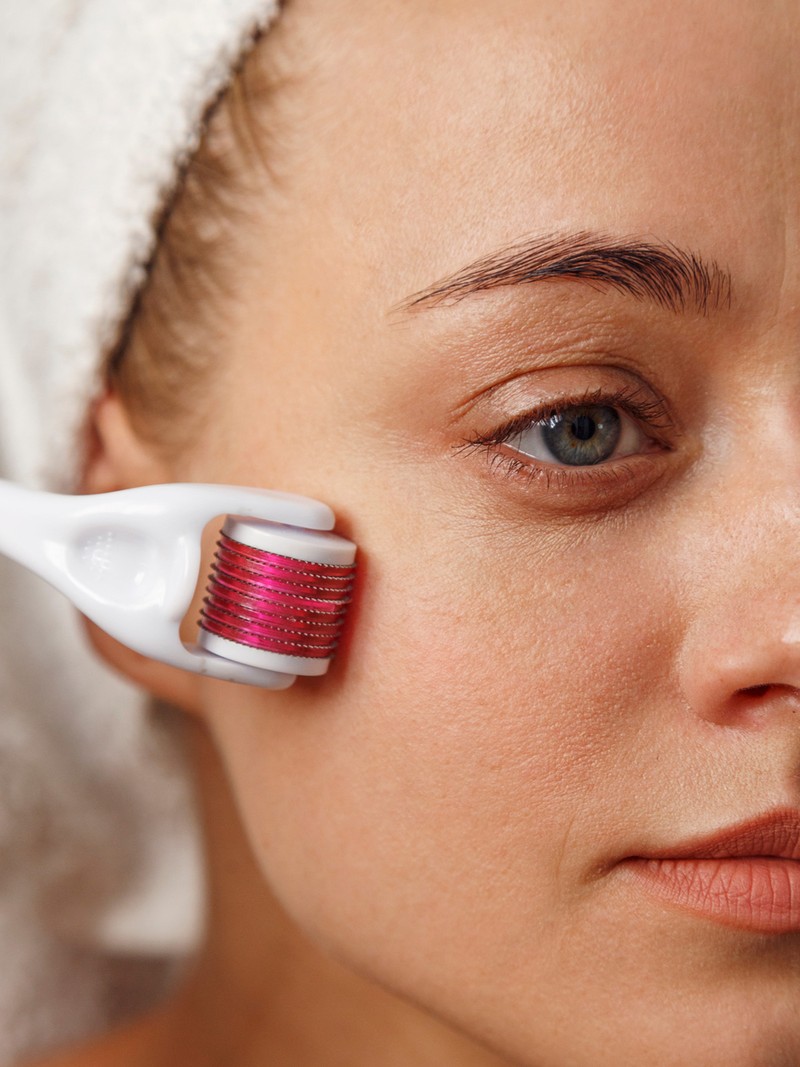
The SL Guide To… Dermarolling
What Is Dermarolling & What It Does?
It improves the skin's appearance…
“Dermarolling, also known as microneedling, is a skincare practice that involves creating small punctures in the skin using a tool studded with tiny needles. These micro-injuries kickstart your body’s healing process and stimulate collagen and elastin production, which prompt your body’s natural healing process. This can lead to improved skin texture and a reduction in the appearance of scars, fine lines and wrinkles. The new skin cell growth it encourages can also help to fade acne scarring and hyperpigmentation. Dermarolling can also increase the absorption of skincare products, making them more effective.” – Farzana, founder of The Glow Up Studio
It’s less intense than some alternatives…
“Laser treatments use a focused light to zap skin issues. Dermabrasion literally sands off the top layer of your skin. Dermarolling is far gentler. While all three can improve your skin’s appearance, dermarolling can be done at home and is less invasive. This makes it a great option for those on a budget.” – Farzana
It’s performed using a handheld device…
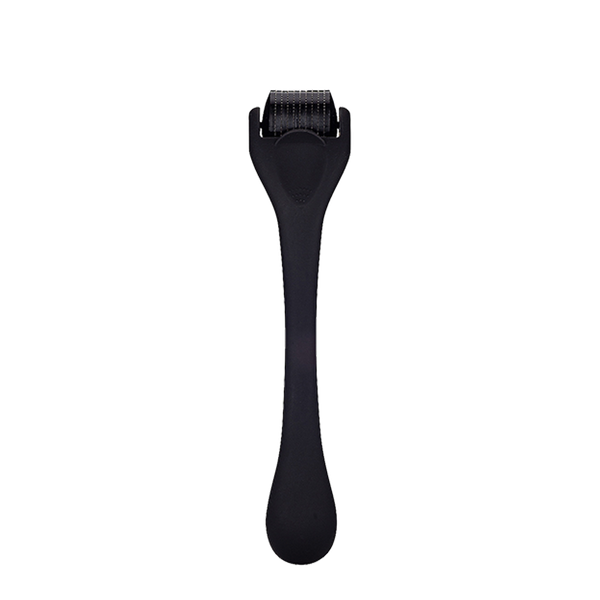
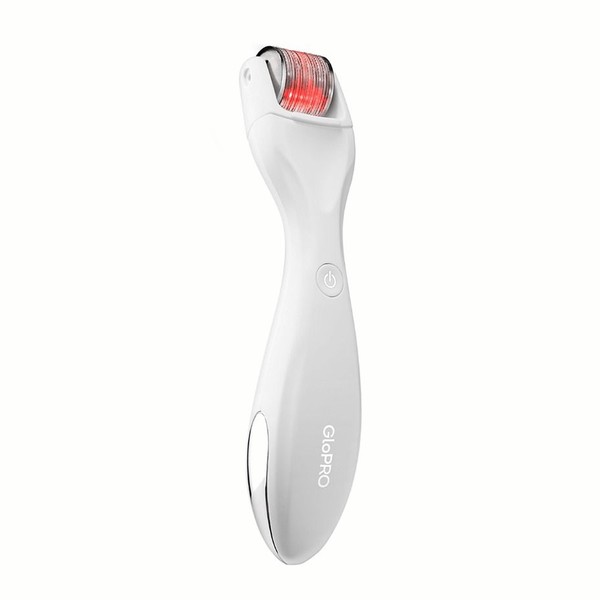
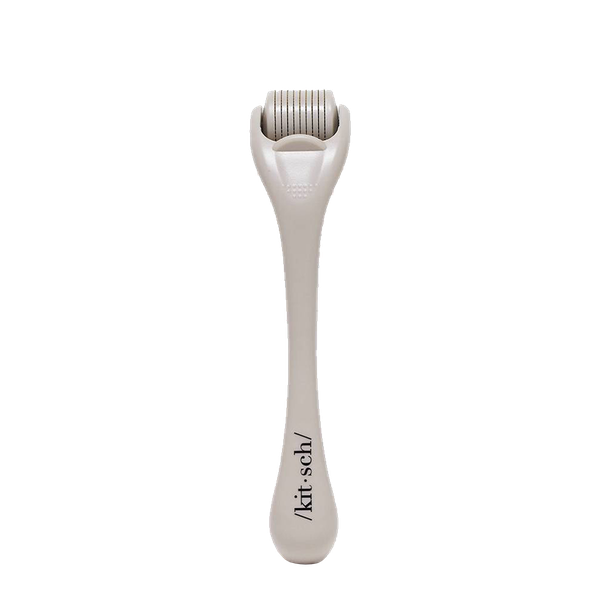
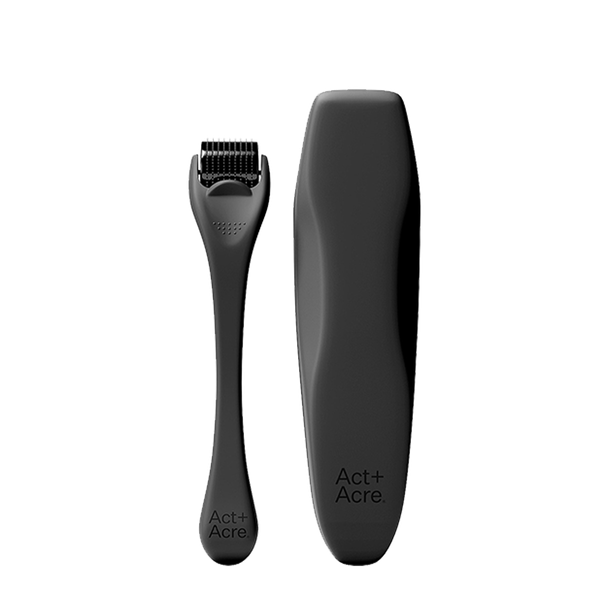
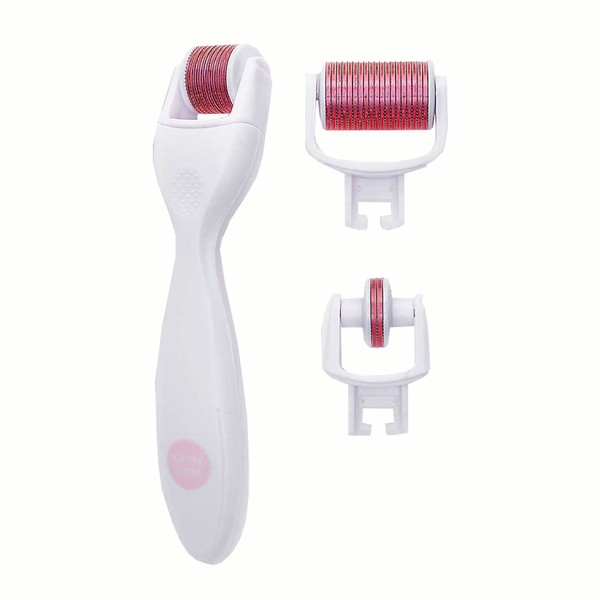
“A dermaroller typically consists of a cylindrical barrel with multiple fine needles on its surface that range in size from 0.2mm to 2.5mm. When rolled over the skin, these needles create tiny punctures or microchannels that trigger the skin's natural healing process.” – Emma Wedgwood, aesthetic nurse & founder of Emma Wedgwood Aesthetics
It isn't only for the face…
“Dermarolling on the scalp can help stimulate blood flow and promote hair growth, which can be beneficial for conditions like alopecia. Similarly, for those who suffer with hyperpigmentation or scarring from ingrown hairs, for example, a body dermaroller can be handy for alleviating texture.” – Farzana
What Should You Know Beforehand?
There’s a recommended needle length…
“Shorter needles are believed to have a more superficial effect on the skin and are typically used for enhancing product absorption and general skin rejuvenation, resulting in improved skin texture and tone. Longer needles can penetrate deeper into the skin and stimulate collagen production, which can lead to improvements in scarring and hyperpigmentation, so these tend to be used for deeper scars, stretch marks, or more severe skin conditions. Consulting a professional can help determine the appropriate needle length and treatment plan for your specific skin concerns.” – Emma
Choosing the right tool is important…
“Look for dermarollers that use surgical stainless steel or titanium needles. These materials are durable and less likely to bend or become dull quickly. Always purchase from a reputable brand, and make sure to check out reviews and ratings before buying. The length you choose depends on your skin concern. For home use, a length of 0.25mm to 0.5mm is typically recommended.” – Farzana
Prep & aftercare are vital…
“Before a dermarolling session, thoroughly cleanse and sanitise the skin to reduce the risk of infection. It’s also recommended to avoid any skin irritants – including products containing acids, retinoids or exfoliating agents – for at least 24-48 hours prior to treatment. After the session, it’s important to keep the area clean and moisturised to aid in the healing process. Sun exposure should be avoided for at least 24 hours.” – Jinah Yoo, dermatologist at Maylin by Dr Jinah Yoo
It shouldn't hurt…
“The goal is to create micro-channels, not to cause pain or bleeding. Dermarolling on sensitive areas like the forehead can be more uncomfortable due to thin skin, proximity to the bone and because facial nerves are connected here – so it might cause your eyes to water. If they do, just be cautious and adjust the pressure for a more comfortable experience.” – Farzana
There can be side effects…
“While dermarolling is generally considered safe, there are some possible side effects. These can include bruising, redness, swelling and minor bleeding. To minimise these risks, it’s important to use a high-quality dermaroller that is properly sterilised before and after each use. It is also recommended to use a numbing cream prior to treatment to minimise discomfort.” – Jinah
Some people should avoid it…
“This treatment isn't for everyone. If you’re dealing with active breakouts, rosacea, eczema or psoriasis, dermarolling might make things worse. It’s also a no-go if you’ve got any infections, wounds or skin cancer in the treatment area. If your skin tends to form keloids or if you’re pregnant, it’s better to skip it. When in doubt, it’s always a good idea to check in with your dermatologist first.” – Farzana
Tips For Dermarolling At Home
Use it in conjunction with specific skincare & ingredients…
“As mentioned, dermarolling boosts your skincare by creating tiny channels, letting active ingredients sink deeper into your skin. Specific serums or creams can address various skin concerns more effectively. Ingredients like aloe vera, niacinamide, hyaluronic avoid, ceramides and lipids are perfect as they are designed to calm the skin and promote healing. Avoid anything potentially irritating straight after dermarolling – for example, exfoliating acids, retinol or high concentrations of vitamin C as these can cause discomfort. Sunscreen is also extremely important as the treatment can make your skin quite sensitive.” – Farzana
Think about combining it with other treatments…
“While the treatment can be combined with other professional skincare treatments like chemical peels or microdermabrasion, it's important to approach these combinations with caution and seek the guidance of a skincare professional to avoid over-exfoliating or causing undue irritation or damage to the skin.” – Dr Jinah
Decide on a frequency that works for you…
“In general, it is recommended to wait at least 4-6 weeks between dermarolling sessions to allow for proper healing. Individuals with more severe skin concerns may require more frequent treatments or longer needles, while those with milder concerns may only need occasional treatments. It’s important to consult with a skincare professional to determine the appropriate frequency and length of needles for your individual needs.” – Jinah
Farzana's Step-By-Step Guide To Dermarolling At Home:
Cleanse
Begin by thoroughly cleansing your skin to remove dirt, oil and make-up. Sterilise the dermaroller by soaking it in isopropyl alcohol for a few minutes.
Numb
Generally dermarolling is not a painful experience and should not hurt. However, depending on your pain tolerance and the needle length of your dermaroller, you might want to use a numbing cream to ease any initial discomfort.
Roll
Hold the skin tight and roll the dermaroller back and forth over your skin in different directions, covering each area of your skin 4-5 times. You’re not trying to press the needles deep into your skin, but rather just gently gliding the roller while applying a bit of pressure.
Treat
Be sure to apply a soothing serum and avoid anything too harsh or irritating. Also always apply sunscreen.
Clean
Clean your dermaroller after every use. You can do this by soaking it in isopropyl alcohol for a few minutes.
Rest
Give your skin time to heal and regenerate. Depending on how your skin reacts, you might want to wait a few weeks between sessions. Remember, results won’t happen overnight – it’s a process.
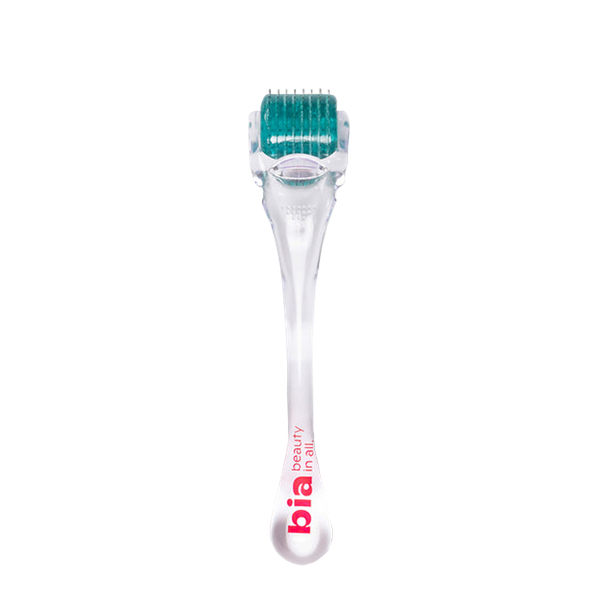
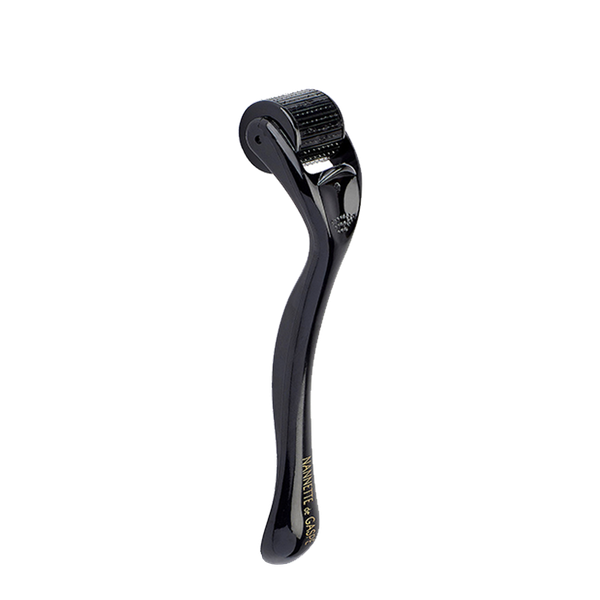
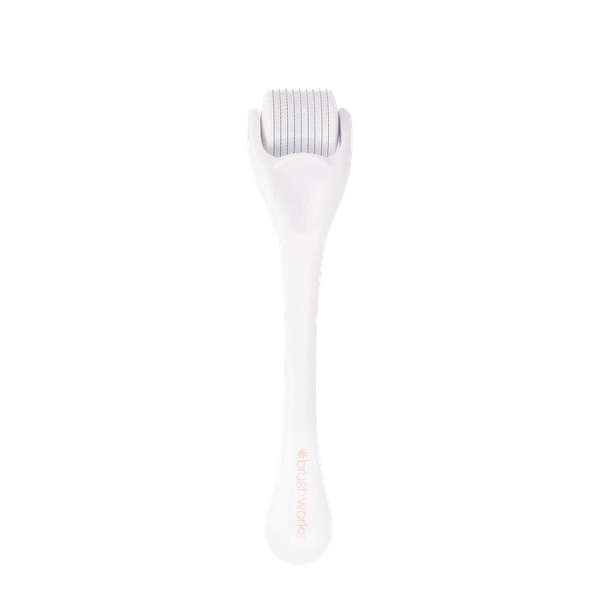
SHOP THE EDIT OF THE BEST AT-HOME DERMAROLLERS
DISCLAIMER: We endeavour to always credit the correct original source of every image we use. If you think a credit may be incorrect, please contact us at info@sheerluxe.com.
