How To Wrap Presents Well
Start With The Right Tools
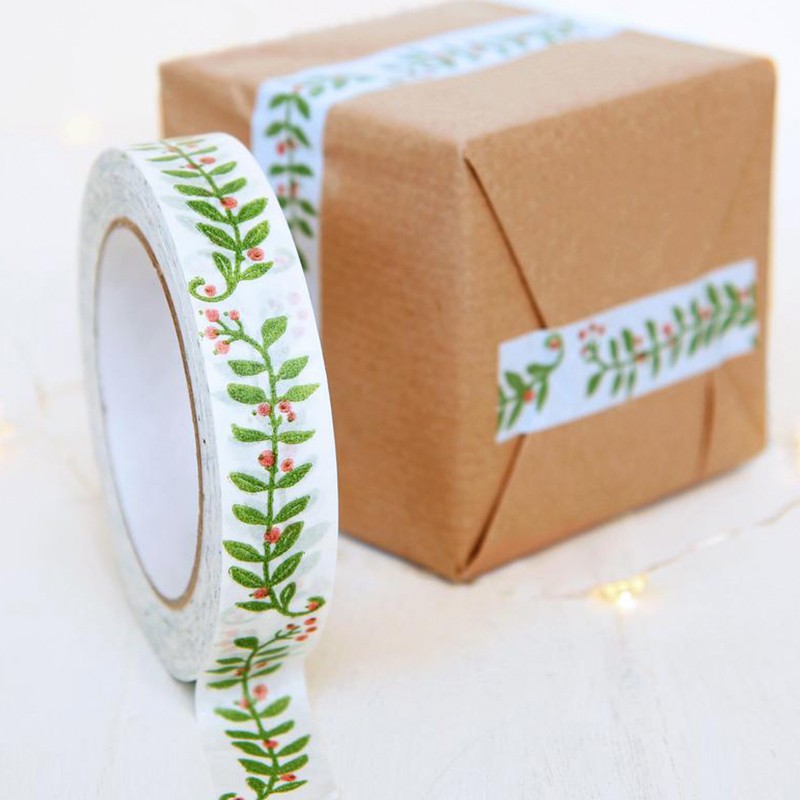
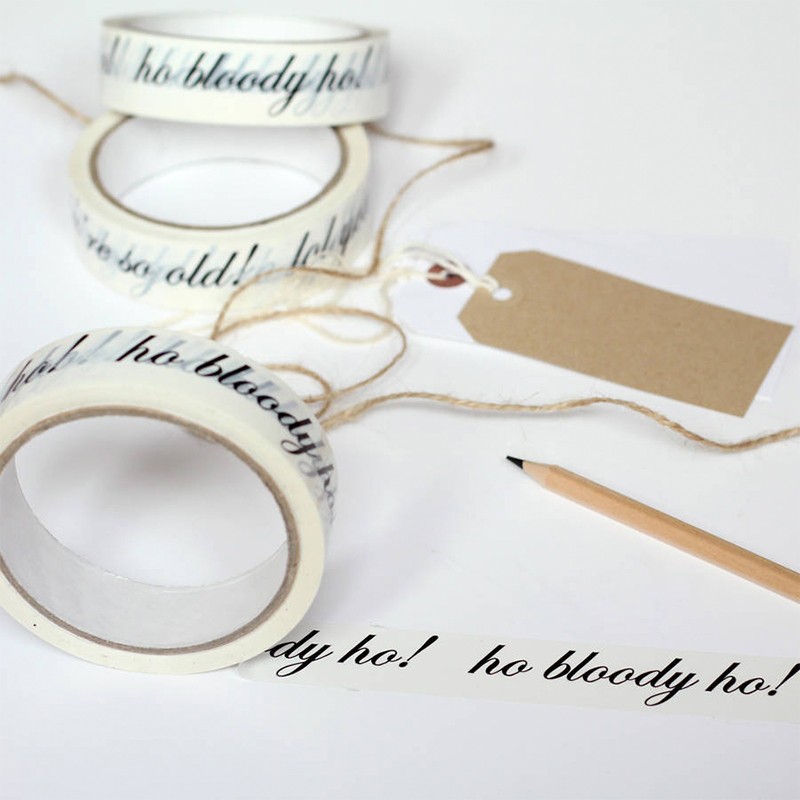
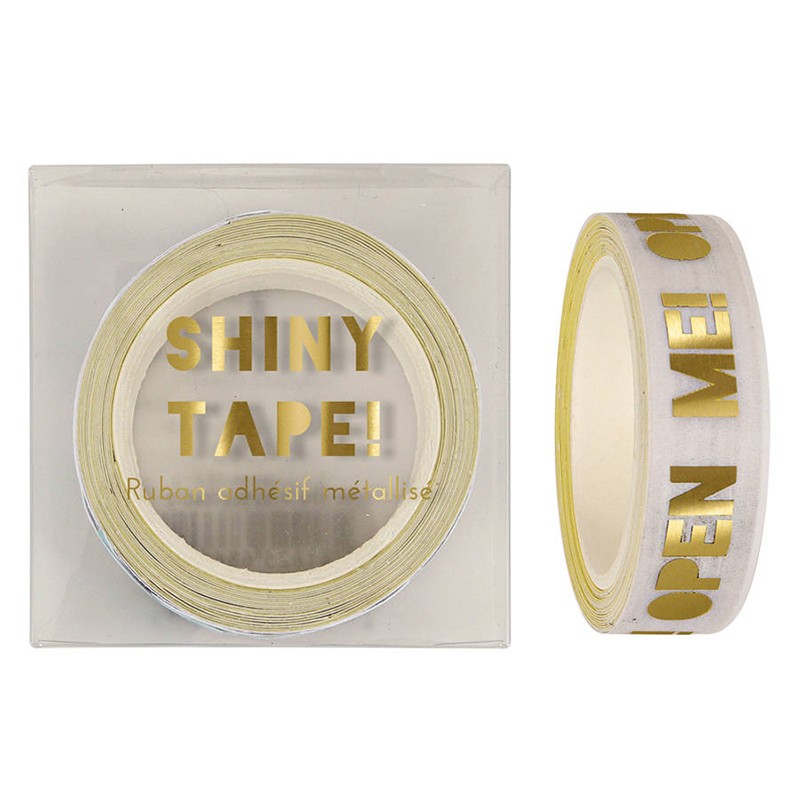
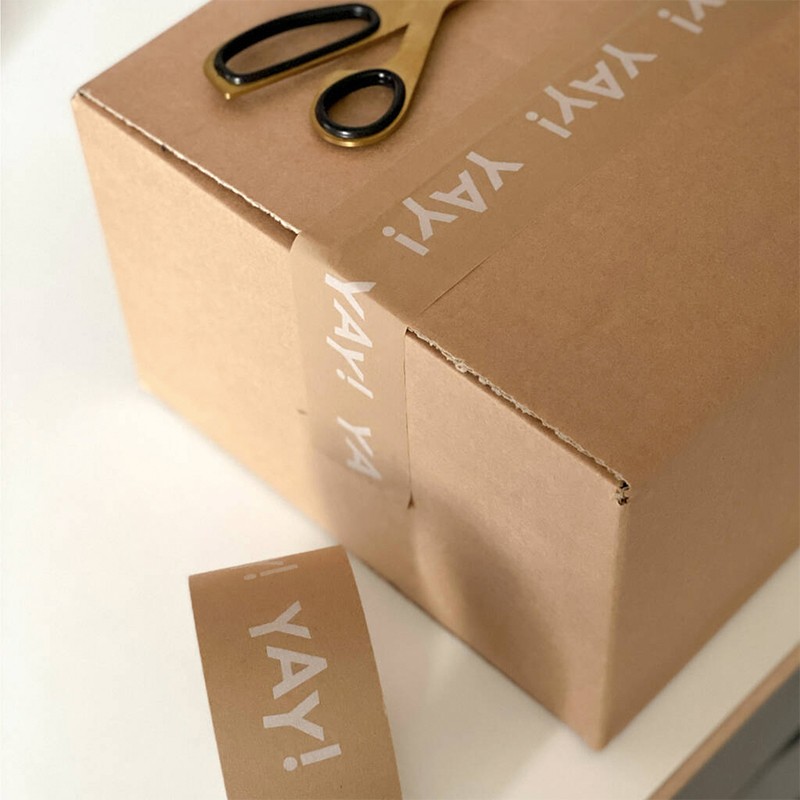
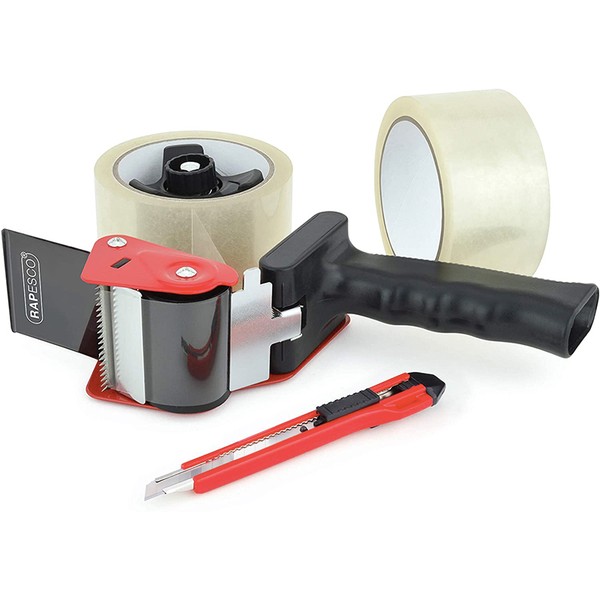
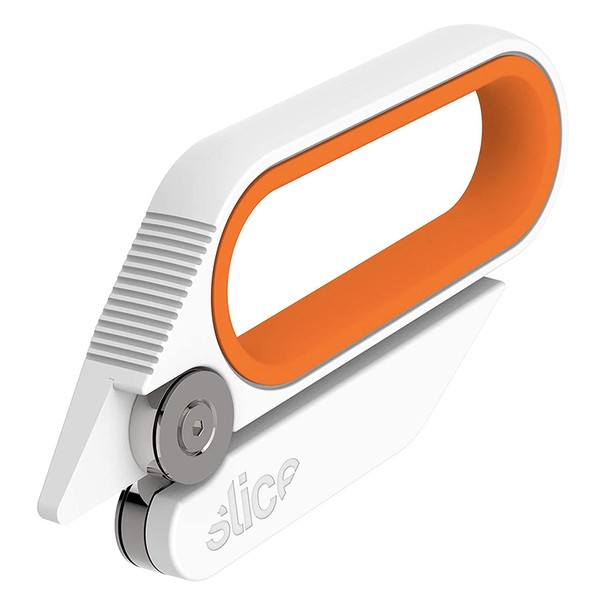
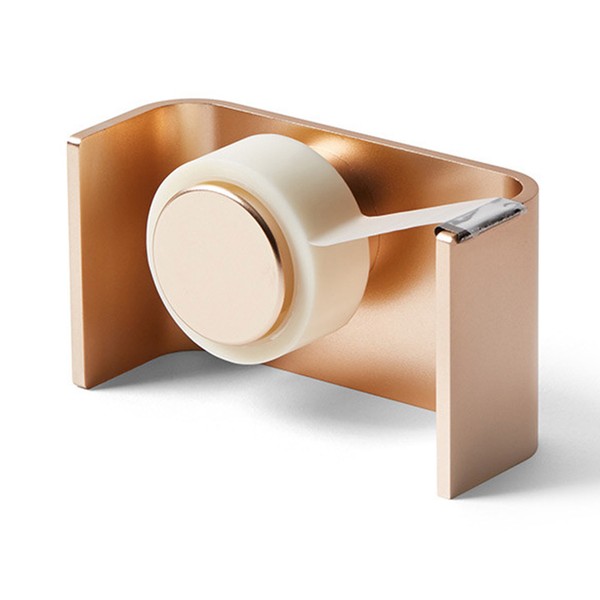
“Sellotape and scotch tape are the tried and tested choice for gift wrapping,” says Loretta Omari-Asor, founder of gift-wrapping service Lolo Wraps. “Do be mindful of finger marks on the tape and over-manipulating it, which could reduce its stickiness. If you're after a more sustainable option, have a go with some paper tape, which is plastic free and extremely easy to take off the wrapping paper once all the gifts have been opened. Invest in some good scissors, too. There is nothing worse than spending endless hours using blunt scissors, which only result in rough cut ribbons and messy gift box edges. My favourite pair are Farrar & Tanner’s Gold Liveby Scissors and Coopers of Stortford’s titanium coated stainless steel five-piece scissor set. If worse comes to worst, fold over those jaggy edges to keep everything looking precise and neat.”
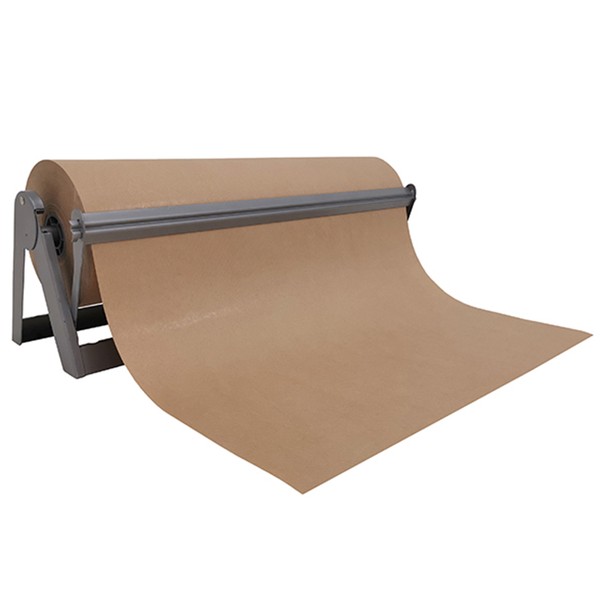
“Double-sided tape is a godsend and I’ve developed one that can be easily torn,” says Jane Means, who runs courses in in the art of wrapping and has her own range of tape, ribbons and accessories. “It’s also useful to have a spare roll of brown paper for emergencies too, as this can easily be jazzed up to look festive.”
Choose A Theme
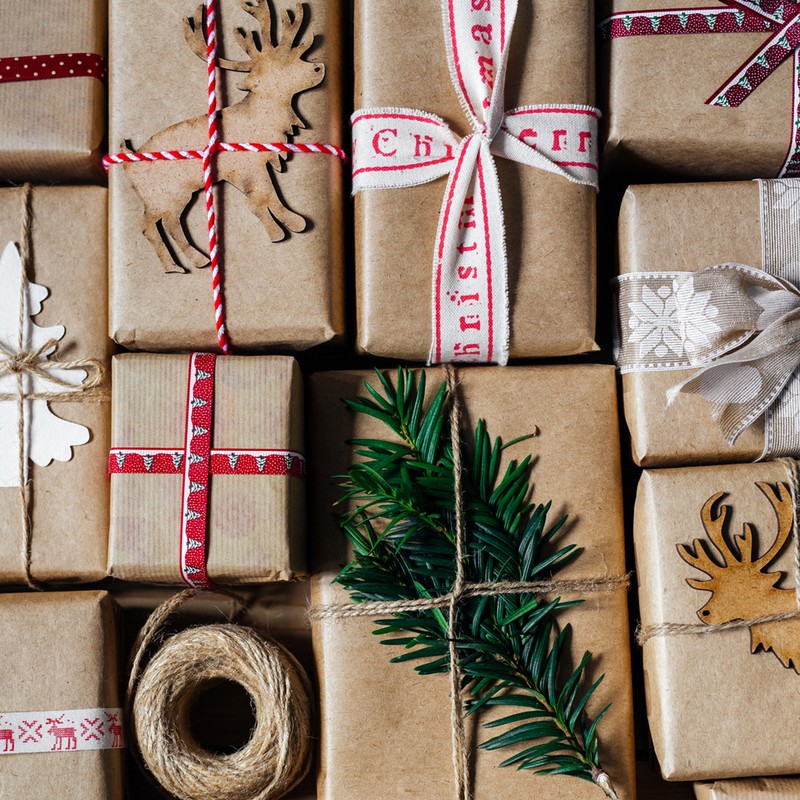
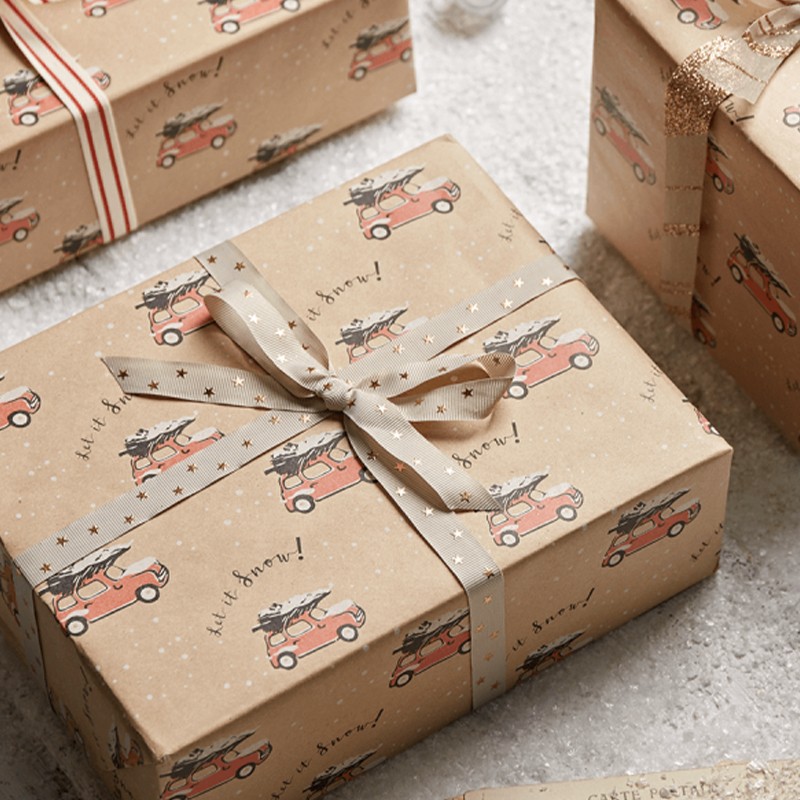
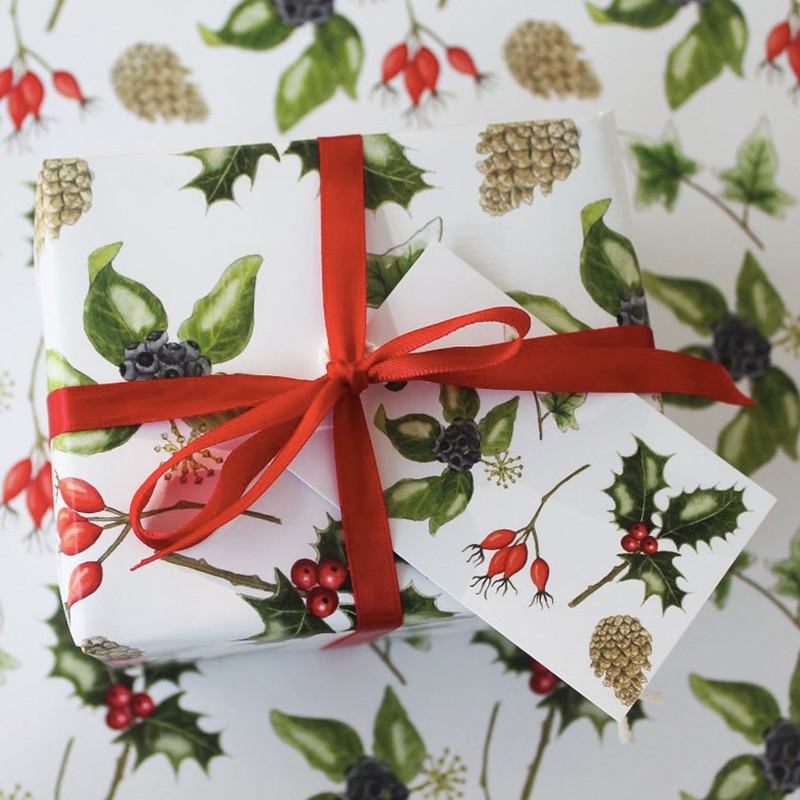
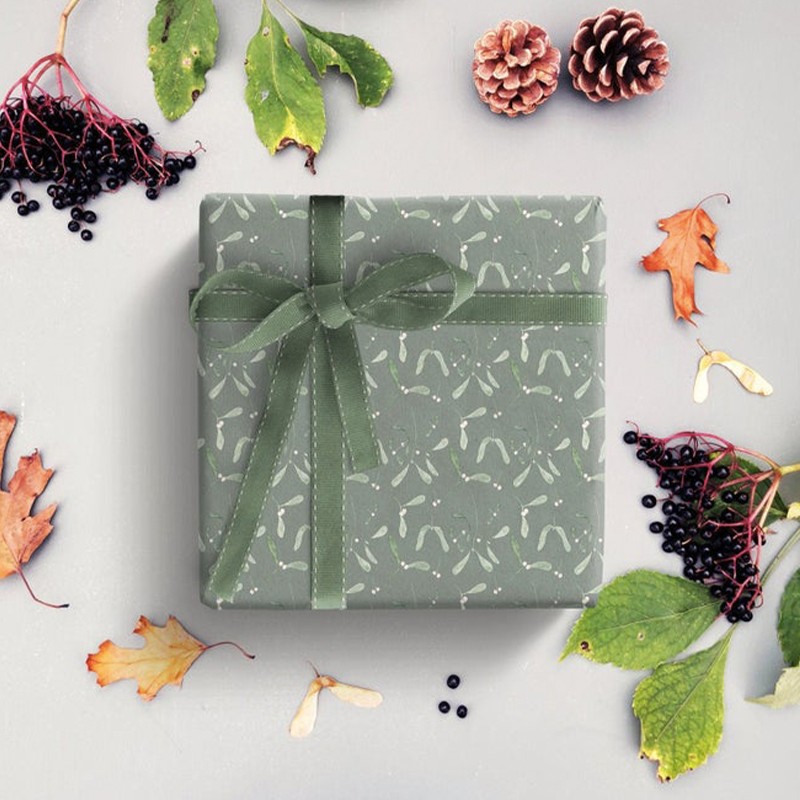
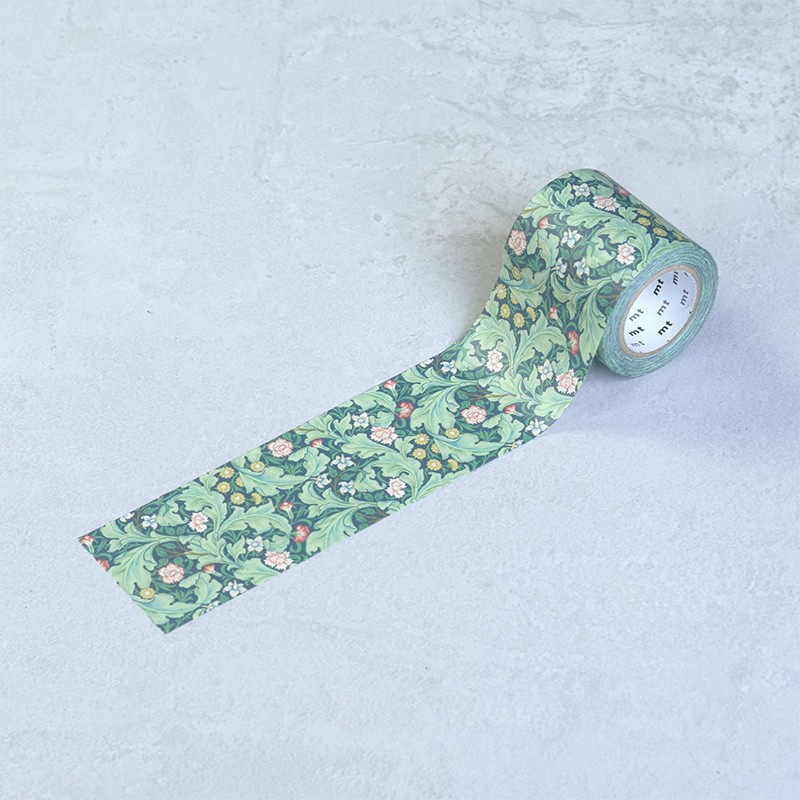
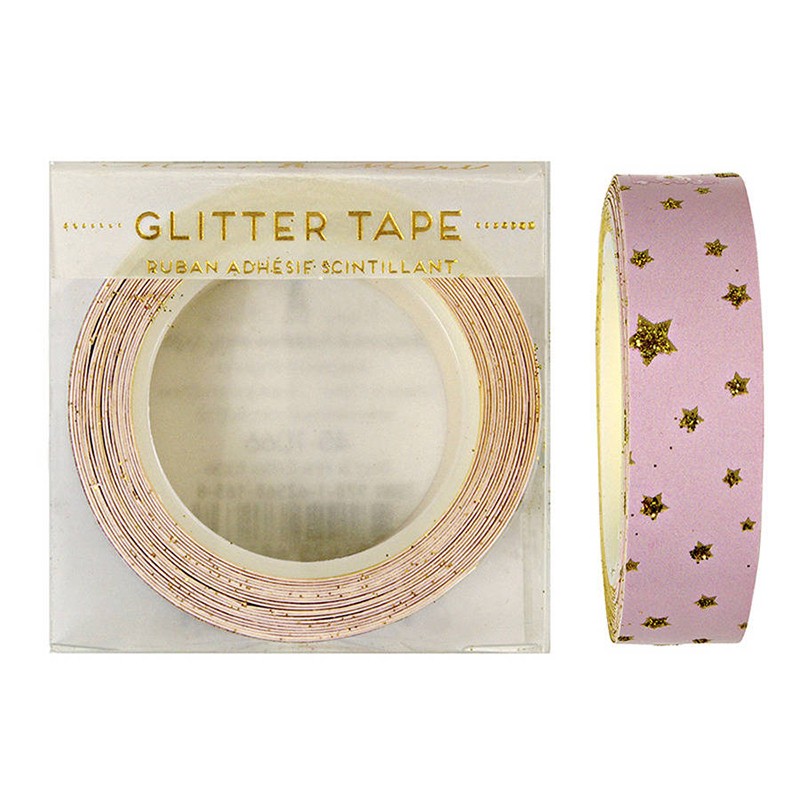
“Right now, anything goes, but after a tricky year, the big trend is going to be cheerful and colourful,” says Jane. “Deep blue is still a classic favourite, along with the traditional red, gold and deep greens, but it’s also a good idea to go with a non-festive design, such as dots and stripes, then you can use up any remaining paper throughout the rest of the year.”
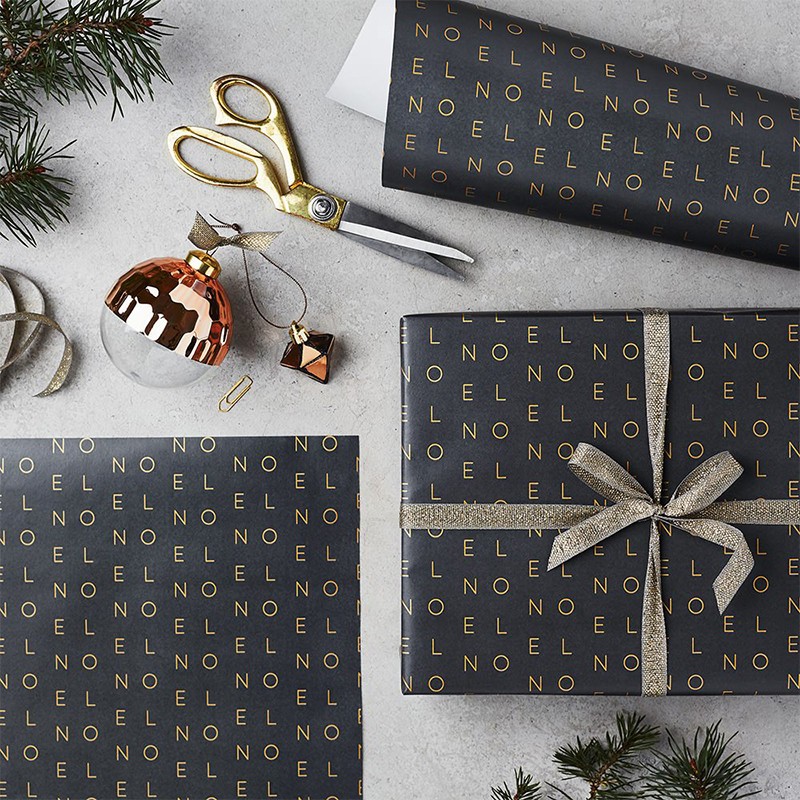
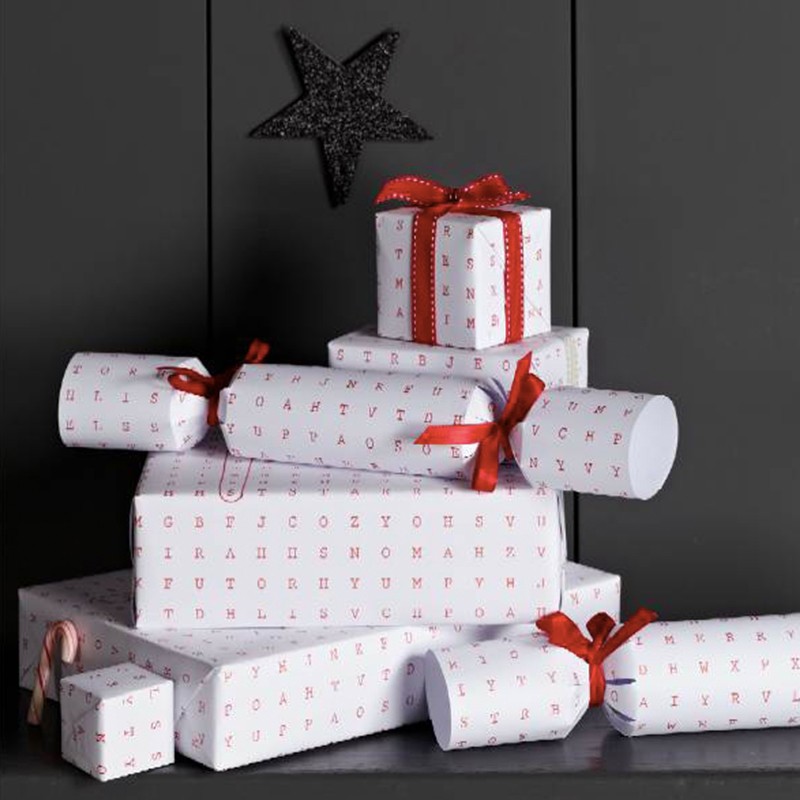
Lolo suggests choosing a theme ahead of time. “Decide on how you want your gifts to look and mark this as your signature for the season, for example, jewelled colours, monochrome, rustic, traditional prints etc, and curate all your complimentary wrapping essentials, cards and accessories from there.”
Get Your Paper Quantities Right
“Waste not want not, so try to use as little paper per item as possible,” says Lolo. “Not only because this is more sustainable, but also because it looks much neater in the end. As you lay your item on the wrap, turn and roll the item at a 180-degree angle, this should then give you an immediate gage of how much paper you'll need. Focus on the flank edges (the areas you will fold in) which will only need to be about half the depth of your item. Avoid folding in too much excess paper as this only leads to a bulky and messy looking gift wrap.”
You always want sharp corners and edges, too. “Fold, fold, fold!” insists Lolo. “Despite your best efforts and fullest concentration, it's never quite perfect when you trim it, so play it safe and fold it for a neat and tidy finish.”
Deal With Awkward Shapes
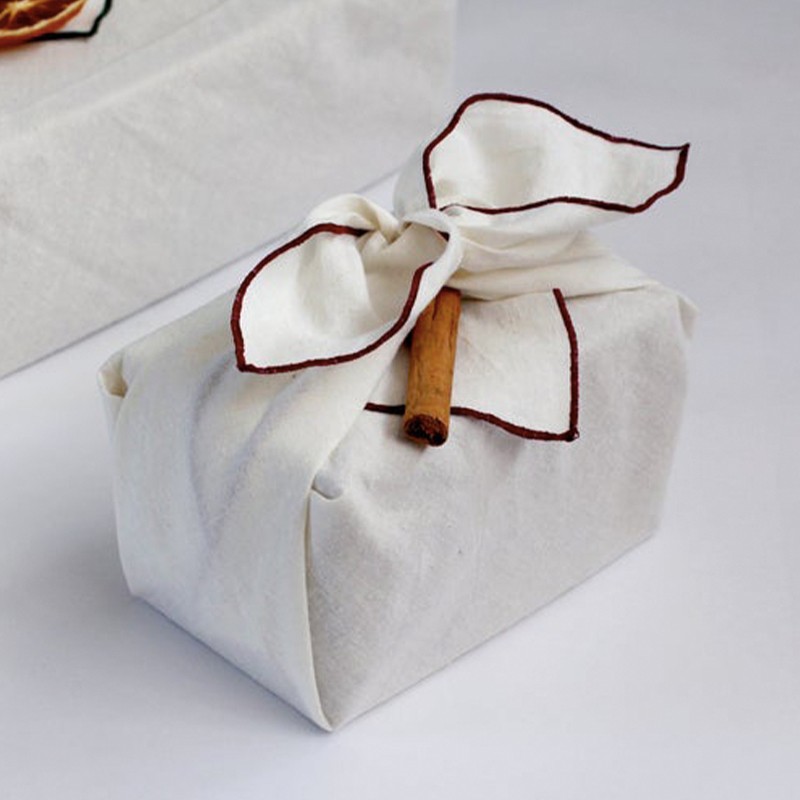
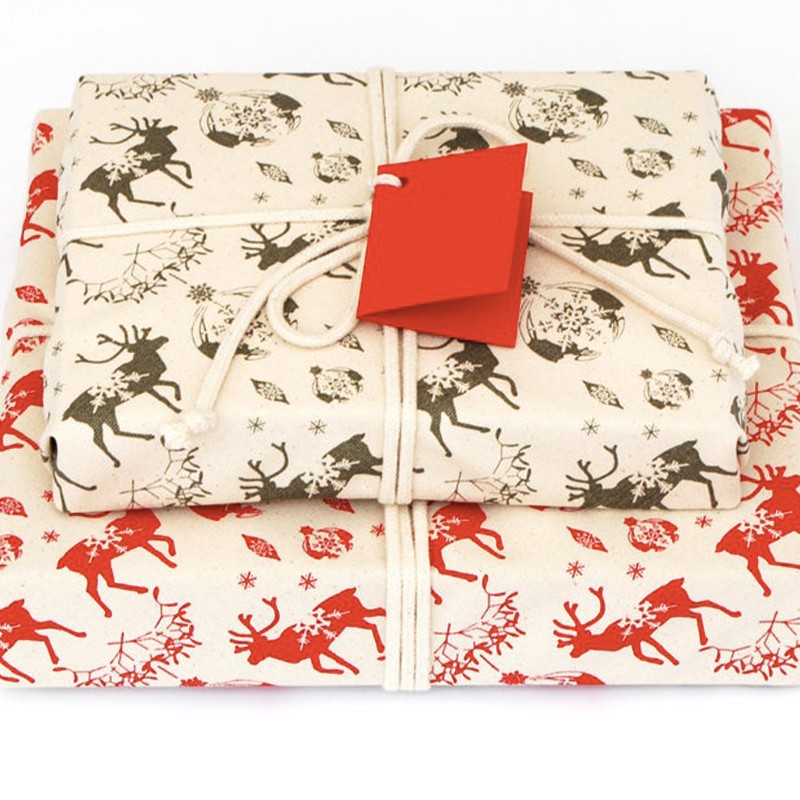
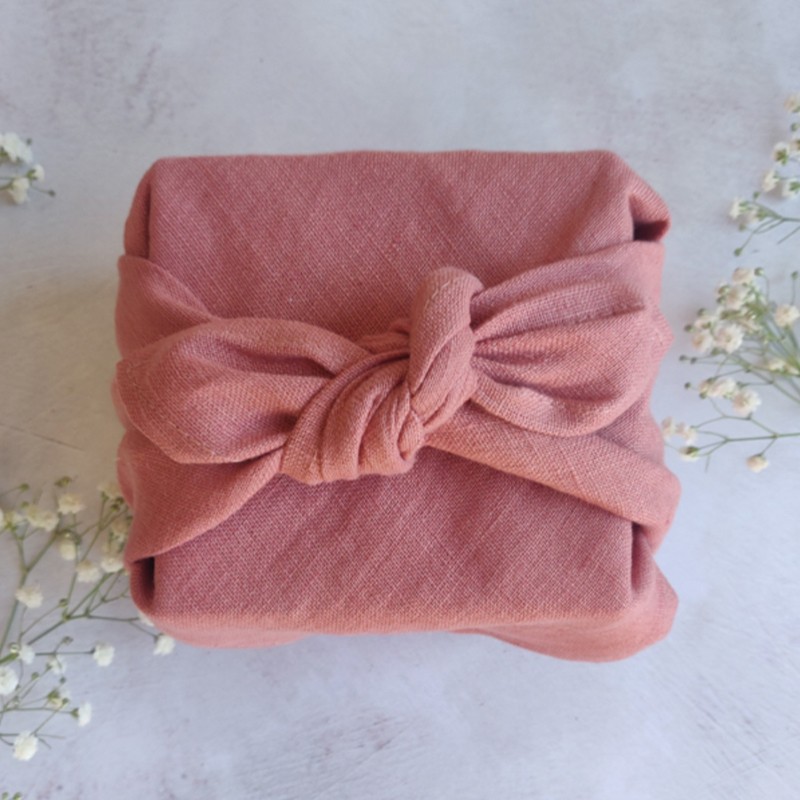
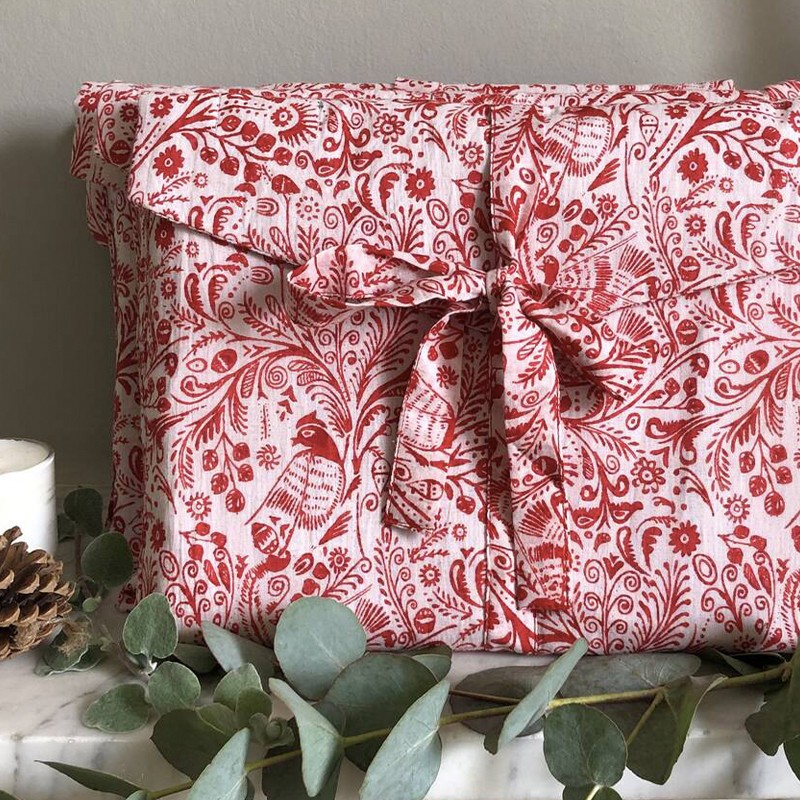
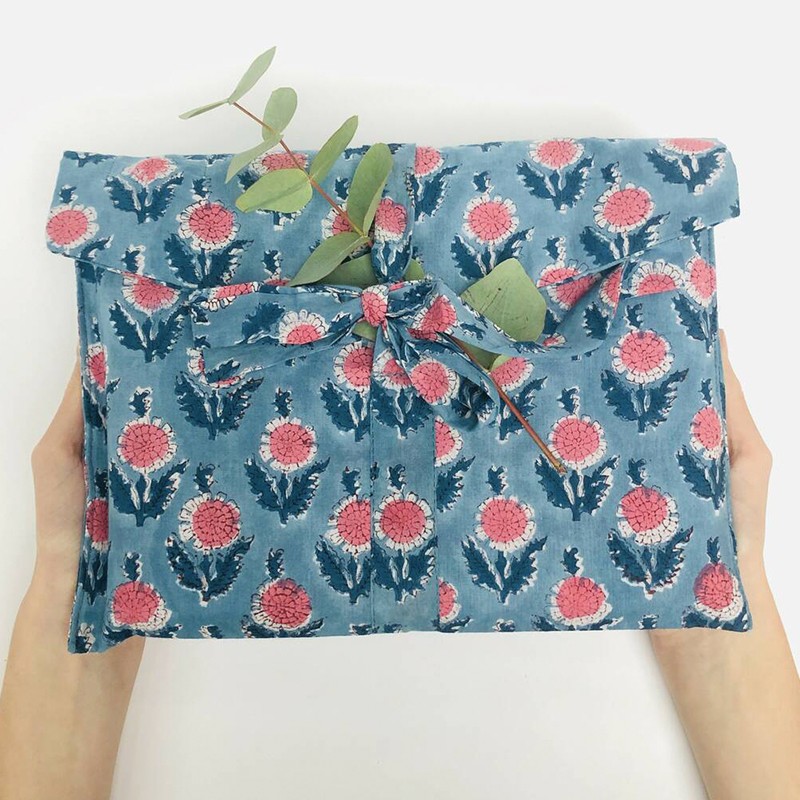
“Go for a flexible wrapping such as cellophane, tissue, fabric and netting as it will mould around the gift much easier than paper,” advises Jane. “Simply place the item in the centre of the fabric and gather around securing with some ribbon or string.”
Lolo suggests holding on to the original boxes where possible, too. “It's always tempting to immediately recycle those kraft-looking packaging boxes, but these can be life savers. They will make your life so much easier when it comes to gift wrapping those more awkwardly-shaped champagne bottles and kids scooters! Don't forget, even a plain old cardboard box can be instantly transformed with beautiful wrapping.”
Use Ribbon Wisely
“To save on your ribbon, it’s worth just going around the box once, not twice,” says Jane. “If you are wrapping a box, for example, measure the ribbon around the box plus some extra to tie the bow. Always measure twice and cut once so you avoid waste.”
Tying the perfect bow requires practice and patience, agree the experts. “This is something that I take my time on; on our online course, the section is 20 minutes long,” reveals Jane. “My biggest advice is to take your time and not pull the bow tight until you are happy with it. Also, make sure both loops are the same size and not too big.”
Invest In The Finishing Touches
Adding decorations such as foliage and mini baubles can make a gift look even more luxurious. “My favourite embellishments are fresh foliage, candy canes and baubles,’ says Jane. “And always use a tag. It’s so frustrating when there is an unlabelled gift left under the tree. It’s a good habit to write your tags and place them on your presents before you start wrapping them, so you’re organised.”
Visit JaneMeans.com and enter SHEERLUXE at checkout to enjoy 20% OFF.


DISCLAIMER: We endeavour to always credit the correct original source of every image we use. If you think a credit may be incorrect, please contact us at info@sheerluxe.com.