Beauty Masterclass: How To Colour Correct
First, can you clarify how colour correcting works?
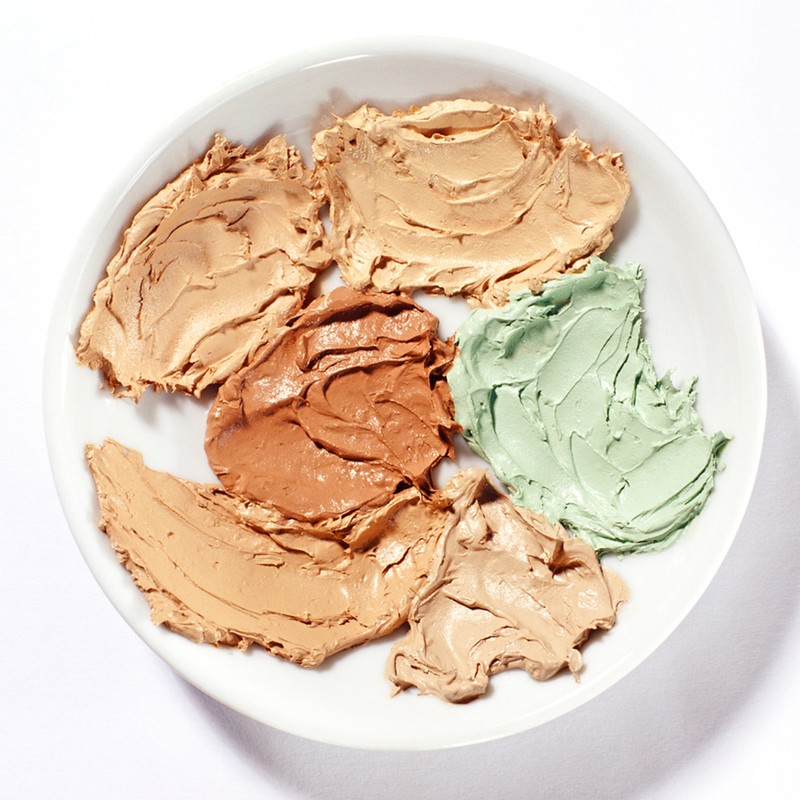
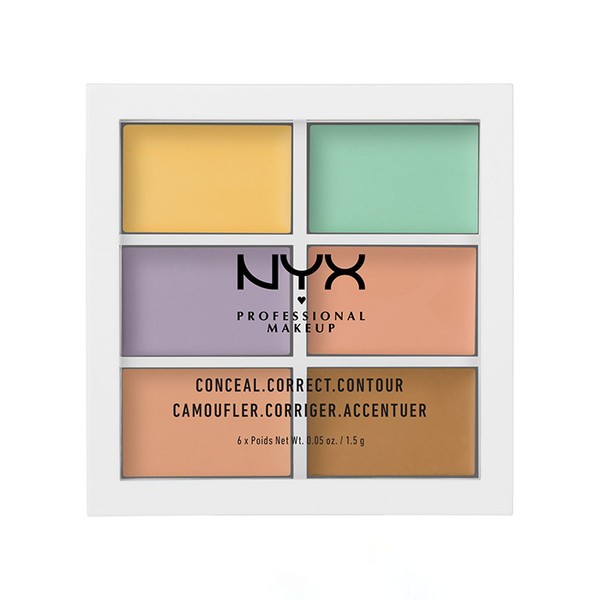
“Colour correcting remains one of the most relevant make-up techniques to date," says make-up artist, Cat Parnell. "As our skin continually changes, it’s important to adapt our make-up – what we want to correct in our 20s will be different to in our 50s, but colour correction will always work. It balances skin tone and conceals imperfections using a spectrum of tones to create an even finish. Put simply, you want to cancel out whatever tone it is you’re trying to conceal with – so think of it as opposites. For instance, correcting redness means you’d use green to remove those ruddy tones. You’ll often find using concealer on its own may not be enough to (a) cover up the tone fully and (b) last a whole day. Colour correctors provide a great base for everything to adhere to, so that when base make-up wears off, the smoothing colour still comes through.”
So, what’s the best way to do it?
“Whatever it is you’re correcting – let’s for instance say it’s redness – you want to ensure skin is well prepped," adds Cat. "Use a good moisturiser to ensure your skin doesn’t drink up the corrector and concealer that follows. Once your skincare has settled, use a corrector first. For redness, take your green corrector and lightly pat it onto your skin, onto the areas that are the most inflamed. You only need to apply the corrector to areas that actually need it – don’t use it to alter your skin tone entirely. Likewise, don’t use too much; you want to keep your approach light and make sure you blend everything really well. Afterwards, go in with your concealer, dabbing it lightly over the top to blend everything together. You’ll find using both a corrector and concealer keeps that ashy look at bay – especially under the eyes.” Global Makeup Artist & Educator, Nilofar Mussa adds: "It's key you assess the general undertones of your skin, too. This will allow you to determine whether you're naturally more warm, cool or neutral. Think of colour correction as temperature. Your overall complexion is the ideal temperature. Anything too warm will need cooling down, and anything too cold will need warmth to bring the temperature back up to it it's optimum. If your problem areas appear sallow/dull/ashy, then that suggests the area is cool and needs warmth. In this instance, try shades of orange/peach/salmon/terracotta and red. Look at the kinds of tones you see within the problem area and choose the opposite to colour correct."
And what about formulas – are there any specific ones worth trying?
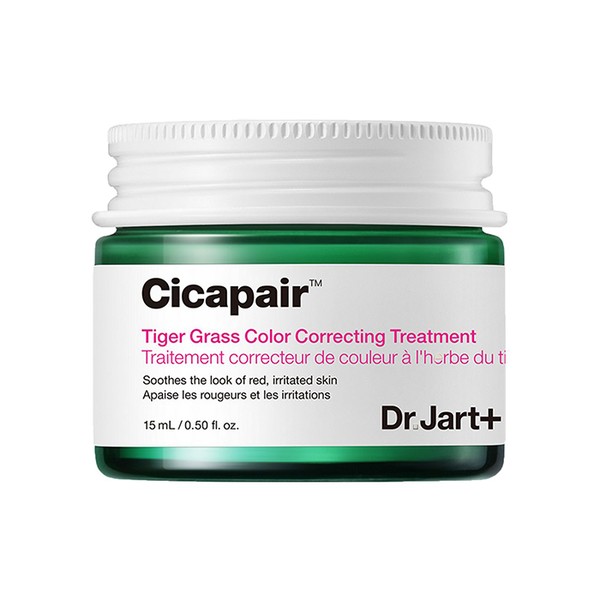
“If you want to colour correct, creams will always be the way to go. They allow you to blend everything properly for a more flawless finish. You can always set the corrector and concealer after with some setting powder if you’re someone who prefers a matte finish, or if you’re prone to oiliness. You could also use moisturisers with colour correcting properties in them, like the new Dr Jart+ Cicapair Tiger Grass Treatment. Not only does it treat your skin to ensure fewer breakouts, it lends great coverage and minimises redness, too, but with minimal fuss.”
Finally, are there any common application mistakes to avoid?
“When people colour correct, they often use too much and pile it on. The idea is you want to layer it up slowly. Less really is more, as the textures are often quite thick. Apply a little bit at a time, pushing it into the skin with fingers or a brush to help everything melt in. Doing it slowly like this will ensure you never have too much product on the skin – remember you want to conceal but not cake, so that when it comes to applying foundation, you won’t need as much. You can always apply more corrector if needed, but it’s much harder to take it away.”
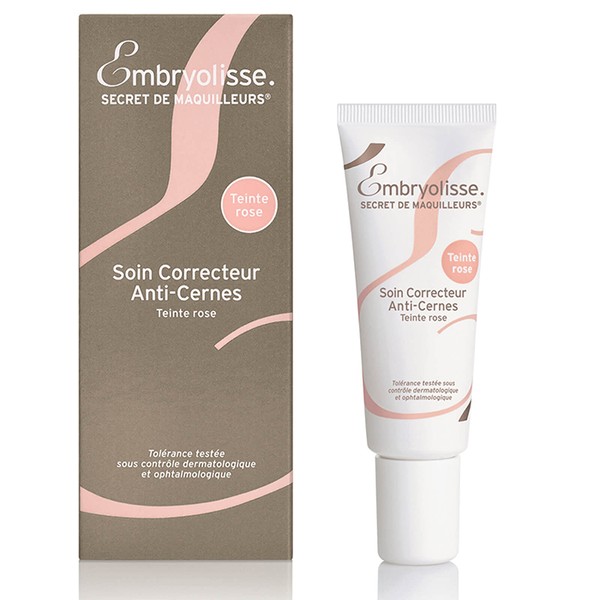
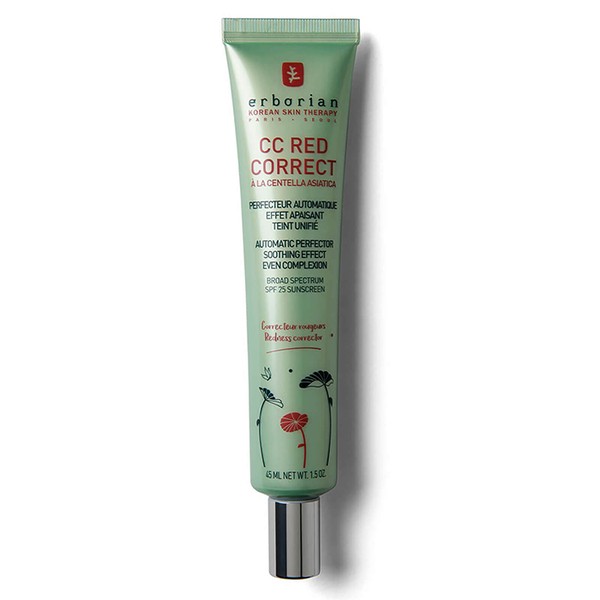
Shop our edit of colour-correcting products...
Visit CatParnell.com
CREDITS: ISTOCK/HYDRANGEA100
DISCLAIMER: We endeavour to always credit the correct original source of every image we use. If you think a credit may be incorrect, please contact us at info@sheerluxe.com.

