
The Natural Way To Contour & Add Structure To Your Face
All products on this page have been selected by our editorial team, however we may make commission on some products.
Understand What Contouring Does
Contouring has become more popular in the social media era, but it has actually been around for centuries. By using make-up in shades lighter and/or deeper than your skin tone, it can make features appear either more or less prominent. “Contouring is about creating shadows with your make-up to give your finished look some depth and enhance your features,” explains celebrity make-up artist Jessica Kell. “It can all sound quite complicated and lots of people associate it with a very ‘full on’ look, but it can be done simply for a beautifully soft and natural finish, too. It just depends on the products you use and the overall effect you’re looking for.”
Make It Wearable
“Contouring is now about letting your skin show through – not using five different shades and looking stripy,” says A-list make-up artist Caroline Barnes. “Think of it as a subtle smile on your cheekbone. There are so many wearable products on the market, but my current go-to is Drew Barrymore’s FLOWER Contour Palette. It contains beautiful nudes and gorgeous textures, all of which are soft, silky and sit beautifully on the skin. They’re also powders, which are better for contouring novices as they’re far easier to blend. Try swirling them together to really make your cheekbones stand to attention.”
Take A ‘Lip To Ear’ Approach
“The easiest way to remember how and where to contour is to use the outer corner of your mouth and then imagine a vertical line up to the top of your ear,” says Caroline. “Start by buffing the colour down the line, from the ear, and stop at the imaginary line where the centre of your pupil would meet your cheek. The colour should stay underneath the bone, not above it, so everything doesn’t become too flat and one dimensional. It’s also worth remembering that no one has completely straight bone structure – everyone’s is slightly curved, so try sweeping product on in rounded motions.”
Know Your Limits
“The art of contouring in real life (away from the professional lighting) is about making it undetectable,” explains make-up artist Jennifer Oliver. “Heavy contour is often used to bring back dimension to the face after using a full coverage foundation, which can make features look flat. Done incorrectly, it can look like stripes on the face or – even worse – muddy or heavy.” With that in mind, Jennifer advises matching the level of base to your contour. “A good rule of thumb is the less coverage you use, the lighter the contouring should be. If you tend to wear a tinted moisturiser or BB cream day to day, apply a light sweep of the contour shade just under the cheekbones, with whatever is left on the brush swept over the lids of the eye and nose.”
Choose Your Shade & Texture Wisely
The trick to natural contour is to not use a shade that’s too dark, explains make-up artist Kenneth Soh. “One or two shades darker is ideal and make sure it’s not too warm,” he says. “You’re after a shadowy tone, and it’s best to focus on just one feature – if you go for too many at once, it’ll look ridiculous. Remember, contouring works by using the concept of light and dark, shadow and light – and shadows are usually on the cooler side of the spectrum, and never with any shimmer or sheen. Opting for warm, glittery colours takes you more towards a bronzer. As for texture, wetter ones like liquids and creams are preferable as they’re easier to blend.”
Pay Similar Attention To Your Tools
Once you’ve found the shades and the textures which work for you, Jennifer says it’s just as important to find the right tools with which to apply them. “The Bobbi Brown Full Coverage Face Brush is my go-to for contouring – it also applies foundation and cream blush perfectly. It’s a great all-rounder. The Real Techniques Sculpting Brush also has a really good, tapered shape with super soft bristles to hug the cheekbones – it makes it super easy to find your angles.”
Use Everything In Harmony
For a naturally contoured look, the professionals will urge you to take a holistic approach. “It's all about blending your products thoroughly and using products that work together in perfect synergy,” says Jessica. “Also, making your contour blend with your blusher, bronzer and highlighter is a must. This doesn’t mean you need to use loads of product: just use a little touch of colour under the cheekbones to contour, a pop of blush on the apples of the cheeks, a little warmth with your bronzer and a slick of subtle highlighter. Whether you’re using powder, creams or liquids, let all the colours melt into each other so they don’t stand out alone.”
Don’t Forget Your Nose
The professionals often say a contoured nose is key to achieving a sculpted look that still appears natural. To do it well, Kenneth advises using a small, angled brush to take the product upwards, starting from the side of the nose, at the bottom end, and gently blend upwards. “You’re aiming to fade before you get to mid nose bridge,” he adds. “Then, using the same brush, start under your inner brows, gently blend and aim to fade where you first faded with the end of nose. Try not to spread the contouring product too much outside of these areas, as it’ll just look messy and muddy.”
Finish With A Good Powder
“It’s important to finish with a powder, but only a minimal amount,” warns Caroline. “Tap off any excess on the back of your hand to prevent overkill – too much powder results in a look that’s a bit dead and lacklustre, while the right amount will seal everything in and prevent any sliding or excess shine. Try Cover FX’s Perfect Setting Powder for its glass-like finish.”
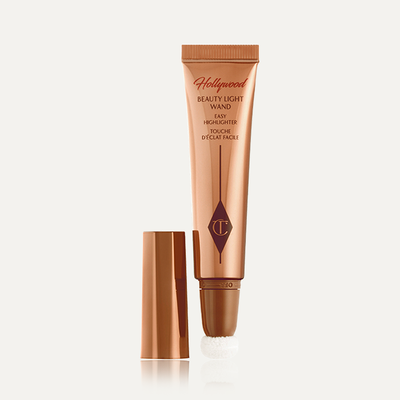
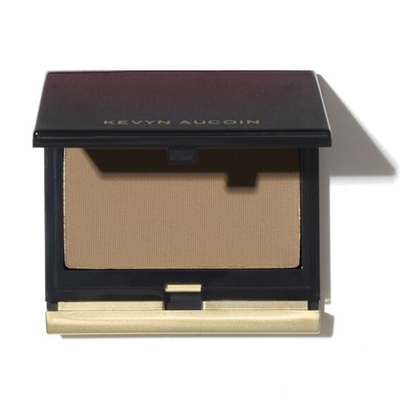
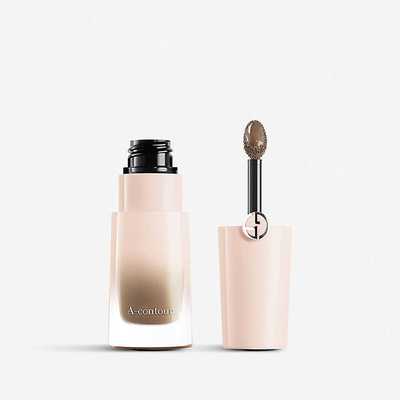
Shop our subtle contouring edit below…

DISCLAIMER: We endeavour to always credit the correct original source of every image we use. If you think a credit may be incorrect, please contact us at info@sheerluxe.com.