3 Easy Bakes For Smaller Gatherings
‘Good things come in small packages’ should be the motto of this book. Baking is so often thought of as something we do for large gatherings – for birthday parties, holidays and special occasions. But this book is for the times and the people demanding smaller servings. That could be because you have leftover ingredients – but not enough to use in larger recipes – because you live alone or because you just like baking with the kids.
In this book, there are recipes that make just one cookie. There are also desserts for date night that only serve two, recipes that make just four servings for the family, and a few recipes that serve small gatherings of six. Alongside the sweet stuff there is also a sprinkling of savoury – think pizza dough, brioche burger buns and quiche.
The main goals are to prevent waste and use leftovers. The book includes lists of recipes that make use of things like egg whites and yolks – which can often sit in the fridge until you bin them days later. It’s also worth knowing most of the recipes can be frozen – so even if you’re baking just for yourself, everything works for small households.
Feeling inspired? Here are three recipes from Edd Kimber’s new book…

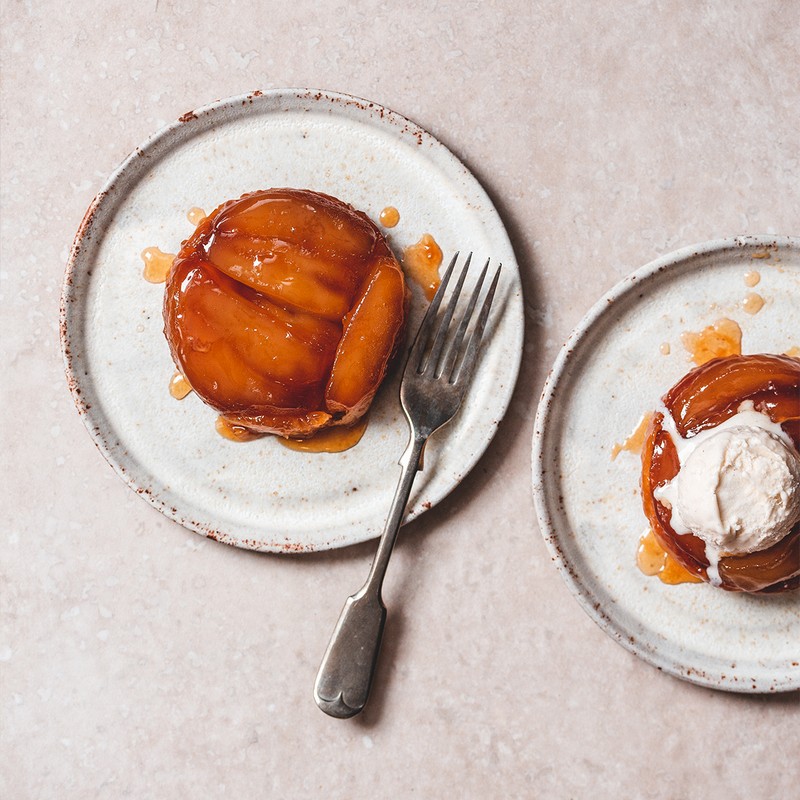
Individual Tartes Tatin
These individual tarts would make a wonderful end to a date night dinner, especially once you realise they’re not too difficult to make. To keep things simple, use shop-bought puff pastry.
Pre-heat the oven to 200°C (180°C Fan), 400°C F, Gas Mark 6.
Unroll the pastry and use a 10cm (4in) round cookie cutter to stamp out two circles. Refrigerate until needed.
To make the filling, slice each apple quarter into three lengthways pieces. Place the butter in a small saucepan over a medium heat until just starting to bubble. Add the apples and lemon juice and cook for two minutes, stirring gently and frequently. Turn the heat off, place a lid on the pan and set aside for three minutes before tipping the apples into a bowl.
To make the caramel, clean the saucepan, then add the sugar, lemon juice and water. Swirl to combine – avoid stirring – and cook over a medium heat until the sugar has dissolved, and the syrup has turned a rich amber colour. Don’t overcook, because the caramel will cook further as the tarts bake. Turn off the heat, add the butter and salt and stir to combine.
Divide the caramel equally between 2cm x 9cm ramekins and, being careful not to touch the caramel with your fingers, add the apples, overlapping the slices tightly and neatly. Place the pastry circles on top of the apples and use a round-tipped knife to press the excess pastry down the insides of the ramekins. Pierce a couple of holes in the pastry, then place the dishes on a baking tray (cookie sheet).
Bake for 25 minutes, or until the pastry is golden. Remove from the oven and lightly compress the pastry by sitting a tin of chickpeas (or something similar) on top of each tart. Set aside for five minutes to cool slightly.
To serve, run a knife around the inside of the ramekins to loosen the tarts, then carefully invert onto plates. Serve while still hot, with a generous scoop of vanilla ice cream.

Pizza Night For Two
Neapolitan pizzas require a slowly risen dough and a very high oven temperature. The latter isn’t a problem if you have an outdoor pizza oven, but there’s no way the average domestic oven can rich the dizzy heights of 500°C. The way around this is to cook the pizza in a heavy-based frying pan, which gives great results. Note that if you use a domestic oven, it’s best to avoid using fresh mozzarella or you’ll end up with a very wet pizza. Look for blocks of low-moisture mozzarella.
Place the flour, yeast and salt in a large bowl and stir to combine. Make a well in the centre, pour in the water and mix to form a shaggy dough. Tip onto a work surface and knead for five minutes or so. Return the dough to the bowl, cover with clingfilm (plastic wrap) and set aside for 15 minutes. Knead again for five minutes, or until smooth and elastic. Return to the bowl, cover again and set aside until it has doubled in size, about four hours.
Lightly oil a baking tray (cookie sheet). Tip the dough onto a work surface, cut in half and roll each piece into a ball. Place on the prepared tray, cover with clingfilm and set aside for one hour, before refrigerating for 12-24 hours. A couple of hours before needed, remove the dough from the refrigerator to bring it to room temperature.
Preheat your grill (broiler) to its highest setting. Place a large frying pan (skillet), preferably cast iron, over a medium-high heat.
Meanwhile, crush the tomatoes in a bowl to form a sauce, then stir in the salt. Set aside.
Generously flour a work surface. Use a dough scraper to transfer a ball from the tray to the floured surface, then use your fingertips to press the dough flat, leaving a slightly raised border around the edge. Gently stretch the dough until you have a pizza base roughly 25-30cm in diameter.
When the frying pan is very hot, carefully drape the pizza base inside it. The dough should start to puff up immediately, so you now need to work quickly. Spoon some of the tomato sauce onto the centre of the pizza, spreading it out to cover the base, but leaving the raised edge clear. Sprinkle over the cheese and any other toppings you fancy. Continue cooking the pizza until the base starts to show signs of browning – this will take just a minute or two. Now place the pan under the grill and cook until the cheese has melted and the crust is starting to brown. Carefully slide the pizza onto a plate and serve immediately.

Chocolate Peanut Butter Cookies
Hands down, these will be the best peanut butter cookies you ever make – dense and chewy, but also ridiculously easy. They are loosely adapted from the recipe made famous by the Ovenly Bakery in New York. As a further treat, dip them into chocolate.
Place the sugar and egg in a large bowl and whisk together briefly until combined. Add the vanilla and salt and again whisk briefly to combine. Now add the peanut butter and whisk until a thick but smooth dough is formed. Cover the bowl and refrigerate for 30 minutes.
Line a baking tray (cookie sheet) with parchment paper. Using a 60ml mechanical ice-cream scoop or your hands, place six scoops or balls of cookie dough on the prepared tray, spacing them well apart. Transfer to the freezer for 10 minutes. Meanwhile, preheat the oven to 180°C (160°C Fan) 350°F, Gas Mark 4.
Sprinkle the chilled cookies with sea salt flakes and bake for 20-22 minutes, or until the cookies have spread a little and the edges are lightly browned. Set aside to cool completely.
To Serve, dip the cookies halfway into the melted chocolate and then place back on the lined tray. Refrigerate until the chocolate has set.
If stored in a sealed container, these cookies will keep for 4-5 days.
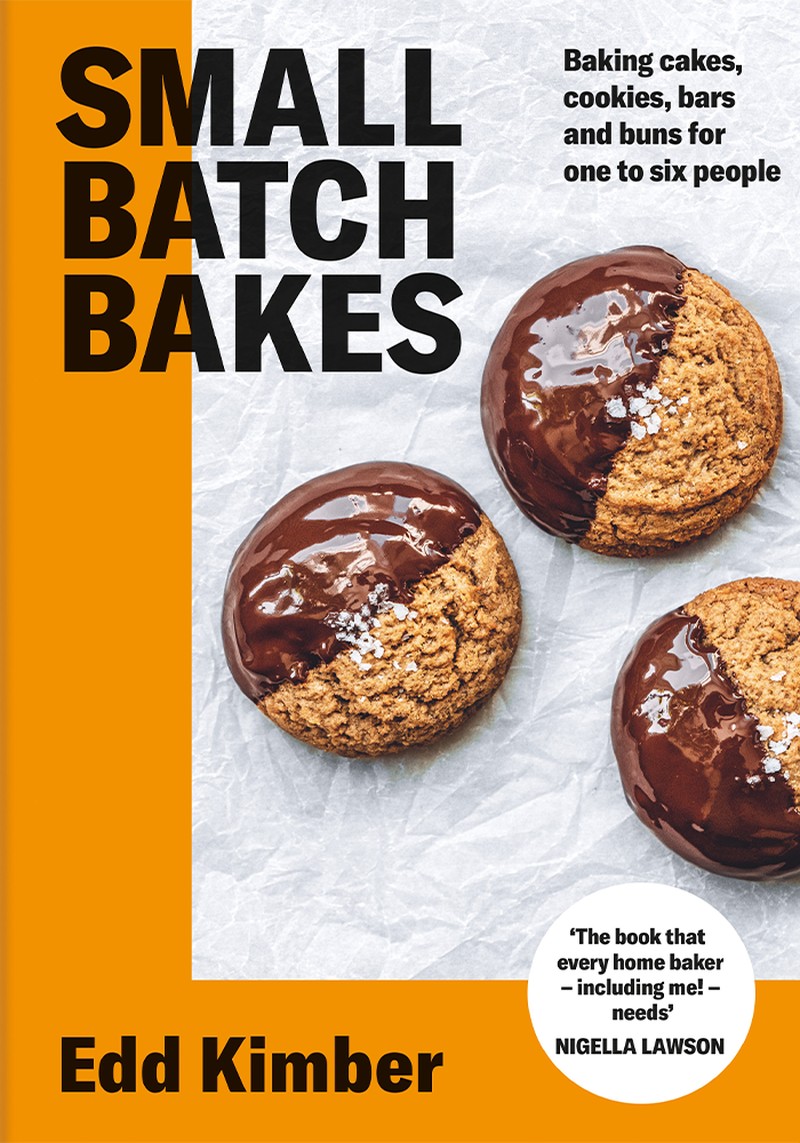
All recipes from ‘Small Batch Bakes’ by Edd Kimber. Buy it here.
DISCLAIMER: We endeavour to always credit the correct original source of every image we use. If you think a credit may be incorrect, please contact us at info@sheerluxe.com.
/https%3A%2F%2Fsheerluxe.com%2Fsites%2Fsheerluxe%2Ffiles%2Fwebsite-images%2F2025%2F03%2Fsign-up-pop-up.jpg)
