A Cool London Foodie Shares 3 Fun Desserts
Ice-cream was not so hot when I was growing up. It was usually limited to the summertime treat of a 9p orange Sparkle in the park after school, or the occasional slice of a Sainsbury’s economy sticky yellow vanilla brick for pudding. This would melt and refreeze over the course of being served from its damp cardboard box, and turn into a curious foamy gum. But I still loved it.
Now I am the happy owner of La Grotta Ices. The name comes from the Italian for ‘cave’ or ‘grotto’, and it’s named in homage to the first cool, dark ice-cream shop that I discovered working in Cannes, and which set me on my journey. At first the ice-creams were made at home, with two freezers in a bedroom, then under a damp brick railway arch in Bermondsey. Since 2009, they have been created in my workshop or ‘ice-cream shed’, a converted Victorian greengrocers in a beautiful historical south London square.
The La Grotta Ices range changes weekly. My intent is to create inventive, not-too-sweet ice-creams that capture the bright flavour of exquisite, ripe fruit but with a supernaturally light, smooth and sublime texture. The focus is on using minimally processed, fresh, whole ingredients within the confines of the seasons and simple methods. Ices are sold from the back of a small white Piaggio Ape – the same vehicle used to sell fruit and vegetables in Neapolitan markets. La Grotta runs from April to December. I sell scoops at markets and art fairs, and tubs in shops around London. For the first three months of the year – when it’s too cold to sell ice-cream (it doesn’t melt in the mouth properly at temperatures below 14°C) – I work abroad in places like Naples and Sicily.
Inspired?
Here Are Three Recipes To Try At Home…

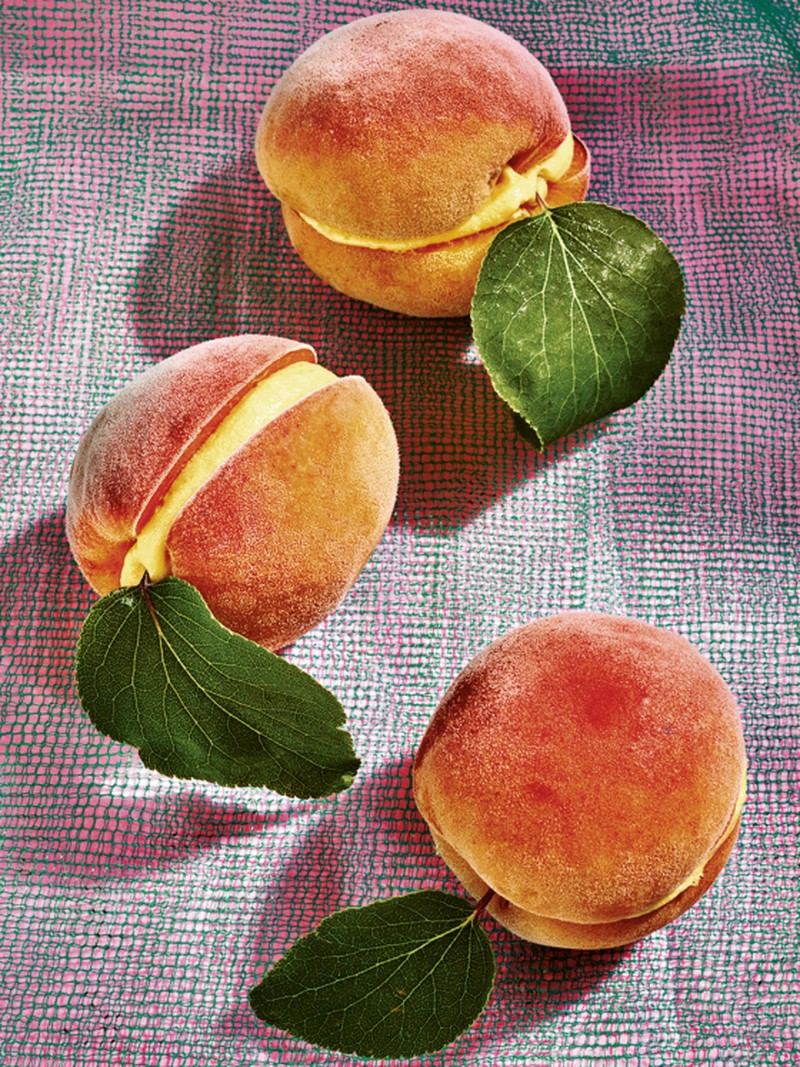
Apricot Noyau
A few years ago, late at night in bed and high on Italian eBay, I bought several thousand pounds worth of 1960s Italian ice-cream machinery from a used catering equipment salesman in northern Italy. I hired a van and undertook an insane 24-hour drive to Turin and back to bring the 2-tonne machines back to the UK. Once home, they sat, unfixable, in storage for approximately six years, quietly leaking thick black oil and defunct coolant over my garage floor until I sold them for scrap metal.
The point of this story is to say that on the way home, we stopped at a market in Lyon where I took advantage of every bit of negative space in the van and bought a stall’s entire stock of very ripe apricots to bring back with me. It made enough ice-cream for that whole summer, and it was extraordinarily good – the delicious but slightly poisonous marzipan flavour of the ‘noyau’ or kernels acting as a bitter reminder against late-night eBay purchases.
To prepare the ice-cream: slice the apricots in half and remove the stones; keep these to one side. Cook the apricot halves very lightly just until the fruit collapses. If using a microwave, place the fruit in a heatproof bowl with a tablespoon of water. Cover the bowl with cling film and cook on high for 2-3 minutes until tender. Otherwise simmer the apricot halves gently in a non-reactive pan, just until they are cooked through and piping hot (do not boil). Cool in a sink of iced water then cover and chill in the fridge.
Place a clean tea towel on a hard surface, then line the apricot stones up along the middle of the towel. Fold the tea towel in half over the apricot stones to cover them and then firmly crack each stone with a rolling pin (the tea towel prevents bits of the shell from flying all over the kitchen). Try to hit hard enough to crack the shell, but not so energetically that you completely obliterate it – you want to be able to rescue the kernels from inside the shell afterwards.
Pick the tiny kernel from each shell then grind them in a pestle and mortar with 20g of the sugar.
Heat the milk, cream and the ground kernel mix in a pan, stirring often with a whisk or silicone spatula to prevent it catching. As soon as the milk is hot and steaming, whisk the yolks with the remaining sugar and honey (if using) until combined.
Pour the hot liquid over the yolk mix in a thin stream, whisking constantly as you do so, then return all the mix to the pan. Cook gently over a low heat, stirring all the time, until the mix reaches 82°C. As soon as your digital thermometer says 82°C, remove the pan from the heat and set it in a sink full of iced water to cool – you can speed up the process by stirring it every so often. Once entirely cold, pour the custard into a clean container, cover and chill in the fridge.
To make the ice-cream: the following day, use a spatula to scrape the chilled apricots into the custard then blend with a stick blender until very smooth – blitz for at least 2 minutes, or until there are only small flecks of apricot skin visible in the mix. Using a small ladle, push the apricot custard through a fine-mesh sieve or chinois into a clean container, squeezing hard to extract as much smooth custard mix as possible. Discard the bits of skin and kernel.
Pour the custard into an ice-cream machine and churn according to the machine’s instructions, usually about 20-25 minutes, or until frozen and the texture of whipped cream.
Transfer the ice-cream to a suitable lidded container. Top with a piece of waxed paper to limit exposure to air, cover and freeze until ready to serve.

Passion Fruit Sour
Passion fruits have a surprise inside. Their crinkly, dun skins disguise highly scented, enticing pulp. They are dependable, too – easily available and reliably yielding a rich, tropical flavour. This sorbet is very easy to make and delivers a high-impact sweet ’n’ tart flavour. It’s a real crowd-pleaser.
To prepare the sorbet: heat the sugar and water together in a pan, stirring to dissolve the grains of sugar. As soon as the syrup starts to simmer remove it from the heat.
Rinse the oranges then pat dry and grate the zest of one of them directly into the hot syrup. Set aside to cool.
Cut the passion fruit in half horizontally and use a teaspoon to scrape the seeds and pulp of each half into a clean bowl. Weigh this – you should have about 180g of pulp.
Squeeze the juice of both oranges over the passion fruit and then add the strained cold sugar syrup (discard the zest). Liquidise the lot together for 3-4 minutes until the passion fruit pips have broken down somewhat (leave these in the finished sorbet for texture) and the mixture is frothy and slightly milky looking. Cover the mixture and put in the fridge for 2-3 hours until chilled.
To make the sorbet: once cold, whisk the mixture in case it has separated, then pour it into an ice-cream machine and churn according to the machine’s instructions, about 20-25 minutes, or until thick and frosty looking.
Scrape the sorbet into a suitable lidded container. Top with a piece of waxed paper to limit exposure to air, cover and freeze until ready to serve.

Cucumber & Sour Cream
Novelty ice-creams are fun to try but unless you want to lick the bowl clean, they don’t get added to my list of favourites. Nobody needs to have uneaten ice-cream languishing in the freezer getting fish finger-y and frosty. Freezer space is important – you need some room for peas and ice cubes too.
I promise, though, that this recipe is no fad. It’s the most refreshing and pacifying of all ice-cream flavours – what could be cooler? It has become a summer tradition, looked forward to – and not just by me. Salting the cucumber first draws out excess water, concentrates the flavour and improves the texture of the ice-cream. The salt should be barely discernible in the end result though. It’s incredible on its own on a really hot day.
To prepare the ice-cream: first peel your cucumber – use a vegetable peeler to remove all the tough green skin. Cut the cucumber in half lengthways and use a teaspoon to scrape out and discard the watery seeds. Dice the cucumber halves then toss them in a bowl with the sea salt. Tip into a colander in the sink to drip. After 20 minutes, rinse the cucumbers briefly in a bowl of cold water and set on a clean tea towel to drain. Chill in the fridge in a lidded container overnight.
Heat the milk in a non-reactive pan. Stir often using a whisk or silicone spatula to prevent it catching. Once the milk is steaming, whisk the whole eggs and sugar together in a separate bowl until combined.
Pour the hot milk over the eggs in a thin stream, whisking continuously. Return all the mix to the pan and cook over a low heat until it reaches 82°C, stirring all the time to avoid curdling the eggs, and keeping a close eye on it so as not to let it boil. As soon as your digital thermometer says 82°C, place the pan into a sink of iced water to cool. Add the sour cream to the custard and whisk it in – you can speed up the cooling process by stirring the mix every so often. Once the custard is at room temperature, scrape it into a clean container, cover with cling film and chill in the fridge.
To make the ice-cream: the following day the cucumber will have expelled more water; pour this away then blitz the cucumber and custard together in a blender. Blitz for 2-3 minutes until very, very smooth – you don’t want any frozen lumps of cucumber in this ice-cream. Use a small ladle to push the cucumber custard through a fine mesh sieve or chinois into a clean container.
Pour the custard into an ice-cream machine and churn according to the machine’s instructions, usually 20-25 minutes, or until frozen and the texture of stiff whipped cream.
Scrape the ice-cream into a suitable lidded container. Top with a piece of waxed paper to limit exposure to air. Cover and freeze until ready to serve. Best eaten within a week.
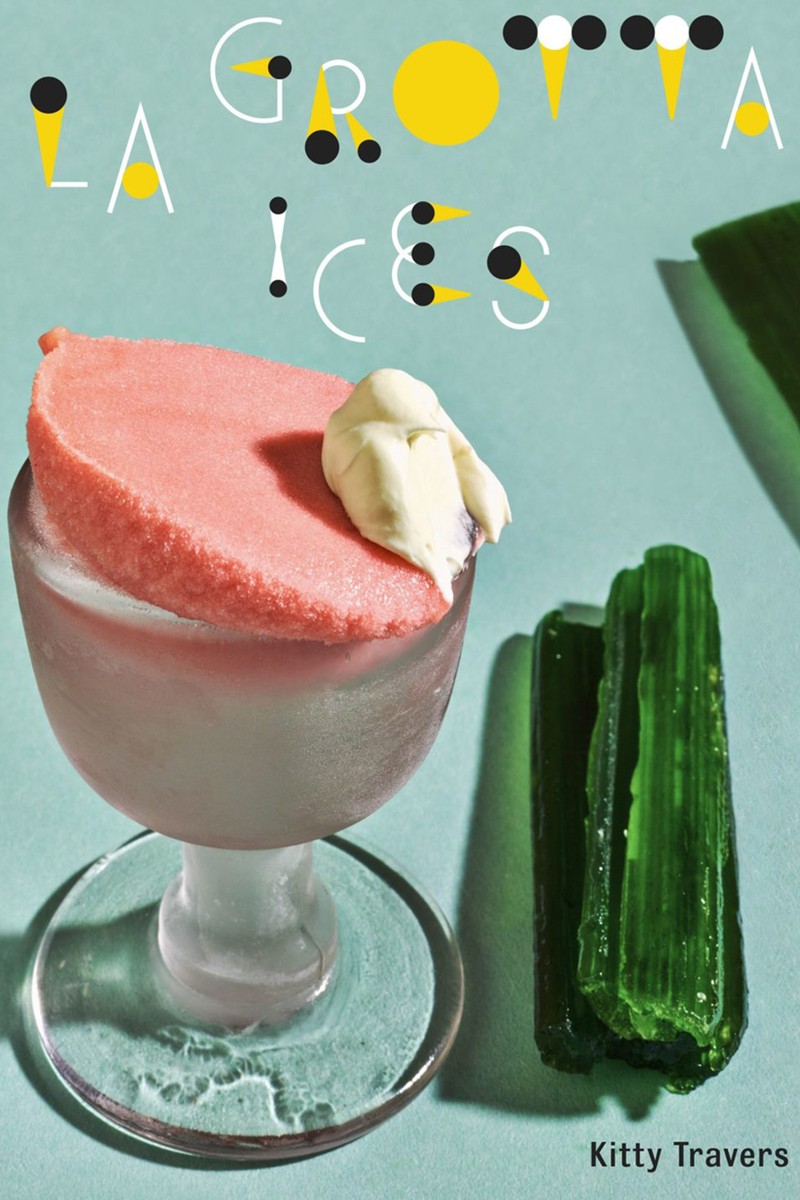
For more recipes, Kitty’s book – La Grotta Ices – is available to buy here. To try La Grotta’s ice-cream, check out its current locations @LaGrottaIces
DISCLAIMER: We endeavour to always credit the correct original source of every image we use. If you think a credit may be incorrect, please contact us at info@sheerluxe.com.
/https%3A%2F%2Fsheerluxe.com%2Fsites%2Fsheerluxe%2Ffiles%2Fwebsite-images%2F2025%2F03%2Fsign-up-pop-up.jpg)
