Tasty Sugar-Free Bakes To Try At Home
Sugar-Free Peanut Butter Fudge: Ligia Lugo, Vie De La Vegan
Line an 8in x 5in pan with parchment paper. Set aside.
Melt the peanut butter and coconut oil together in the microwave or on low heat on the stove.
Put the mix in your blender along with the rest of the ingredients. And blend until combined, then pour the mix into the lined pan.
Refrigerate until set, approximately 2 hours.
For the chocolate sauce, whisk the ingredients together and drizzle over the fudge once it’s set.
Visit VieDeLaVegan.com
Banana & Chocolate Chip Oat Pancakes: Zeroh
Add all of the ingredients, except the chocolate chips, to a blender and blend for 1 minute or until completely smooth.
Lightly coat a frying pan with butter and place over medium heat. Once the pan is hot, add a ladle of batter to the pan and sprinkle with chocolate chips.
Serve with crushed choc chip cookies and toppings of your choice.
Visit Gullon.es
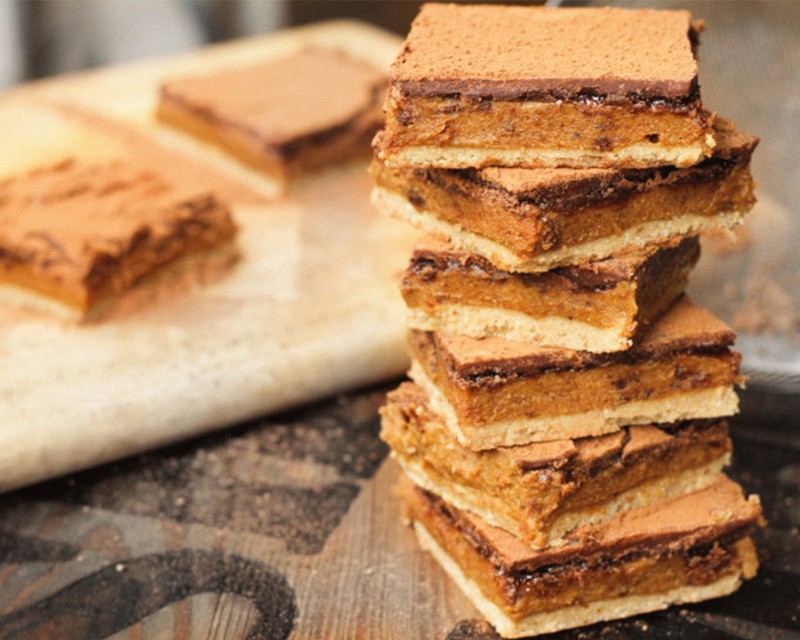
No-Bake Millionaire's Shortbread: Maryanne Hall, Viva’s Vegan Recipe Club
Grease and line a 20cm/8-inch square cake tin.
Blitz the nuts and oats to crumbs. Add the dates and melted coconut oil and blend again. Spoon into the tin and use the spatula or back of the spoon to flatten down the mixture evenly and cover the entire base. Chill in the freezer while you make the filling.
To make the filling, add the pitted dates, plant milk, syrup and coconut oil to a saucepan and bring to a simmer. Cook for 2-3 minutes until the dates are very soft then add the salt and vanilla extract. Blend the mixture until smooth. Taste and add more salt if necessary.
Spoon this mixture over the base, making sure that the entire tin is covered. Use the spatula or spoon to create as smooth a layer as possible. Place in the freezer while you prepare the topping.
To make the topping, melt the coconut oil and chocolate together using a bain marie (a glass or ceramic bowl that fits on a saucepan of simmering water but doesn’t touch the bottom) and then pour over the filling.
Return it to the fridge or freezer to set. Using the freezer speeds up the setting time but only leave it in there for 20 minutes and then transfer to the fridge. If using fridge only, it will take 2-3 hours to set.
Cut into squares. It will keep in the fridge for about a week.
Visit VeganRecipeClub.org.uk
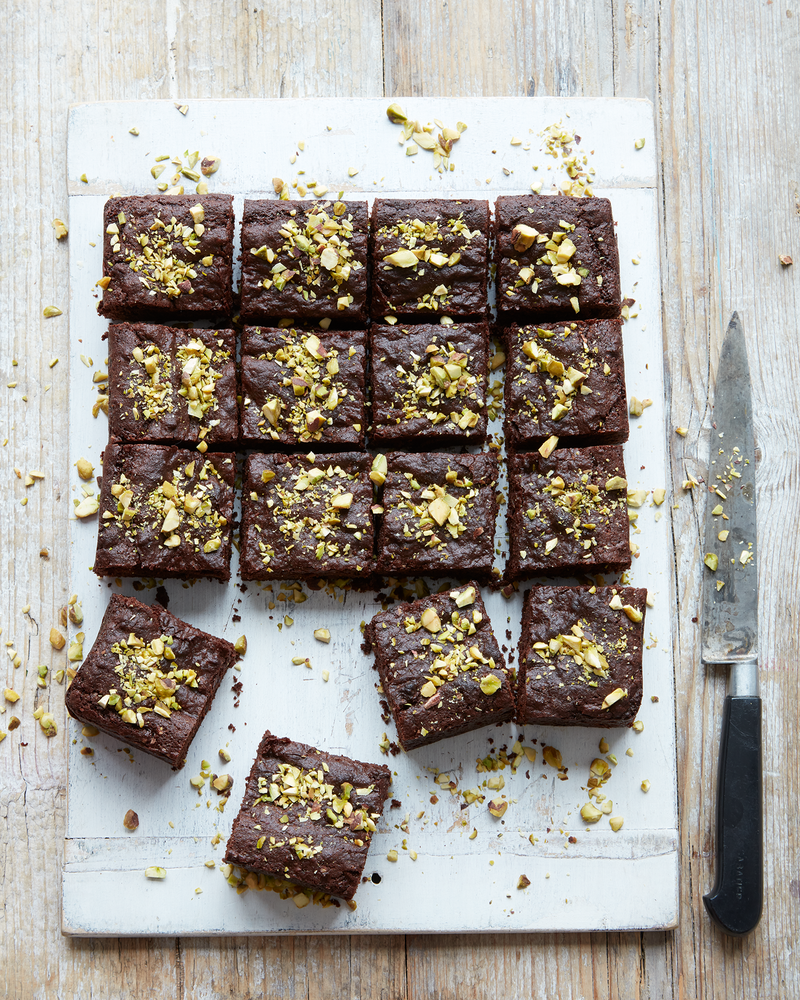
Sugar-Free Brownies: Justine Murphy, MyMuyBueno
Preheat the oven to 180°C and lightly grease a 20cm square or rectangular tin with melted coconut oil. Line the base with parchment paper.
Place the chia seeds in a bowl with the warm water, mix well then leave to one side for 10 minutes to thicken up. Stir once in this time to ensure the dry seeds on top have taken on the water below.
In an electric stand mixer with a paddle attachment, combine your dry ingredients. In a separate bowl, mix the almond milk and melted coconut oil with the chia-egg.
Add the wet ingredients to the dry ingredients and leave to mix well for around 5 minutes to ensure all the oil has been incorporated. You will be left with a shiny and very thick mixture.
Pour this into the lined tin and press it down firmly and evenly using a silicone spatula. Sprinkle the brownie with your topping of choice, then bake for 30 minutes in the preheated oven until cooked through but still a little soft in the middle. It will continue cooking from the residual heat of the tin once out the oven.
Leave the brownie to cool in the tin for 10 minutes, then carefully transfer it to a wire rack by lifting the paper. After another 10 minutes, carefully use another wire rack to turn it upside down and gently remove the paper. Leave to cool completely (this part is very important) before cutting into squares.
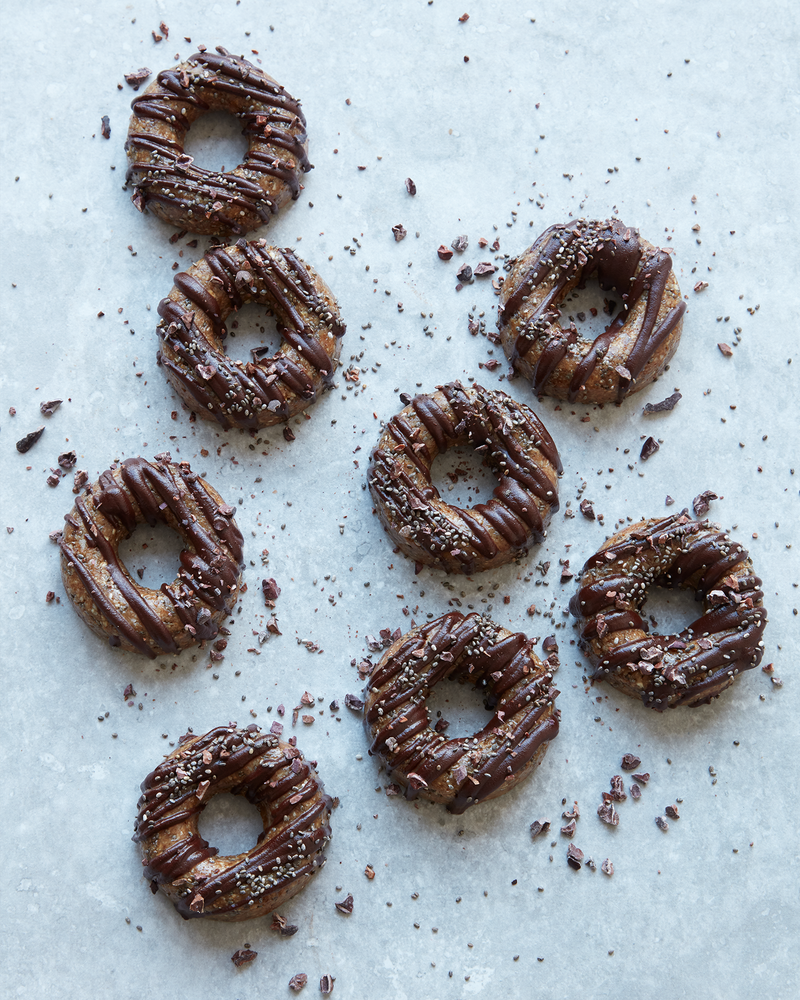
No-Bake Chia Cinnamon Doughnuts
Place your oats into the food processor and process well to break them down into a flour.
Add all your remaining doughnut ingredients and blend until well combined. Roll the mixture into sausages and press these firmly into small silicone doughnut moulds. Place the doughnuts in the freezer for 2 hours.
For the chocolate glaze, whisk all the ingredients together in a bowl, then use the glaze immediately. Pop the doughnuts out of their moulds and onto a wire rack, with parchment paper lining the surface underneath. Using a spoon, drizzle the glaze over the doughnuts in a back and forth motion across the top, or use a small piping bag for better accuracy. Put them back into the freezer to firm up for at least an hour.
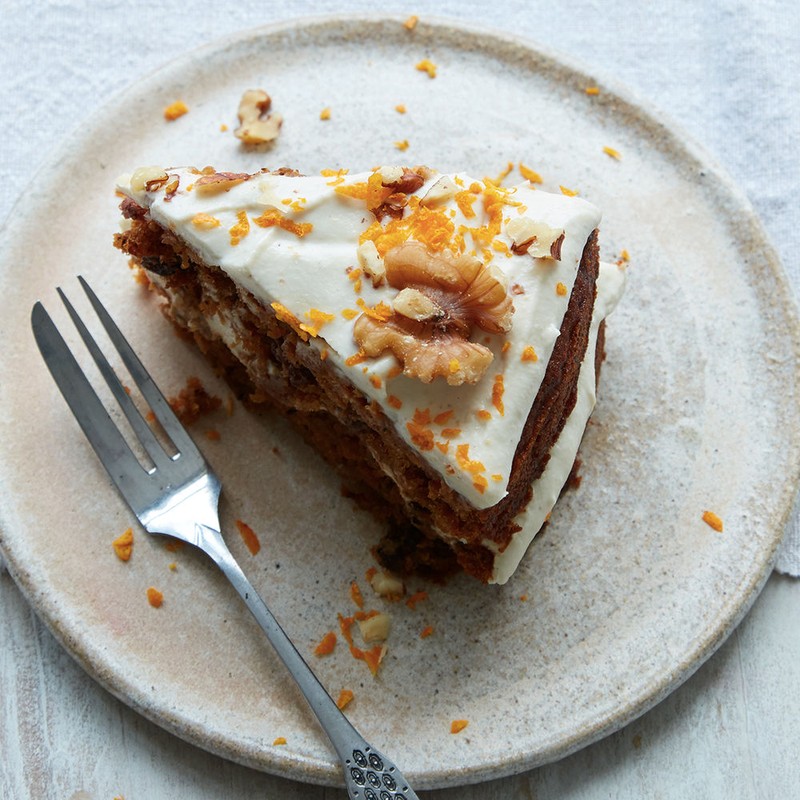
Carrot Cake
Preheat the oven to 180°C and lightly grease two 20cm sandwich tins with sunflower oil. Line the bases with parchment paper.
Combine the flaxseed with the warm water to make your flax egg then set aside for 10 minutes to thicken.
In an electric stand mixer with a paddle attachment, combine the dry ingredients.
In a separate bowl, combine the wet ingredients including the flax egg. Then add the wet ingredients into the dry ingredients and mix for 2 minutes to ensure they are well incorporated.
Divide the cake mixture evenly between each prepared tin. Place them onto a baking tray. Bake for 30 minutes in the preheated oven until a toothpick inserted into the centre of the cakes comes out clean. Leave them to cool in the tin for 10 minutes before gently turning out onto a wire rack to cool completely.
For the buttercream frosting, drain and rinse the cashews, discarding the soaking water. Place them into the blender with all the other ingredients and blitz until the frosting is creamy and smooth.
Spread the frosting on top of the first cake, then place the second cake on top like a sandwich and cover the top with the remaining frosting.
Decorate your cake with the walnut halves dotted around the edge and orange zest liberally sprinkled over the top.
Raspberry Jam Cheesecake
To make the base, blitz the cashews, almonds and macadamias to small pieces in the food processor. Add the remaining ingredients and blend until everything is well combined and the mixture is sticky.
Press the mixture firmly and evenly, so it’s well compacted, into a round 20cm cake tin lined with parchment paper. Place in the freezer so the base can firm up.
To make the jam, stir the chia seeds into the warm water in a small bowl and leave to thicken. Blend the raspberries in the food processor until smooth, then add the syrup and continue to process. Once the chia seed mixture has thickened, add the raspberry purée and stir well. Place the jam in the fridge to firm up.
To make the cheesecake, drain and rinse the cashews, discarding the soaking water, then place them into your blender with the lemon juice, rice milk, syrup and salt.
In a saucepan, melt your cacao butter until it becomes liquid. Add this to the blender last and continue to blend well until the mixture is smooth and creamy, then gently fold in the lemon zest.
Pour half of your cheesecake mixture over the set base in the tin, then tap the whole tin on a flat surface to remove any air bubbles and settle the mixture evenly.
Add dollops of your jam then swirl it through the cheesecake in S movements with a toothpick for a marble effect. There should still be large patches of jam for the visual effect when cutting a slice, and also the taste of the fruit when eating it.
Pour the remaining cheesecake mixture over the top, repeat the marbling effect with the jam and add final flecks of lemon zest to the top. Place the tin back into the freezer and leave overnight for the cheesecake to set completely.
Remove it from the freezer 10 minutes before you wish to serve the cheesecake, allowing it ample time to thaw slightly and be easy to cut.
Dulce De Leche Cheesecake
Line a 20cm cake tin with parchment paper. Place the macadamias, almonds and pecans into the food processor and whizz until they have broken down into small pieces. Add all the other ingredients and process until well blended and sticky. Press the base firmly and evenly into the prepared cake tin to ensure it’s well compacted, then freeze.
Drain and rinse the cashews, discarding the soaking water, then blitz them in the processor with the syrup, coconut milk, vanilla and salt.
In a saucepan, melt your cacao butter until it becomes liquid. Add this to the processor last and continue to blend until the mixture is smooth and creamy.
Pour half of your vanilla cheesecake mixture over the set base in the tin, then tap the whole tin on a flat surface to remove any air bubbles and settle the mixture evenly.
For the dulce de leche, put all of your ingredients into the food processor and blitz well until thick, creamy and smooth.
With a teaspoon, dollop blobs of the dulce de leche all over the filling, ensuring you also get some blobs right to the very edge. Run a toothpick through the blobs in S movements to distribute the caramel. You want to create a marble effect, but as the caramel is thick you also want good size blobs left, so that when you cut the cheesecake it will look great and you’ll get a good bite of caramel when eating it.
Repeat this process with a second layer of the cheesecake filling and caramel until you have used them both up.
Place the cheesecake back into the freezer and leave overnight to completely firm up. Remove the cheesecake from the freezer at least 10 minutes before you wish to serve, allowing it ample time to thaw and become easy to cut.
INSPIRATION CREDITS: MyMuyBuenoPrivateChefs.com
DISCLAIMER: We endeavour to always credit the correct original source of every image we use. If you think a credit may be incorrect, please contact us at info@sheerluxe.com.


