Three Chefs, Three Ingredients
THE INGREDIENT: Scallops
“Scallops are one of the tastiest shellfish species, sweet juicy and they can handle a lot of flavours, from butter to sweet, salty and savoury. They also taste great grilled, poached, barbecued, blow-torched and even raw. Make them Asian-style, with chilli and lime and some kefir lime leaves; or go British with crushed minted peas or French with lots of truffle and a beurre noisette. Whatever the flavour, the scallop can handle – just don’t overcook them and be sure to finish them with some zing, be it lemon or lime or something piquant. The dish below is the simplest and best – just bake on an open fire or in the oven with butter, olive oil, garlic, thyme, lemon zest, lemon juice, salt and pepper, then cook for around 3-4 minutes.”
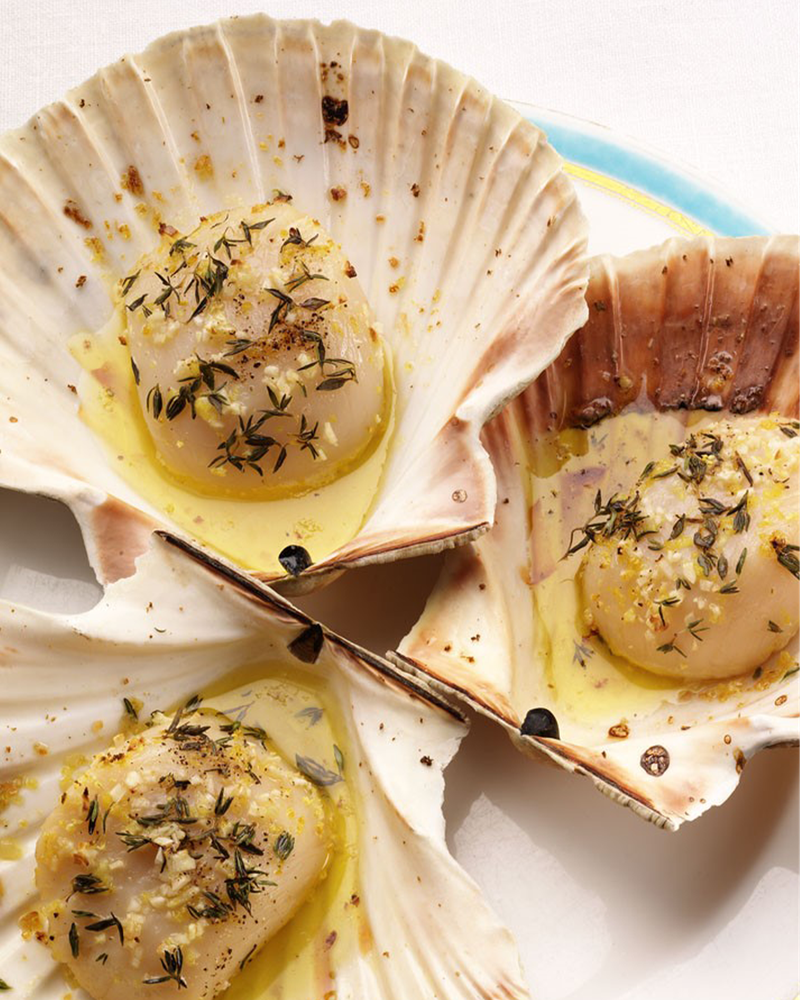
THE RECIPE: Baked Scallops With Garlic & Thyme
Clean the scallops and shells well, making sure that they are dry.
Into each shell, place half the butter, thyme, garlic, lemon zest, salt and pepper, then add the rest of the butter, seasoning, garlic and thyme on top. Bake in the oven at 180ºC for 5 minutes, then finish with a little lemon juice when they are ready.
THE INGREDIENT: Flour
“Flour has to be one of the most important ingredients in my kitchen – it’s so versatile. In lockdown we saw the whole of the UK take up baking, cake making, bread making, tray bakes, dessert making… we almost consumed double the amount of flour in the last year. The one thing that I’ve always loved making is bread, and in particular sourdough. There is something truly comforting, rhythmic, almost hypnotic about making it. You never become a complete master at it, as you are always learning, no matter what. The texture can change, as can the taste, crumb, moisture and crust all due to the flour that you bake with. Think about how many different loaves of bread you can make with all the different flours out there.”
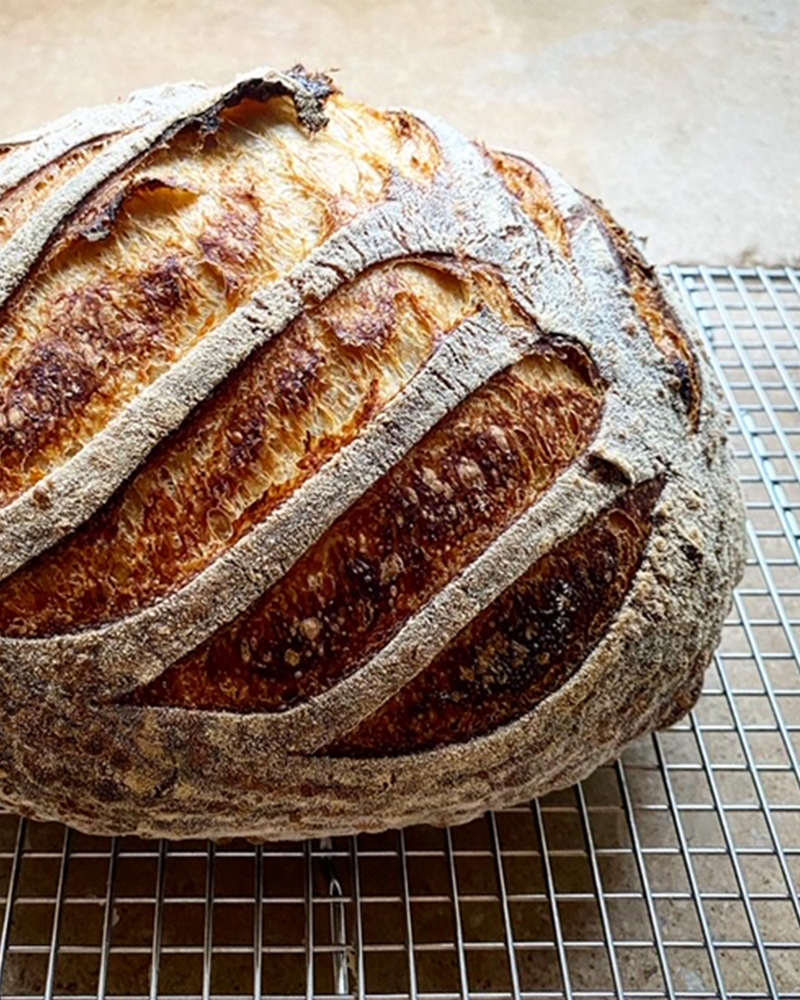
THE RECIPE: Sourdough
Place the mother into 600g of water. Disperse the mother in the water by rubbing it and mixing it through your fingertips. Once this is done, add in the flour. If using a machine, mix for 2-3 minutes on a slow speed until all the ingredients are well incorporated and there are no dry bits. You may have to scrape down the bowl halfway through. If mixing by hand, scrunch the ingredients together until it comes together.
Turn out onto the bench and stretch the dough on the bench backwards and forwards, stretching it away from you and then rolling it back towards you. Do this around 8-10 times, to develop the gluten. Then slap down onto the bench and roll the dough over itself and repeat several times.
Place into a bowl and cover with clingfilm. Leave the mixture to rest for 45-60 minutes.
Next, mix the 50g of water and salt together, then add the saltwater mix into the dough and place in the machine for 4-5minutes on a low speed till the dough pulls away from the sides of the bowl. The gluten should have started to develop well by now. If done by hand, tip the water and salt mix on top of the bread and turn the bowl as you knead the dough in the bowl, turning and kneading at the same time, until the dough becomes smooth, and all the liquid is incorporated.
Leave the dough to rest for another 45-60 minutes covered in clingfilm.
Now, the first fold. Make 4 quarter turns, then repeat this twice more after another 45 minutes has passed. Pull the dough up from the bottom at the furthest point away from you, lift and stretch the dough upwards, then place down into the middle. Turn the bowl a quarter and repeat, always taking the dough from the bottom. Do this every quarter turn, a total of four times. This should leave you with a tighter dough with more structure. Leave to rest for another 45-60 minutes and repeat.
Leave this to bulk prove for 3-4 hours: sometimes it will take more and sometimes less.
Afterwards, tip out on to the work surface and divide the dough gently into two, dividing with a dough cutter/scraper.
Pre-shape the dough into a ball using the scraper, by pulling and scraping the dough round and tucking under so that it becomes into a tight ball shape.
Place into a well-floured basket with the seam pointing up. Leave out for 30 minutes-1hour then place in a fridge for 12-24 hours.
Preheat the oven and cast-iron pan at 235°C. Flip the loaf out of the basket into the lid of the pan then slash the top and add the lid.
Bake for 35 minutes, then remove the lid and bake for 2-3 minutes until you get the desired colour. Place on a wire rack to cool for at least 15-20 minutes before cutting.
THE INGREDIENT: Lemon
“As a chef, a drop of lemon juice into a sauce or vinaigrette or onto a piece of cooked fish can make a huge difference. Always go for unwaxed lemons – knobbly lemons are the best, and Amalfi and Sicilian lemons are in season right now. Marinating fish or meat with the juice and zest – alongside a little olive oil or yogurt can add extra flavour to your dishes. For a very simple dressing use a great olive oil, the juice and zest of a lemon, some Maldon salt and freshly ground pepper –whisk well and add a little honey to sweeten if you like. As well as my signature lemon tart – see below – the most delicious treat is a lemon drizzle cake that my daughters love. I also like using them to make a simple lemon syrup by boiling the juice, grated zest and sugar – just drizzle over homemade pancakes and waffles. Or for just a simple whipped cream, add lemon juice and zest with a little icing sugar and a pinch of salt. Whip until semi thick and dollop onto strawberries.”
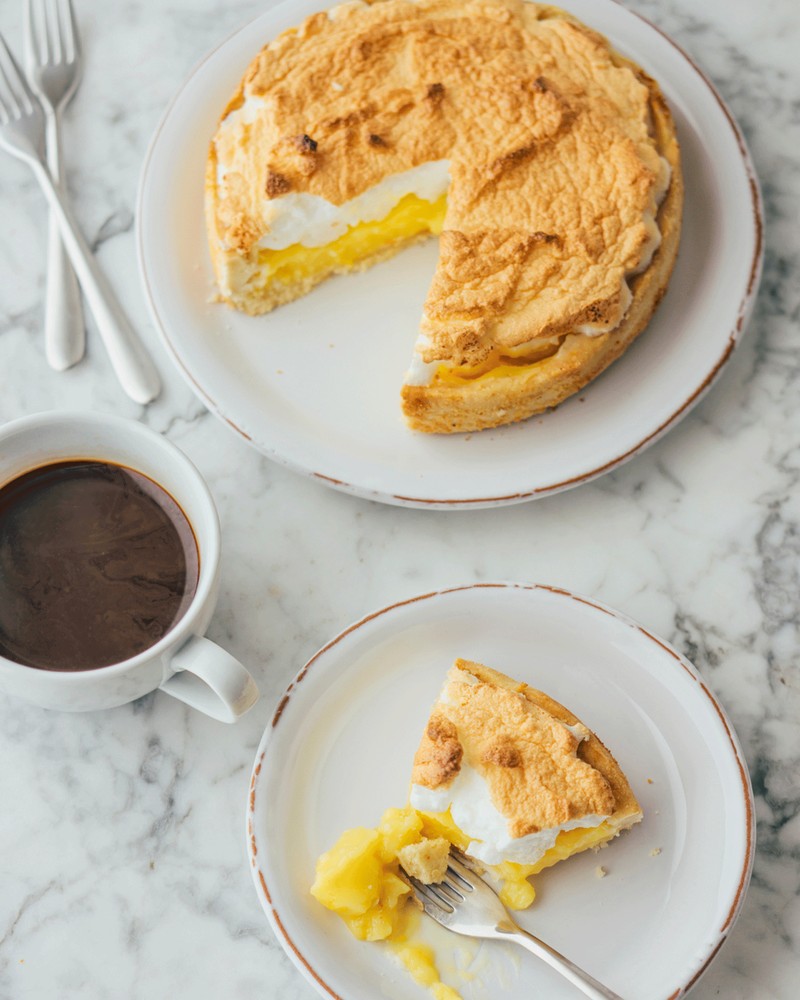
THE RECIPE: Lemon Tart
Cream the sugar and butter until smooth, then add the eggs and vanilla with the sieved flour and salt, alternating with the eggs until just mixed through and smooth. Do not over beat. Leave in the fridge for 30 minutes to set firm.
Roll out the pastry to 3mm thick and then line the buttered and floured tart cases, bake blind until well cooked at 180°C for 25-30 minutes until golden, then remove from the oven and take out the beans and paper. Brush with egg wash and re-bake for 5 minutes, then its ready for the tart mix.
Bring the lemon juice, zest and sugar to a slow simmer in one saucepan, add the cream then pass off once cooled.
Add onto the eggs and pass through a fine sieve.
Bake the tart on a low fan and alternate the tart around the oven several times so it bakes evenly. When the centre is still wobbly pull it from the oven.
Leave to cool at room temperature for 30 minutes, then place in the fridge for at least 1.5-2 hours.
Visit MuseByTomAikens.co.uk

Greg Marchand: Frenchie Covent Garden and Frenchie Paris
THE INGREDIENT: Bacon
“I love bacon, and I love using it in alternative way, such as making scones with it or smoked bacon ice-cream (trust me, it's delicious). Bacon scones are one of Frenchie’s signature dishes. The savoury-sweet-smokey balance is perfect and makes these little scones incredibly addictive.”
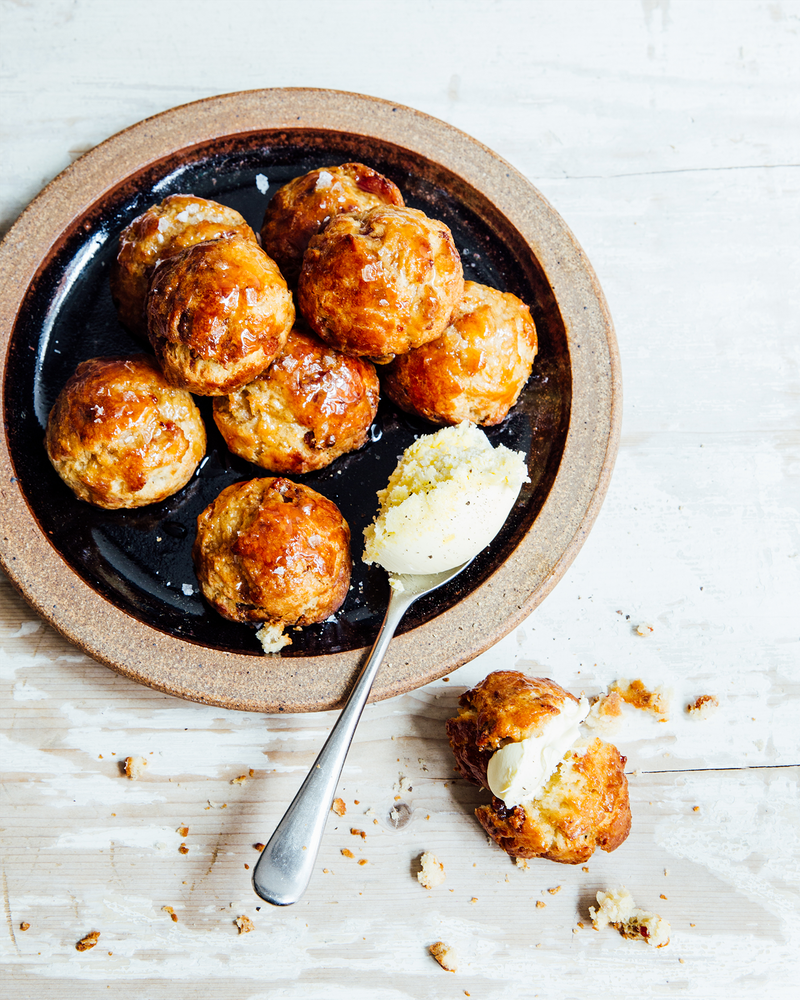
THE RECIPE: Smoked Bacon & Maple Syrup Scones
Dice the bacon, then brown in a skillet or frying pan until golden and crispy. Cut the butter into cubes and set aside in the refrigerator.
In a medium bowl, mix the flour, sugar, baking powder, baking soda, and salt with the cold butter by hand to form lumps no bigger than a pea.
Incorporate the cold bacon, then add the maple syrup and buttermilk and mix to a soft dough. Be careful not to overwork the dough.
Preheat the oven to 170°C/Gas Mark 3.
Use an ice cream scoop to shape 60g portions of dough into scones and place on a baking sheet lined with baking paper.
Brush the scones with egg yolk, then bake for 15 minutes.
Drizzle the scones with maple syrup and bake for 4 more minutes. Best served warm.
THE INGREDIENT: Sweetcorn
“Corn is a great vegetable to use in different ways. For summer, it's perfect at BBQs as a side dish to accompany any meat or fish, or even on its own with some delicious spices or sauce. You can get it pretty much all year round, although when it's in season in the autumn, I always have it on the menu and love to make a chowder.”
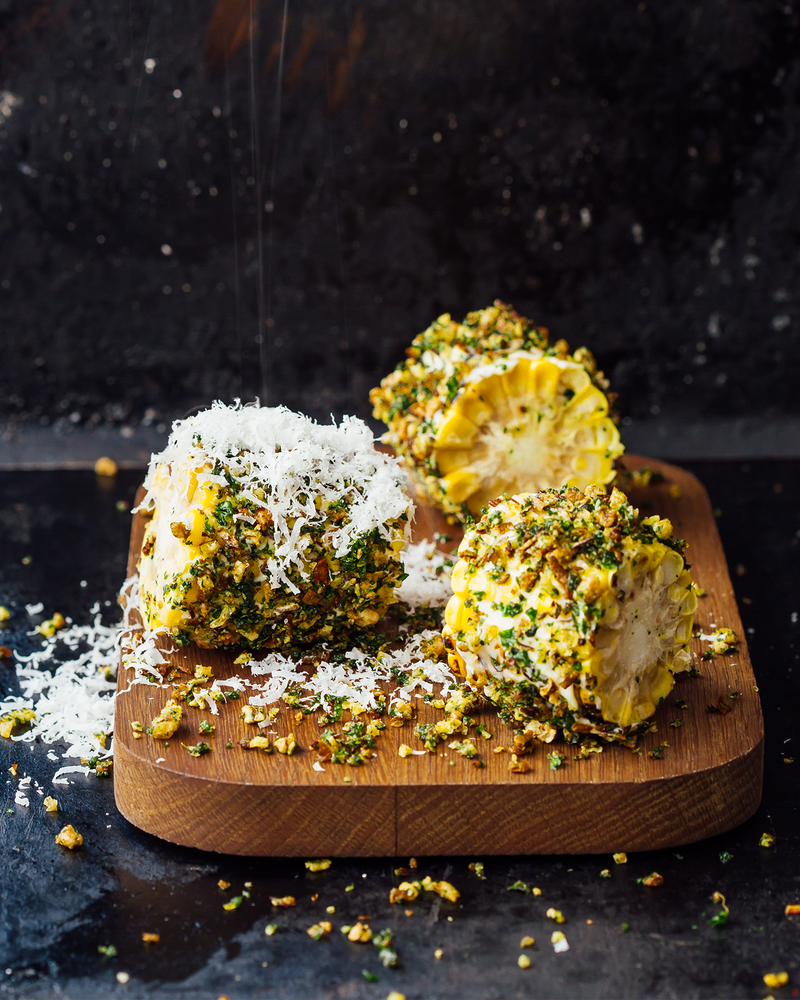
THE RECIPE: Corn on the Cob
To make the crispy parmesan, preheat the oven to 170°C/Gas Mark 3. Grate the parmesan over a baking sheet lined with a baking mat and bake in the oven for 25 minutes. It should turn deep golden and start to bubble. Let it harden at room temperature.
For the deep-fried shallots, peel and finely slice the shallots. Season the flour with salt and pepper and dredge the shallots. Deep-fry in the oil at 140°C until crispy and golden, about 4 minutes.
Pluck the parsley and deep-fry the leaves in the oil at 140°C until dry and translucent, about 1 minute.
Chop the crispy parmesan with the shallots and parsley leaves, and mix with the grated lime zest and a pinch of salt.
Preheat the oven to 200°C/Gas Mark 6). Season the corn with coarse salt and smear with plenty of butter. Roll the ears in aluminium foil and close the ends tightly. Grill over high heat or in the oven for 25 minutes. Leave the corn wrapped in the foil until ready to serve. Then, unwrap the corn, coat them with butter, and roll in plenty of corn crumb coating. Sprinkle with a little grated fresh parmesan. Eat with your fingers.
THE INGREDIENT: Chocolate
“Who doesn't love chocolate? My kids absolutely love everything chocolate – and it brings so many people so much joy, which is what cooking is all about at the end of the day. So, I’m sharing one of my – and my kids’ – favourite chocolate recipes. I like big cookies that are crunchy on the outside and soft in the middle. They remind me of the ones found at one of my favourite places in New York, Levain Bakery on the Upper West Side. Their cookies are humongous. These don’t last long in our house…”
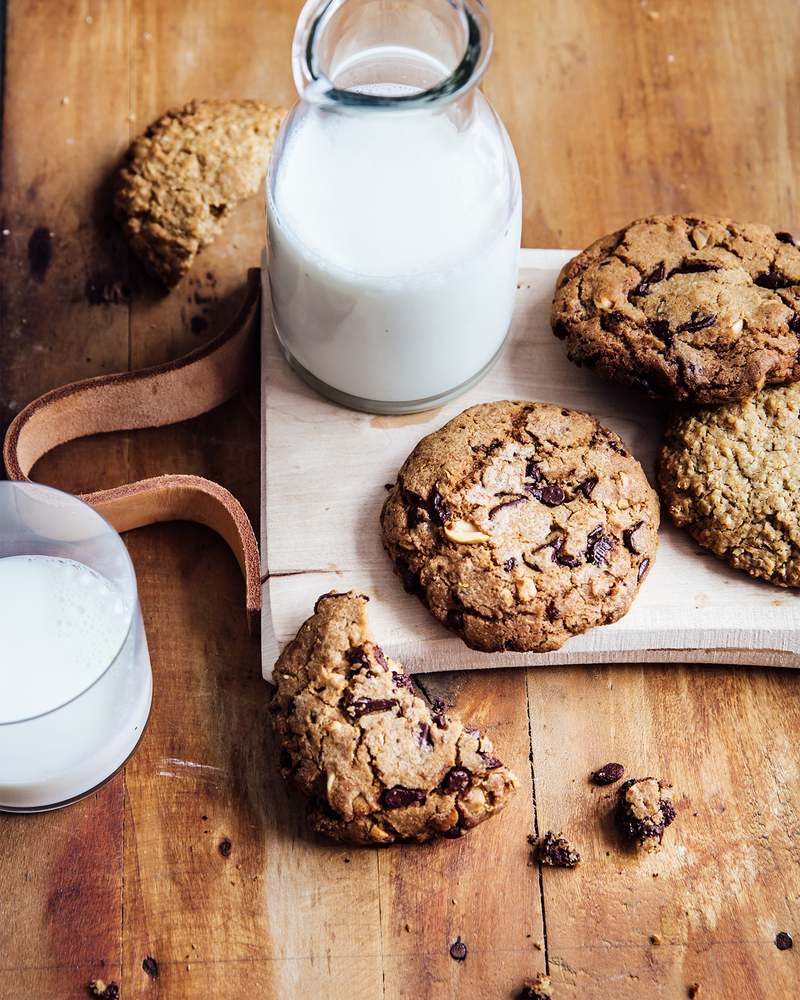
THE RECIPE: Chocolate & Peanut Cookies
Preheat the oven to 170°C/Gas Mark 3). Use a knife to coarsely chop the peanuts.
In a mixer using a flat beater attachment, mix the beurre noisette with the different sugars until smooth. Beat the egg with the egg yolk and vanilla extract, then add a little at a time to the sugar mixture, mixing after each addition. Scrape down the sides of the bowl, then add the flour, baking soda, and salt. Mix on low speed to a compact dough. Be careful not to overwork the dough.
Scrape down the sides of the bowl again, and add the chocolate chips and chopped peanuts. Mix well.
Make small mounds of about 75g of dough and place on a baking sheet lined with baking paper, spacing well apart so that they do not stick together as they bake.
Cover the cookies with cling film and refrigerate for 1 hour. Then bake for 12 minutes. Serve while warm.
Visit FrenchieCoventGarden.com
THE INGREDIENT: Aubergine
“Aubergines are fantastic – they hide so much potential and are fantastic vessels for carrying a range of flavours. I nearly always BBQ them to give them a deep smoke-y flavour and then glaze them in brown sugar and tamarind, finished with some crispy onions, pickles raisins and spiced lentils. It's a humble vegetable, not to be overlooked.”
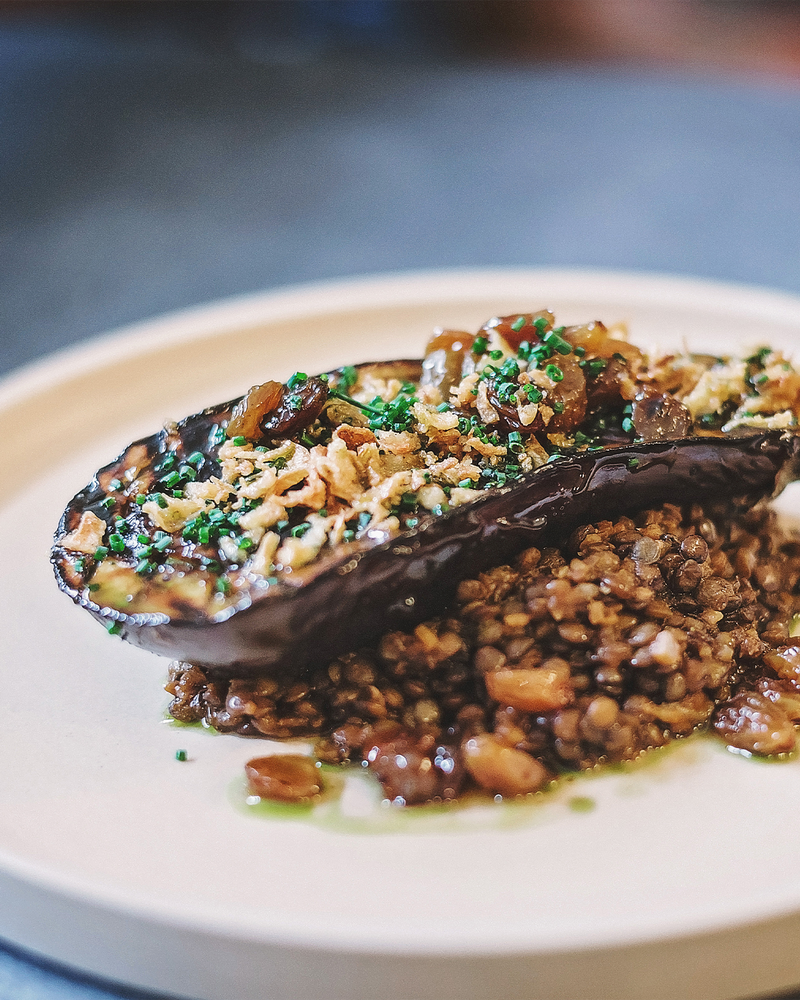
THE RECIPE: Tamarind-Glazed Aubergine
Before you begin cooking, fire up your BBQ so it's nice and hot. Alternatively, you can always use a smoking hot griddle pan.
Begin by making the glaze. Place the tamarind paste, sugar, cardamom and cinnamon in a pan. Bring the ingredients to the boil, remove from the heat and leave to infuse for 1 hour.
Cut the aubergine in half from the top to the bottom. Using a small knife score the inside of the flesh to give it a criss-cross effect.
Lightly salt with rock salt and leave for 10 minutes. This helps top draw some of the moisture from the aubergine.
Once your grill is smoking hot, brush the flesh side of the aubergine with the flavoured oil. Place directly onto the hot grill.
Keep a close eye on the flesh, you are looking for a nice dark colour. Once you have achieved this flip it over and brush it generously with the tamarind glaze.
Leave to cook for 8 minutes. You can tell when it's cooked as you will see lots of moisture beginning to bubble on top of the aubergine.
Once ready remove from the grill and top with the chives.
THE INGREDIENT: Blue Cheese
“My favourite blue cheese is Perl Las: being a proud Welshman, I had to choose a cheese from my home nation. When buying blue cheese, you need to look for the ripest specimens. Always feel it to see how soft it is and give it a good sniff (don't take any notice of everyone else in the shop giving you funny looks). My favourite way to use it is to simply cut a slice and leave it to melt on top of a nice medium-rare ribeye steak, but this is a mean blue cheese sauce which you can use on so many things: top toast with it, drizzle it over a salad or serve with BBQed meat.”
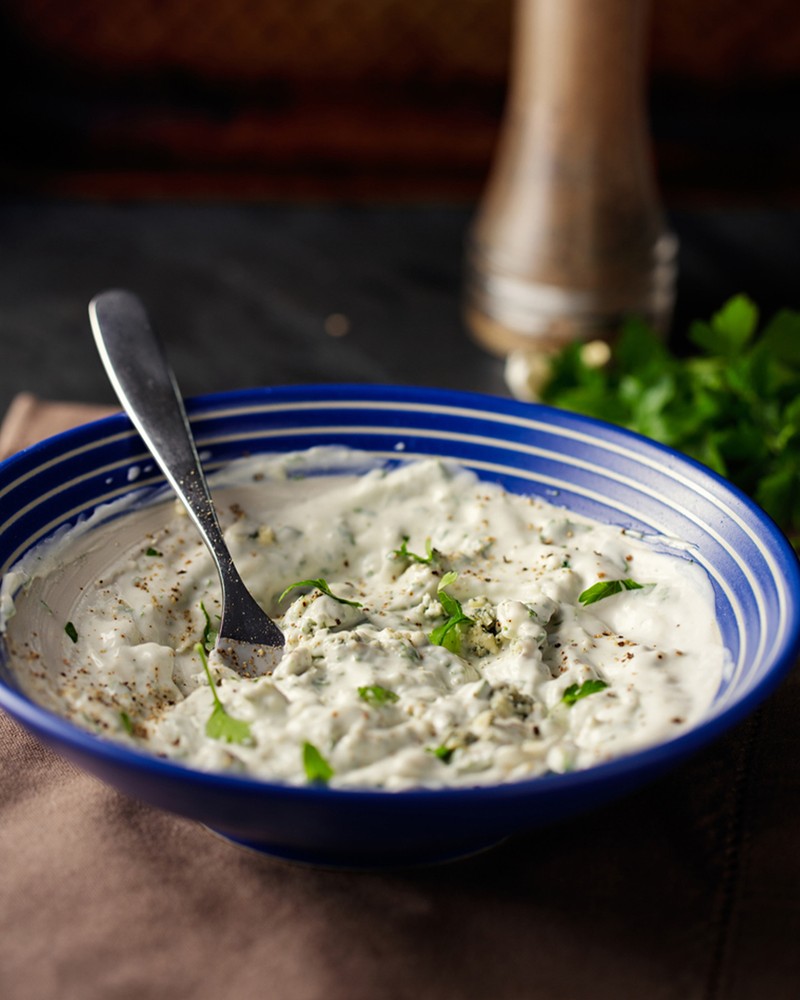
THE RECIPE: Versatile Blue Cheese Sauce
In a large pan, sweat the shallots.
Once soft, add the brandy and turn the heat up to high to reduce the brandy down to a glaze.
Once the brandy has reduced, add the chicken stock and again rapidly reduce down to a glaze. It should hit a stage with your shallots and chicken stock are nice and thick.
Once reduced add the double cream and bring to the boil, then pass through a fine sieve to remove the shallots.
Whisk in the cheese and finish with some rock salt and black pepper.
THE INGREDIENT: Mackerel
“One of my fondest memories of mackerel comes from being on holiday in Tenby as a child. My dad always used to take me out fishing, and I can still remember the feeling the first time I pulled in six thrashing mackerel on a small hand line in the middle of the sea. We then returned to the caravan to cook them on a small disposable BBQ. This is still my favourite way of cooking them, however I've upgraded my kit a little to a coal fired robatayaki grill now. When buying fresh fish, always look for clear and bulbous eyes, bright red gills and a nice shine on the skin.”
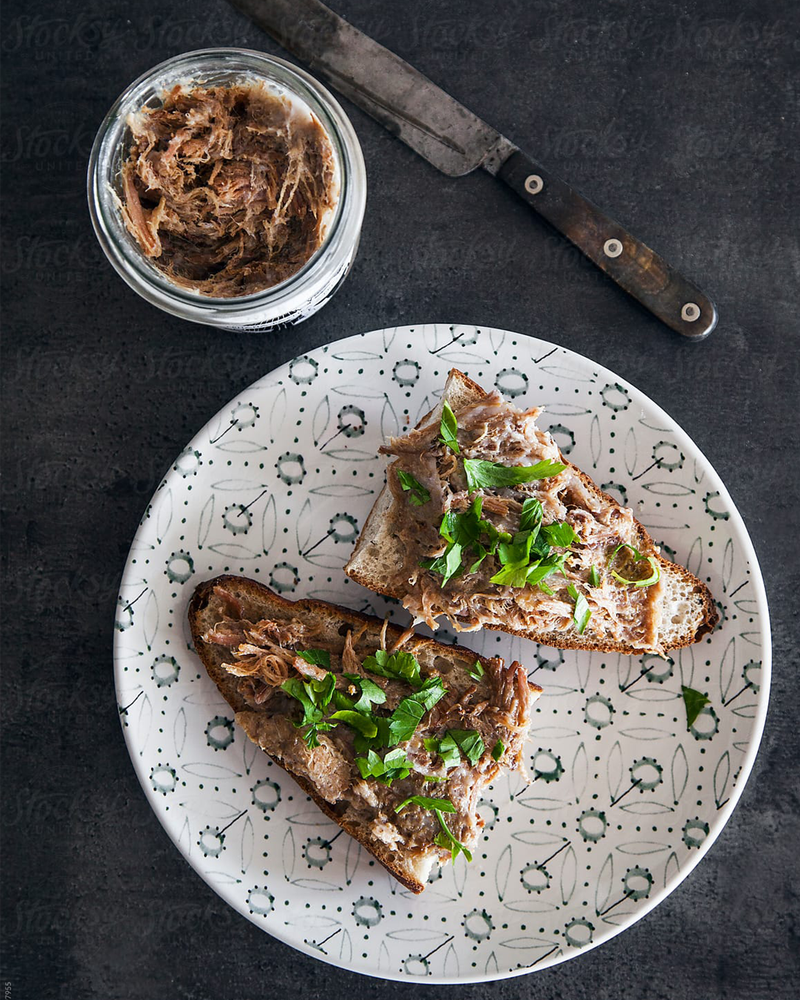
THE RECIPE: Smoked Mackerel Pâté & Sourdough
To make the pâté, flake the smoked mackerel, discarding any bones you may find.
Mix with the crème fraîche, chives, dill, spring ones and lemon. Season to taste.
I always serve this on slices of thick-cut toasted sourdough with some pickled cucumber.
Visit Henley.CrockersUK.com
DISCLAIMER: We endeavour to always credit the correct original source of every image we use. If you think a credit may be incorrect, please contact us at info@sheerluxe.com.
