How To Trim Your Hair At Home
As Sam Burnett, Owner and Creative Director of Hare & Bone, reminds us, having regular trims is one of the best ways to prevent split ends – and we should be doing it every six to eight weeks. While he doesn’t recommend cutting your own hair or fringe – all Hare & Bone clients are treated to complimentary fringe trims between haircuts – he has a few words of wisdom for those who do decide to undertake the task.
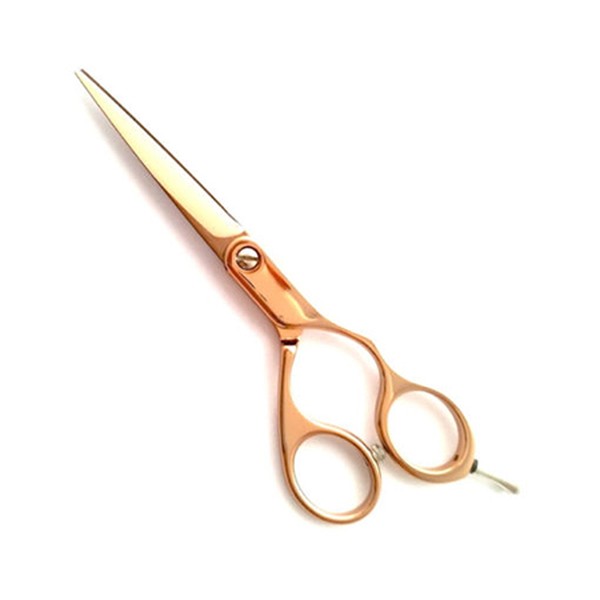
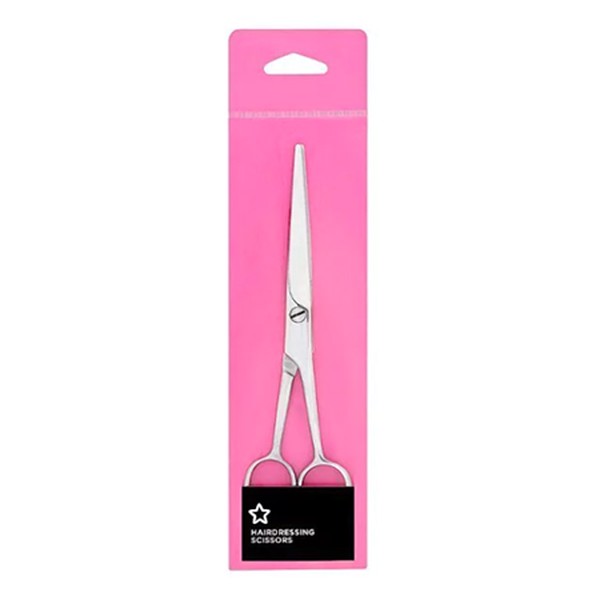
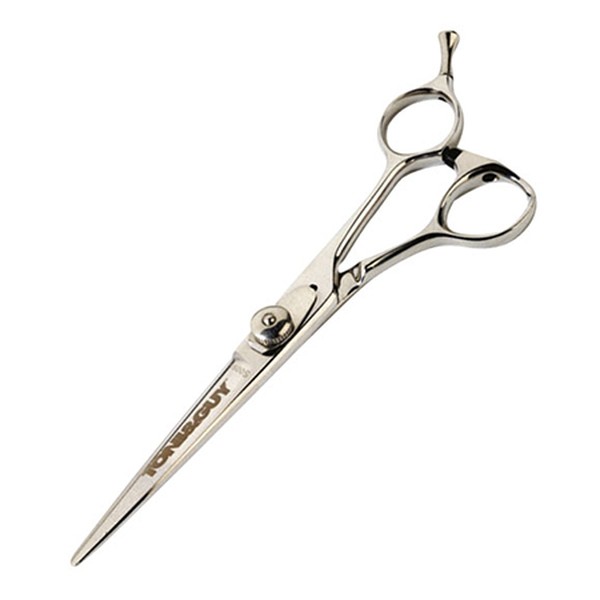
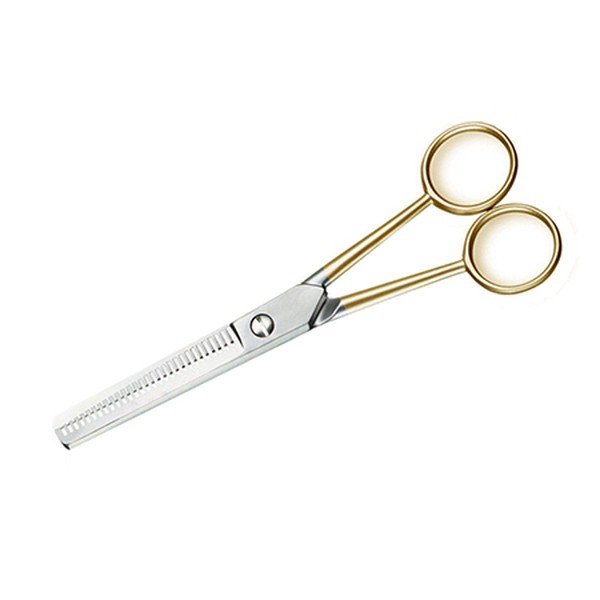
Firstly, he says it’s vital to use a pair of good quality hairdressing scissors (never kitchen shears) and to ensure your hair is clean and dried in its natural texture. As for technique, “Trim with the points of the scissors, holding them at a parallel angle to the direction of the hair flow,” he advises.
Feeling brave enough to give it a go? The hair experts at Curl Centric have shared the best three methods for at-home trimming – choose according to your hair type and level of damage:
1. Search & Destroy Mission
Search and destroy sounds like a classified military operation. However in this instance, it’s actually a very popular hair trimming method. The idea is to search for sections of damaged hair and destroy it immediately.
To utilise the method, take small sections of your hair (roughly one square inch) and search through it for split-ends, frayed spots, knots and breakage points.
The goal is to cut or trim the hair about a one-fourth of an inch above the damage point. This trimming technique can be used as often as needed. However, if you find yourself frequently conducting these search and destroy missions, it’s best to consider a more comprehensive trimming method.
2. Dusting Method
If you regularly see knots and split ends in your hair, you should consider using the dusting method. The purpose is to contain the damage, keeping it from spreading further. Using this method, you should regularly cut a small amount of hair (no more than a quarter of an inch) about once every two months. However, if you’re trying to grow long hair, then this method probably isn’t appropriate. You should try the search and destroy method, instead.
The biggest advantage of the dusting method is the regularity with which your hair is cut. The goal is preventative maintenance. The biggest disadvantage, however, is that it won’t help much if the damage is already further up the hair strand. This means that if you want dusting to work, you’ll have to keep an eye on your ends. Dusting is a practical application of the old adage, "A stitch in time saves nine".
Take note of the fact that for dusting to work, your hair needs to be in decent condition. The only way for dusting to function properly is if the damage is at the ends (or tips) of your hair strands.
3. Full Trim
Getting a regular trim may seem similar to dusting, but it has a different goal. Dusting is about general maintenance, designed to remove damage in the form of splits and knots. Trimming is designed to establish a healthy base of hair, since it takes off more length than dusting.
This can enable you to more successfully use the dusting method or conduct a search and destroy mission in the future. We generally consider cutting our hair “a trim” when you cut off more than half an inch. It’s common for many ladies to get regular trims every few months.
And if you’re trimming your fringe, hairdresser Lee Stafford has the following words of wisdom...
How To Trim Your Own Fringe
Firstly, section your hair (so you don’t include any hair your don’t want in your fringe) and pin it back away from your face.
Then, using hairdressing scissors – this is really important, you will not be able to achieve the same look with household scissors, it will end up a mess – hold them at a 90 degree angle and gently chip into your existing fringe. This will thin out the hair, resulting in a lightweight, natural fringe.
Avoid cutting straight across your face because this will create a very blunt fringe, which can be difficult to correct later.
DISCLAIMER: We endeavour to always credit the correct original source of every image we use. If you think a credit may be incorrect, please contact us at info@sheerluxe.com.

