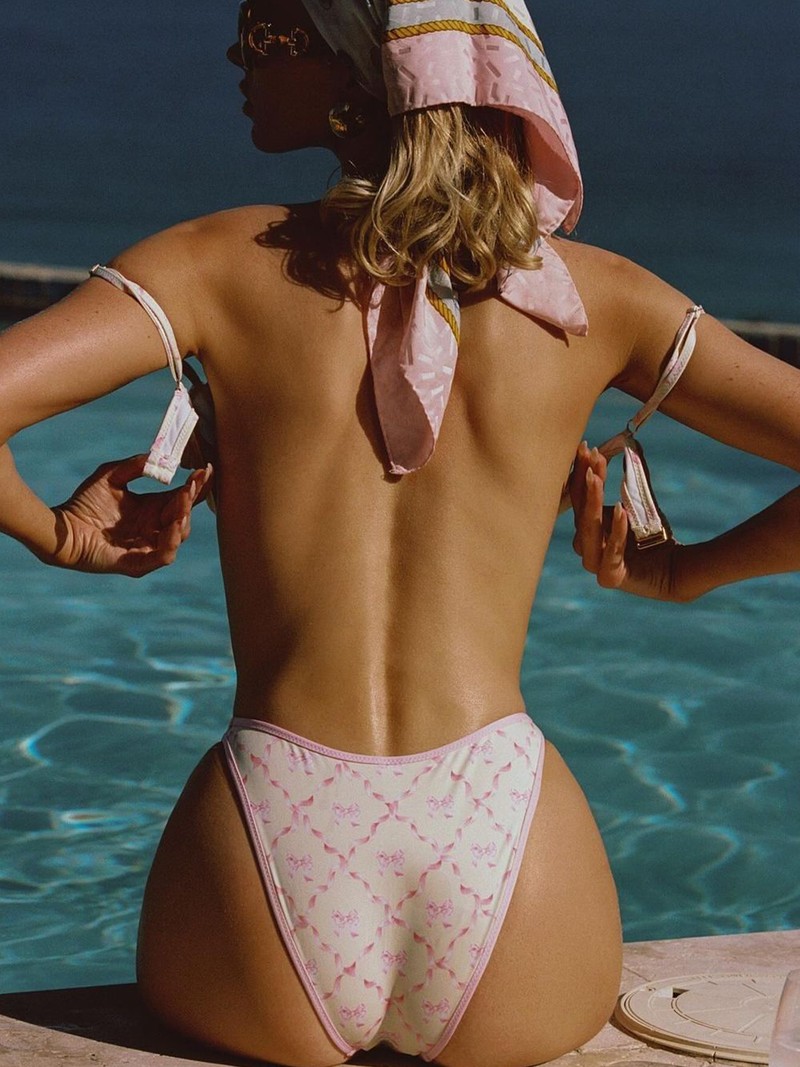
A Foolproof Guide To Self-Tanning
Invest In The Right Tools
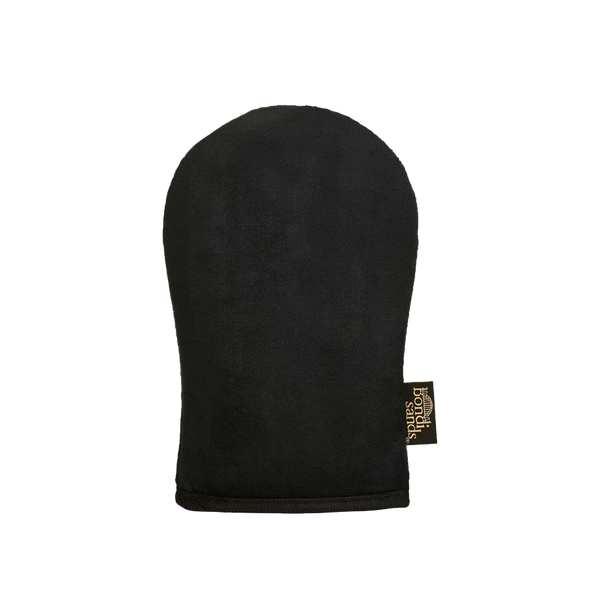
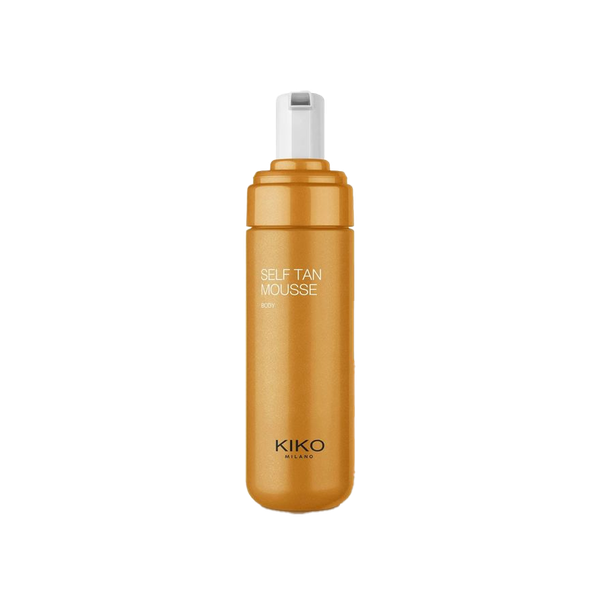
“For the best application, a foam tanning mitt is still the best option. A great tip is to disperse either your mousse, liquid or lotion in long sweeping motions all over the body. This helps you get a more balanced and natural finish towards the wrists and ankles, as the tan is thinned out by that point. Another great tool is a make-up brush, which you can use to apply tan in those delicate areas. We all know self-tan loves to grab on and turn darker around the knees, elbows and feet, so the light touch of a brush is ideal." – James Harknett, A-list tanner
Always Apply Two Coats
“With all tans, apply two coats to the body and one to the face. Starting at the ankles and working your way up means that your tan will be dry enough to apply a second coat after a couple of minutes – just start again from the ankles for the second layer. Then, use what’s left on the mitt to apply the tan to your hands and feet; and remember to wipe in between your fingers and over your fingernails with a damp cloth or make-up wipe afterwards. Lastly (my favourite trick of all) – hang a towel on the back of your door and rub your wrists onto it. This helps remove those pesky tell-tale tan lines.” – Jules von Hep, professional tanner & creator of Isle of Paradise
Exfoliate First
“Skin prep is vital, and this includes exfoliation. Once any hair removal has been completed, exfoliate all over the body on the morning or night before application. REN’s Guerande Salt Exfoliating Body Balm is brilliant at shifting dead skin cells and providing a smooth, even base that’s ready for colour.” – James
Pay Attention To Your Back
“Many of us still struggle to self-tan our backs. If you can’t fit a spray tan in right now or you live alone, there is a method you can try. Turn your tanning mitt the other way around on your hand. Standing sideways, looking into a mirror, you can manoeuvre your arm in circular motions across the shoulders and back.” – James
Pick Your Moment
“Always try and apply your tan after you shower, ensuring skin is dry, make-up free and all deodorant is washed off. Post-shower, our skin’s cells are more hydrated and will therefore absorb tan more evenly for a longer-lasting colour. Do it in front of a mirror in a well-lit area for seamless coverage. It’s also key to avoid using any oils prior to tanning, so avoid massaging or moisturising your skin too heavily the day before – it can act as a barrier, unless it’s mixed with tanning drops.” – Jules
Skip Shaving Pre-Tan
“One of the main mistakes people make when tanning is removing hair right before. While it will make you nice and smooth, it strips the skin of dead skin cells. These are what tanning agents need to cling to in order to turn the skin brown. Tanning on top of waxed skin will be uneven, look patchy and indeed fake, so make sure any de-fuzzing is done at least two days before. Shaving can be done 24-hours prior but try to do it two days before if you can, too.” – James
Don’t Forget Your Knees
“A part of the body that often gets missed is the kneecaps. As we sit, the skin around the kneecap opens and expands. The natural lines in the skin allow for it to stretch as we manoeuvre. So, as you’re applying your tan to the legs, prop up your knee to the edge of the bath and work a small amount of product in a circular motion to ensure there are no white circles.” – James
Prevent Streaks
“If you’re using a tan with a guide colour (one where you can see the colour appear on application), apply it to the body first and check for brown lines. Any brown lines mean you’ve overlapped the layers of tan, which means no streak. Any paler lines on the skin will mean a streak and therefore will need an extra sweep of the tan on top. If you’re using a clear tan, spray it liberally until the skin is visibly wet. The skin should gleam all over with no matte finish – if you spot any matte patches, spray on more formula in that area. Rub in with your palms until your skin feels almost touch dry, and don’t forget to wash your hands after. Once you’ve finished, buff off any excess.” – Jules
Use The Sunbathing Technique
“The best way to think of where to apply – and where not to – is think about where the sun would hit your skin if you were sunbathing. You would probably tan everywhere, except for your palms, soles, wrists and hairline. Common areas that people miss include the middle of the back, inner thighs, outer arms, armpits and under the breast – so keep these in mind.” – Jules
Not a fan of self-tan? You could use a skincare-focused formula to either top up a natural tan or create a subtle glow. James Read, founder of Self Glow By James Read, gave us some ideas…
Keep The Glow Going
“Mix a tinted gel, serum, or lotion in with your face or body cream to warm up your skin. This also helps to create that ‘no-make-up’ make-up glow. The key is to blend and dilute the product, rather than applying it directly, to ensure a smooth and natural-looking tan.”
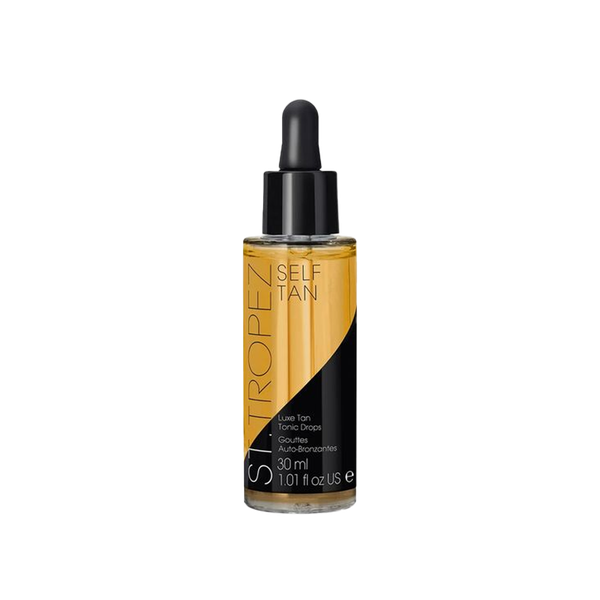
Blend Tanning Drops Into Your Skincare
“Adding tanning drops into a face mask and leaving it on for 20 minutes can help extend your glow. Lightly exfoliate every three days and repeat the process daily. Another trick is to mix them into your aftersun – this combination works for both face and body, adding extra colour depth. I call this the ‘glow warm-up’.”
Stay Hydrated With A Tanning Mist
“Maintaining moisture levels is the best way to prolong a natural tan. Hydrating face mists – including my new Sunblush formula – are perfect to pop into your holiday bag. It not only refreshes and plumps the skin thanks to rosewater and three-dimensional hyaluronic acid, but also contains plant-based DHA to top up your skin with a subtle, sun-kissed warmth.”
Apply Glow Enhancers Gradually For A Natural Look
“Add your glow in small stages to prevent build-up – less is more. Apply every three days for the best results. If you are peeling, moisturise until it stops before applying your tan to ensure an even glow.”
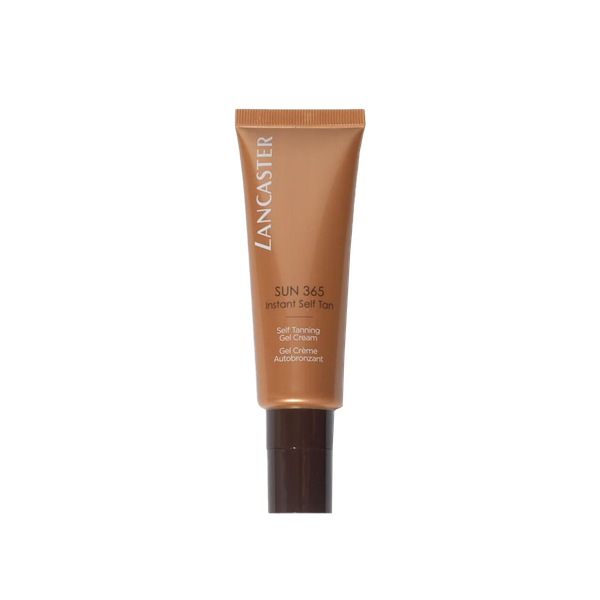
SHOP THE PRODUCT EDIT
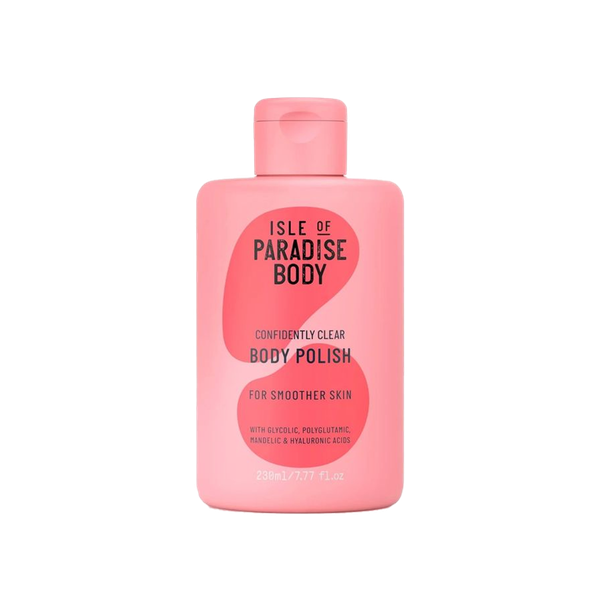
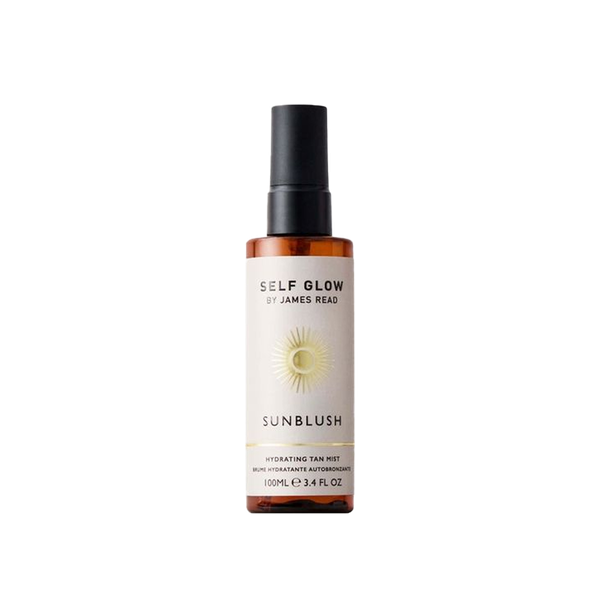
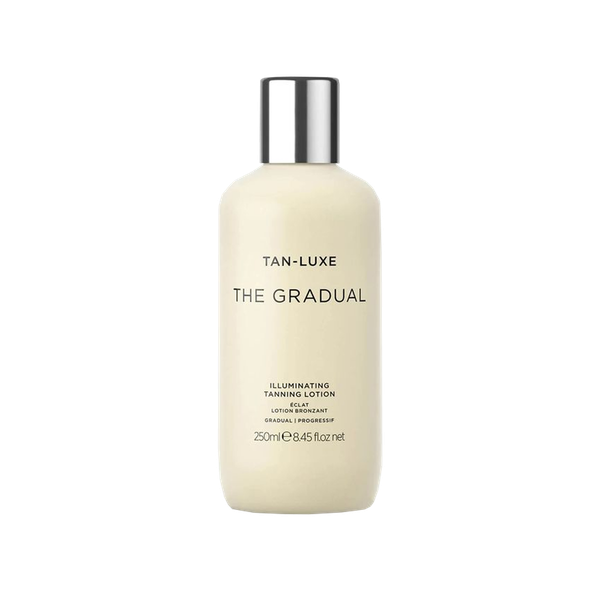
Inspiration Credits: @Tan_Luxe | @Cameron_Hammond
INSPIRATION CREDITS: Instagram.com/amandaharringtonofficial
DISCLAIMER: We endeavour to always credit the correct original source of every image we use. If you think a credit may be incorrect, please contact us at info@sheerluxe.com.
