30 Presentation Tips From Top Food Stylists
Rosie Mckean, Chef, Recipe Developer & Food Stylist
Keep your knives sharp
For best results, you need to have well-kept tools. If you are using a blunt knife, everything will take longer and your cooking and the appearance of your food will suffer.
Use natural light
Only post food pictures taken in natural light. This is difficult in the UK – especially in the winter months – but food really does look its best in daylight. Plus, it’s likely 99% of your favourite Instagram feeds are all pictures of food taken during the day.
Don’t overcrowd the plate
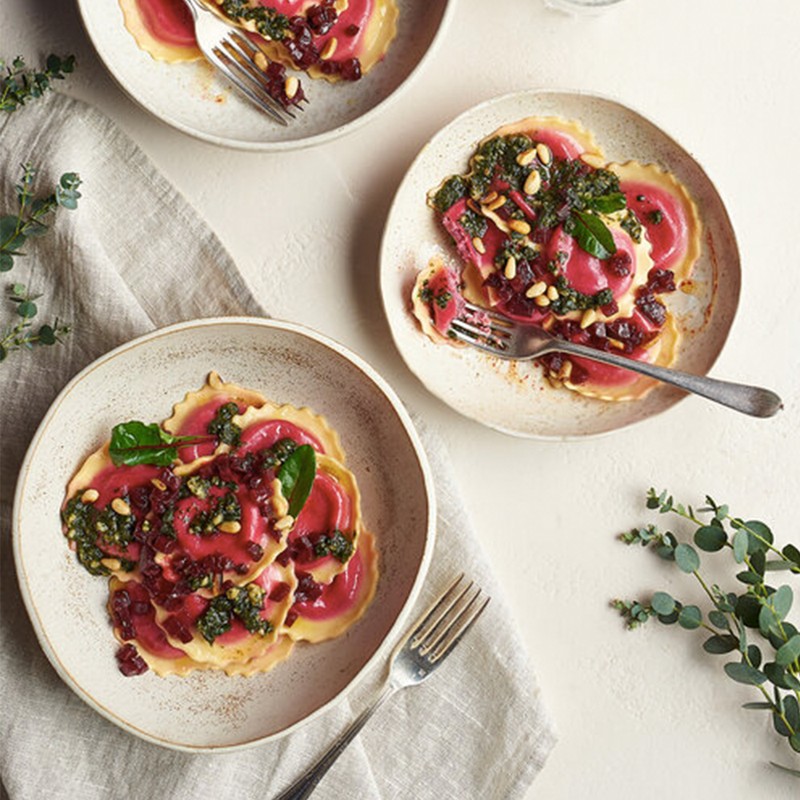
It’s tempting to put loads on the plate, but a bit of space is really important in the composition of shots – it’s easier for the eye to focus on, and see all the elements of the dish. You can always pile on a load more pasta and cheese after you have taken your picture and are ready to eat.
Look for movement in the food
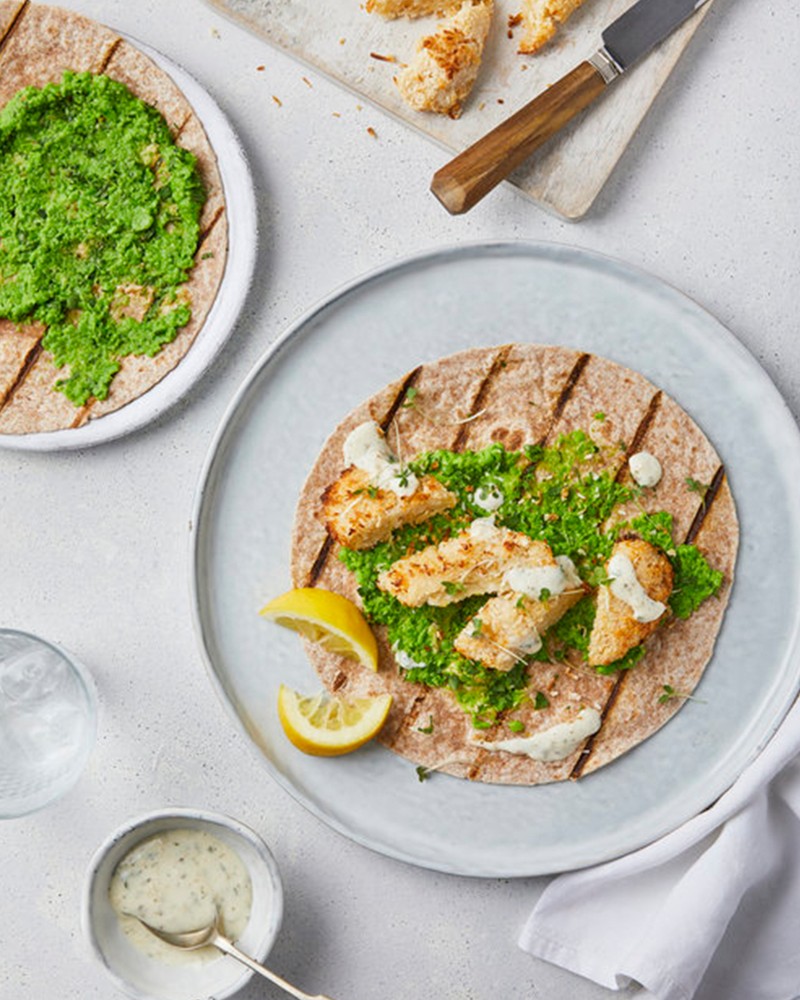
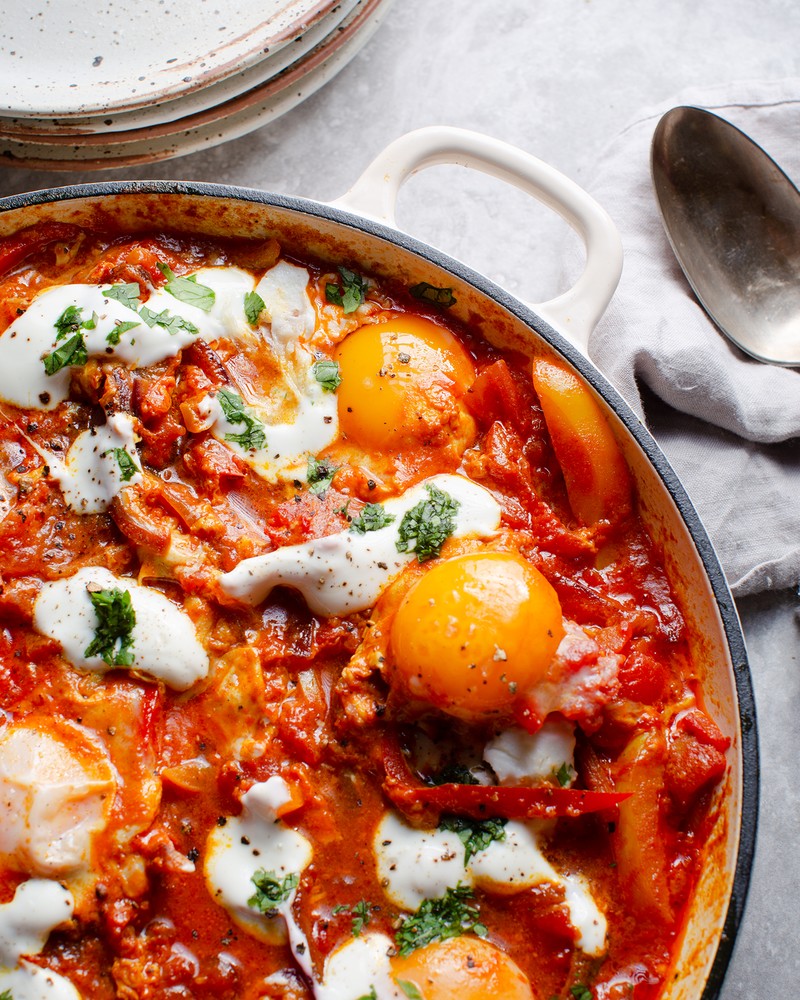
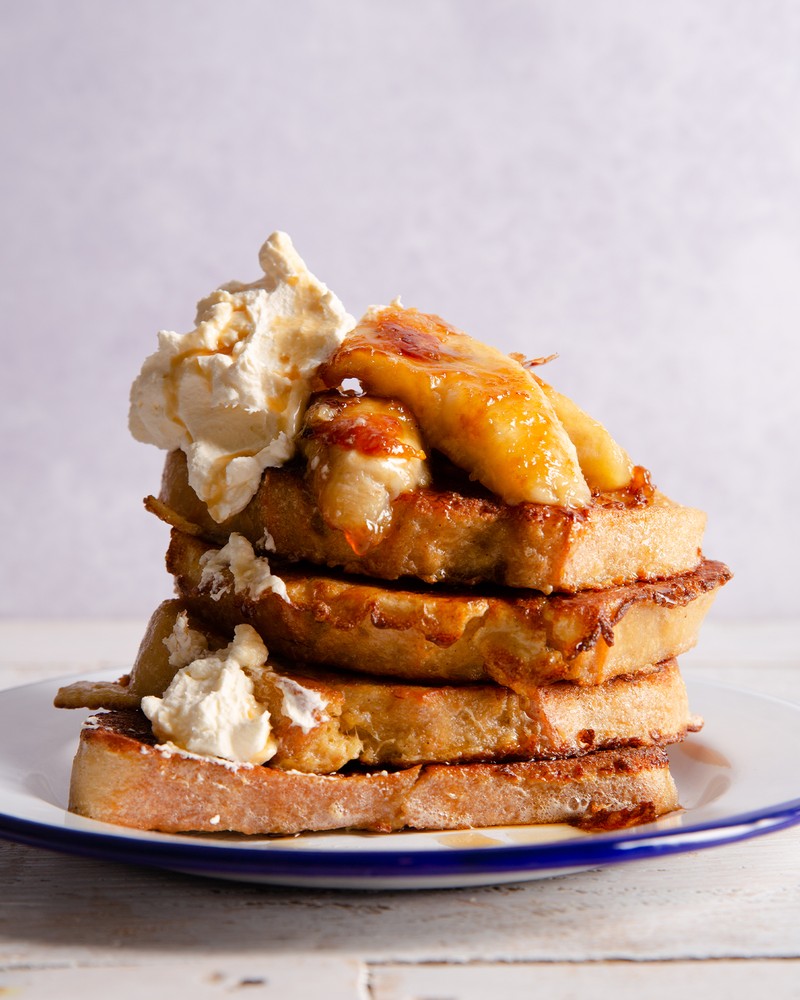
Smears, drizzles and oozes are all really attractive and evocative. It also helps you know that the food is hot when the picture was taken and makes you hungrier. Capture this moment if you can.
Think about height
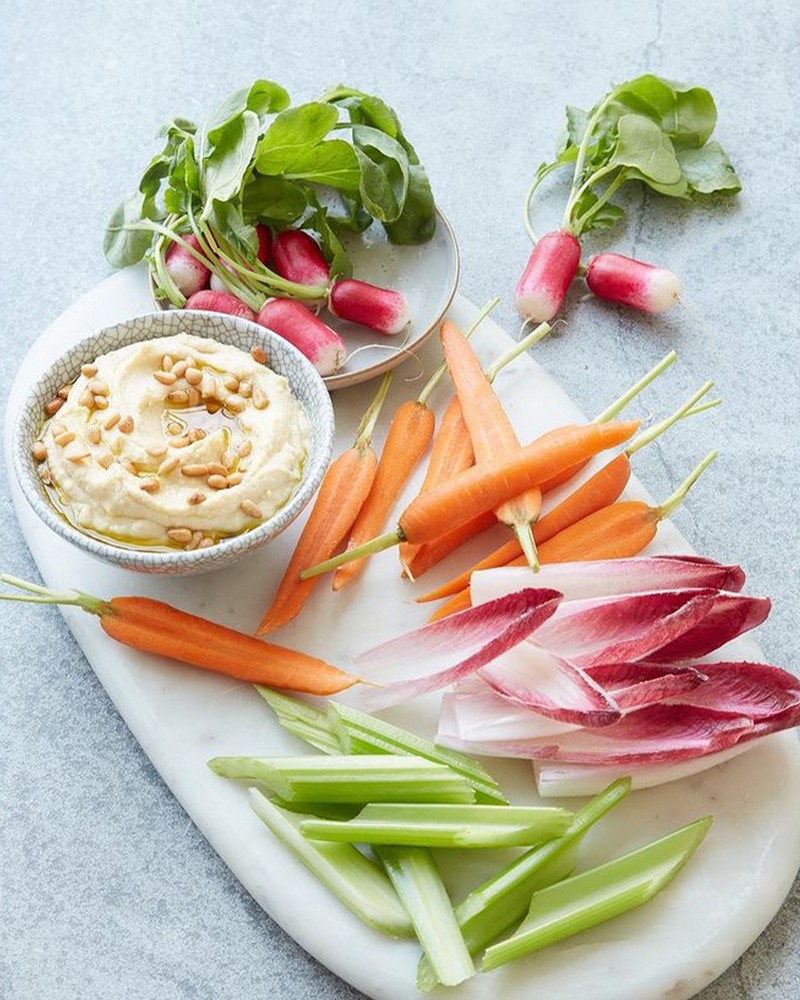
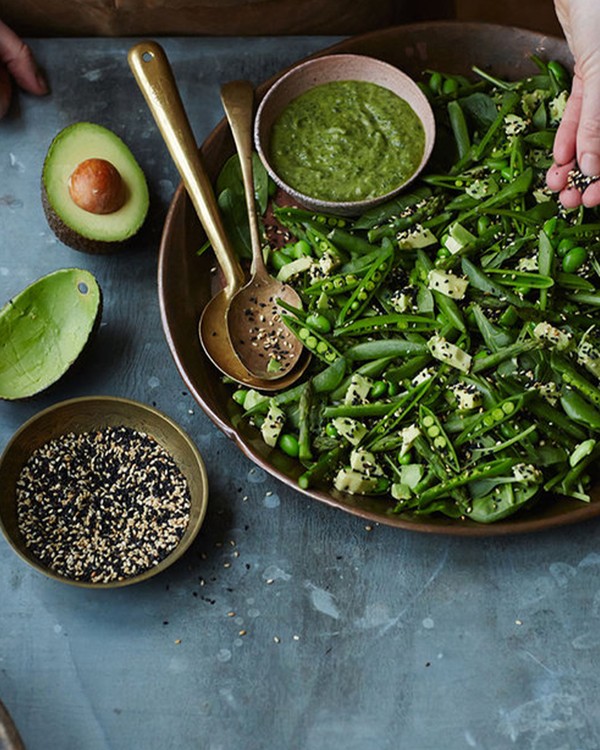
To create a table that looks like a feast without much effort, use flat plates – bowls hide the food – and don’t be afraid to do two or three plates of the same thing, spread across the table. Include little plates of toppings or extras like sliced chillies, lemon wedges and toasted nuts. These allow people to customise their food once it comes to digin.
Sharing is caring
Family style is the easiest way to serve a crowd of people – they can help themselves and you don’t have to worry about 12 identical plates. A lot can be done ahead of time giving you more time to drink and enjoy yourself.
Cook the food you like
It’s so infectious when someone is enthusiastic about a dish they have cooked, and the love comes through in the cooking. So, aim to please yourself first and the rest will follow.
Visit RosieMackean.com and follow Rosie at @RosieMackeanPastaQueen
Justin Maule, Food Stylist at Wild Fig Food
Assemble your tool kit
Having the right tools for the job is as important in food styling as it is in any other profession. Here’s what you need to get started:
-
Sharp knives – you’ll need a selection of sizes and blades as well as a sharpening steel, as precise cuts are essential.
-
Spatulas – various sizes including offset and tapered, for smoothing, spreading and flattening.
-
Brushes – again in various sizes, to add texture or shine.
-
Tweezers – for accurate placement and removal of small components, like micro herbs, from shot.
-
Blowtorch – gives a nice, charred edge to food achieving a ‘just cooked’ look to the shot.
Don’t forget to use props
Props can enhance and help to tell the story of the dish, for example if photographing a soup or stew – which are notoriously difficult to photograph – try to incorporate the ingredients into the shot giving clues as to how the dish was made and the process involved.
Visit WildFigFood.com
Kitty Coles, Food & Prop Stylist
Buy a microplane
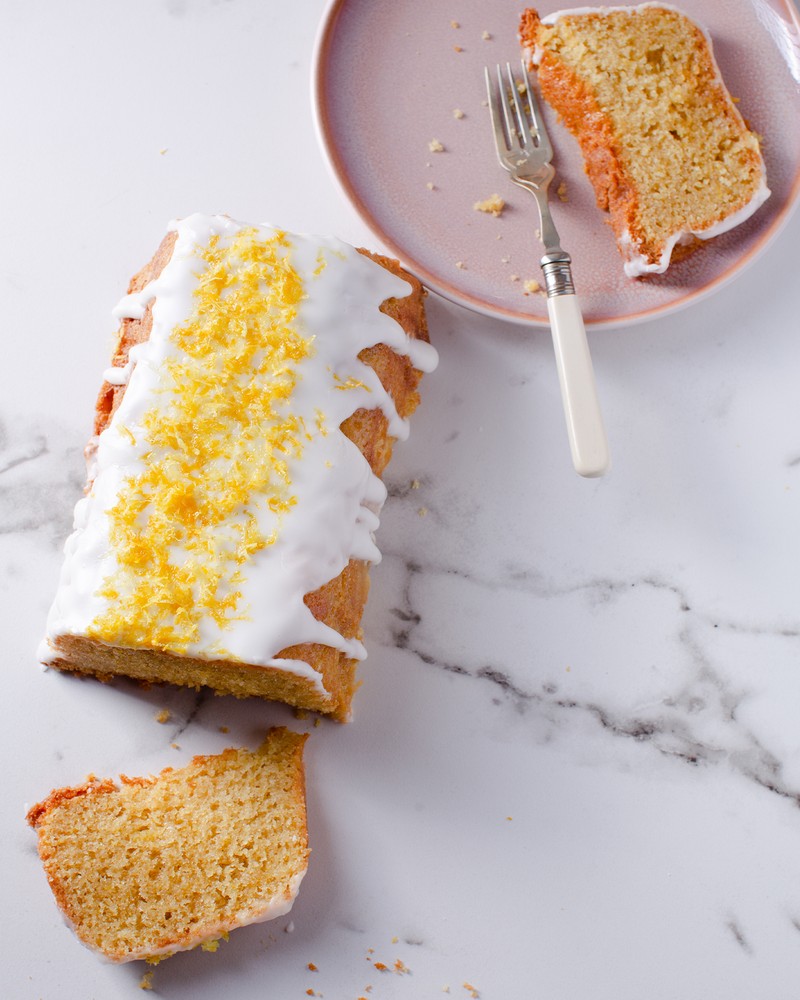
These graters vary in size and are amazing for zesting lemons and limes and grating cheese in lovely delicate shapes over your food. When you want to dust your pasta with parmesan, and not huge chunks from a box grater, this is your best friend. You can finish a lot of dishes with a zest of a lemon and it immediately looks more beautiful.
Add life to your salad
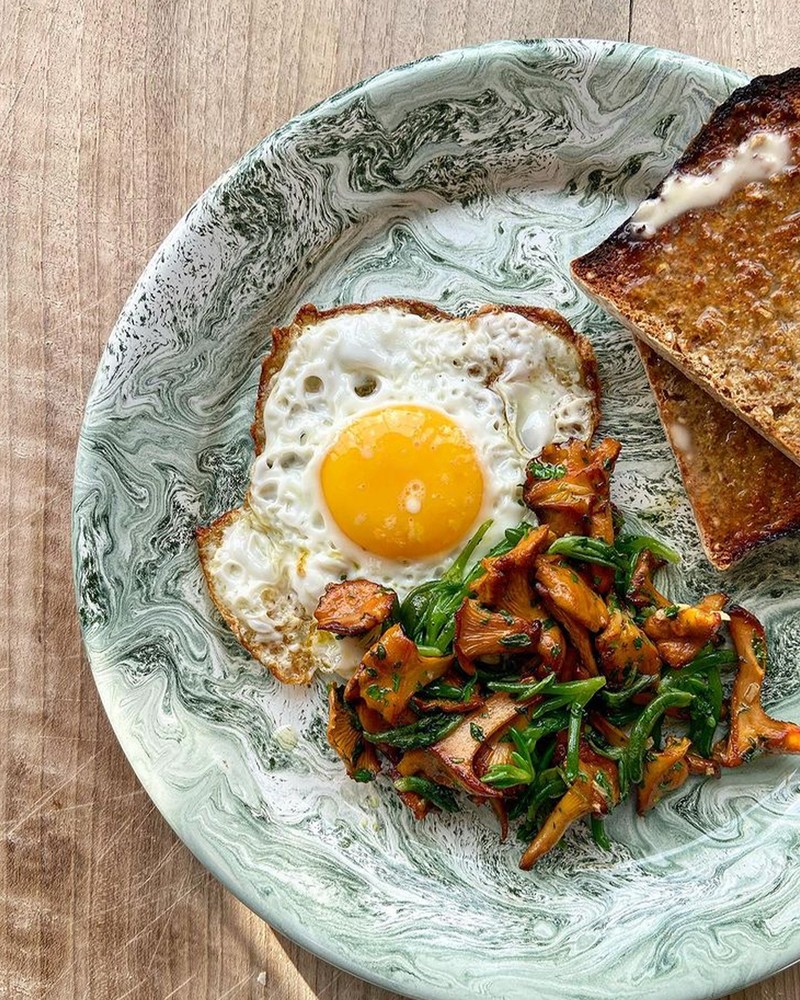
Pick the leaves off the hard stems and add them to a bowl of iced water before scattering them over your finished dish. This will make them really crunchy, vibrant and will add colour to anything. The same goes for any salad leaves – the iced water brings them back to life and will make them taste so much better.
Think about your plates
It may seem obvious but a few nice serving plates, a few candles and a nice linen tablecloth can make a huge difference to the way your food looks. Bin those square plates and go for a nice oval or round serving platter. eBay has tons of amazing finds, but supporting small ceramicists around London and the UK is great too: Nom ceramics are great for plain wide pasta bowls; Mae Ceramics are beautiful; and Klei just off Broadway Market is one of my favourites.
Visit Kitty-Coles.com and follow Kitty at @KittyColesCooks
Emily Ezekiel, Food & Prop Stylist
Think about tone
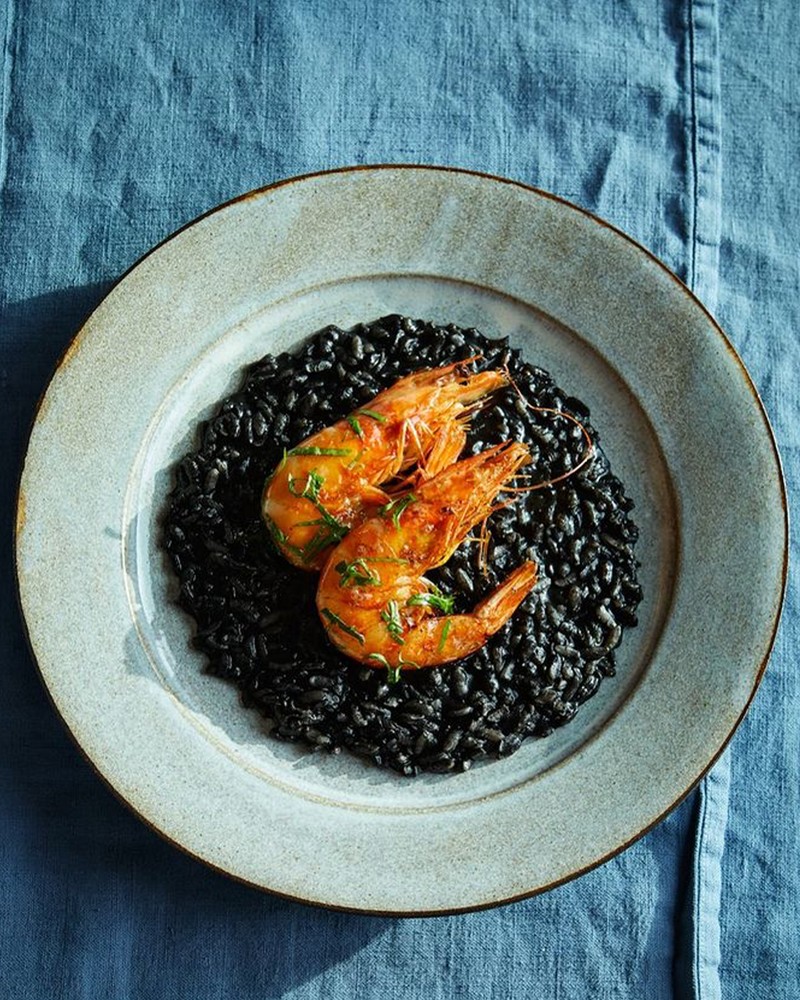
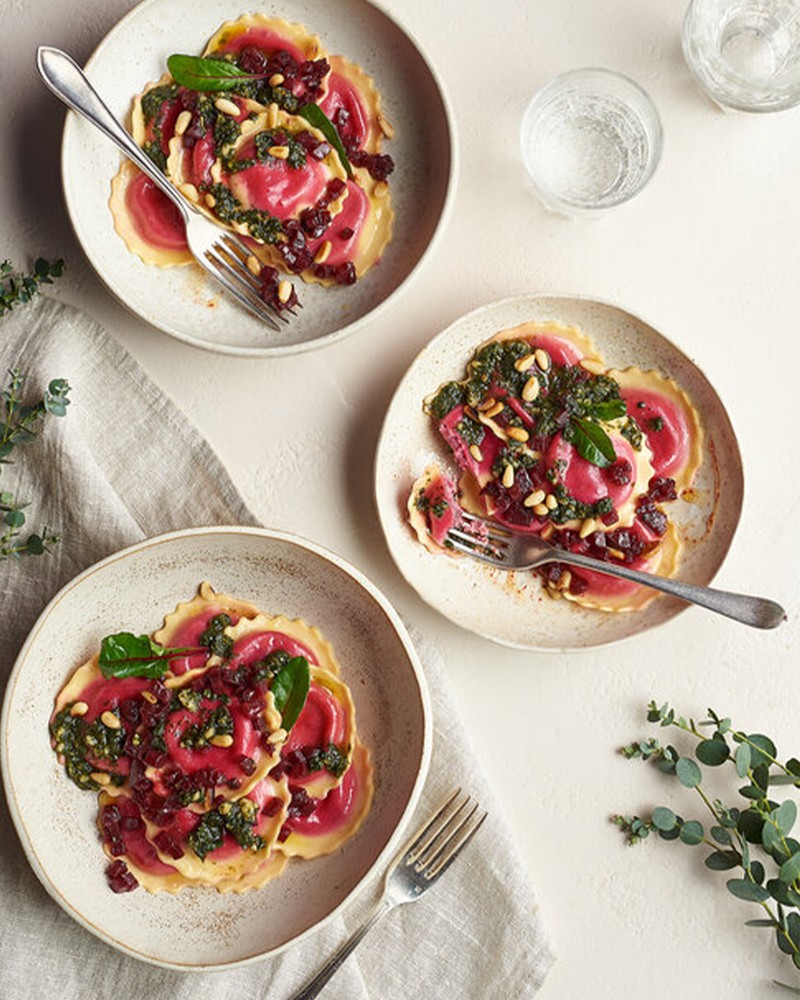
Try using the same colour across your ceramics, linens or work surface. Pale tones make food really pop. I love to use oat-y, pale greys and off-white ceramics with food.
Composition is key
Start with an overhead shot, then move bits around as you go, popping stuff down to give you a nice entry and exit of the frame.
Shoot in nice light
Most big food bloggers and food photographers will shoot in the day, with loads of natural lovely light. Shooting in the dark is always tricky.
Keep things fresh
Food won’t sit around for long, so set yourself up, plate up and then snap it quickly, so you can tuck in and enjoy what you’re snapping.
Visit EmilyEzekiel.com and follow Emily at @EmilyEzekiel
Alice Ostan, Food Stylist & Chef
Use good-quality produce
It might sound obvious, but the quality will show not only on your guests’ palates, but will also please their eyes first. Investing in good products from your local greengrocer, fishmonger, bakery, butcher is the first step to plating something really beautiful to your guests from home, and will also help your local stores.
Incorporate herbs
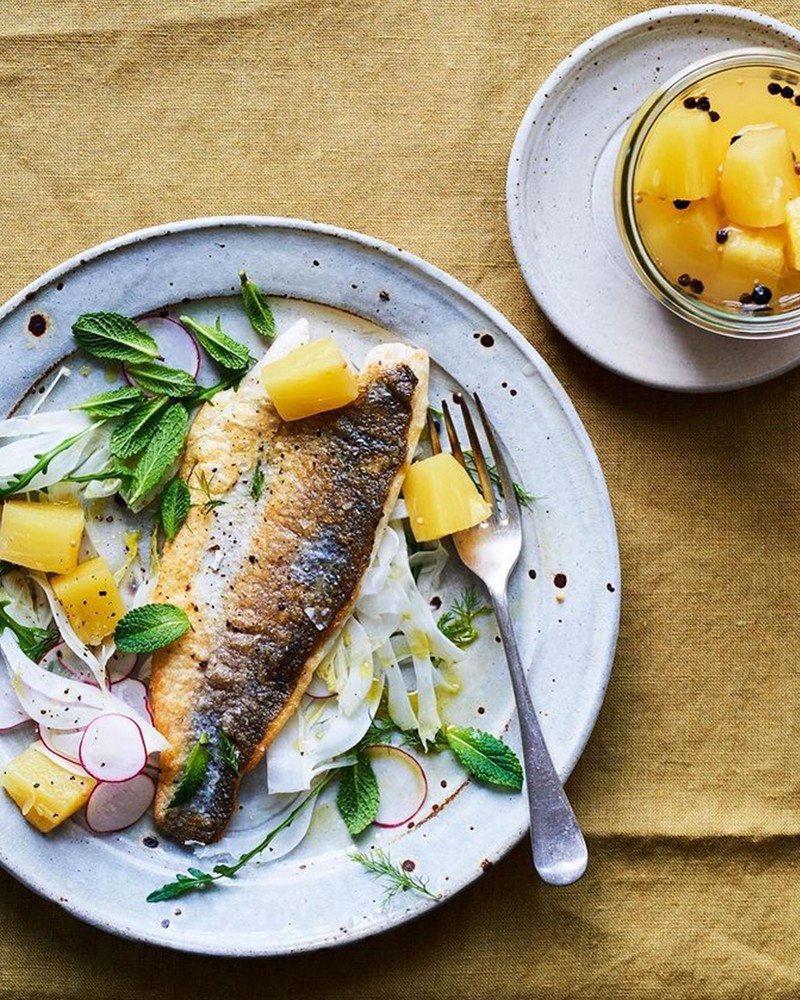
Micro herbs and edible flowers are always a good final touch, especially when the food itself is beige or monochromatic in colour. Many greengrocers are used to supplying these for food stylists and restaurants, so you won't have to look far for them to make your dishes beautiful from home.
Have fun with colour
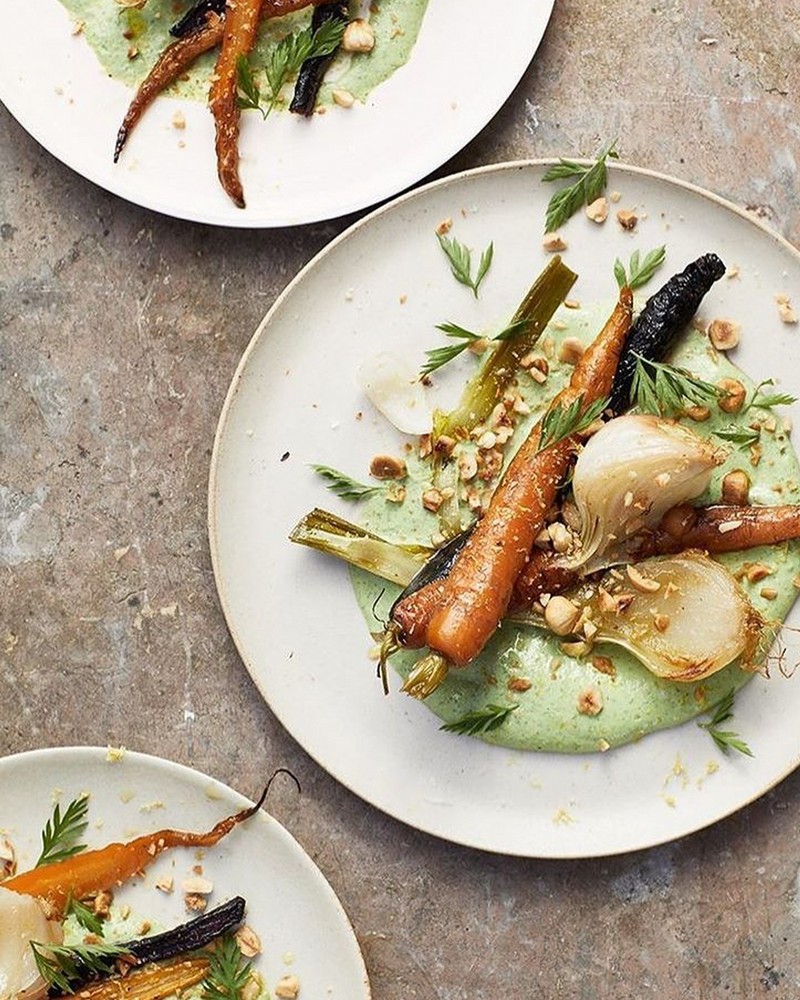
Vegetables always help to add more vibrant colours to any dish. Sprinkle nuts, seeds or granola on top of savoury and sweet dishes to bring a more interesting texture to something that could have otherwise looked flat and boring, despite being tasty.
Utilise dressings
From a simple drizzle of olive oil to create a shiny look to a rich and creamy béarnaise sauce, dressings and sauces can be a live saver. You can also add something vibrant and chunky, such as salsa dip or a tangy salsa verde to bring an unexpected pop to the look of any dish.
Think about flavour, texture and colour
If you nail these three aspects in your dishes it means you're doing it right and your guests will be happy.
Visit AliceOstan.co.uk and follow Alice at @AliceOstan
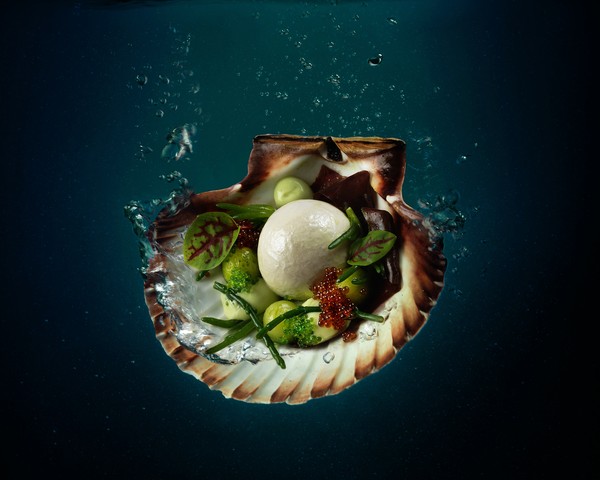
Jens Nisson, Executive Chef Director at Bubble Food
Simplify your plate
The best food photos almost always result from taking elements away from a dish, not piling extra ones on. The dishes that I’m most pleased with are usually based around one core idea or ingredient. Lots of extra fancy detail and props tends to obscure not illuminate, and it’s easier to photograph fewer elements really well. The overall picture quality will be better.
Use colour
Think about the colour palette carefully. In real life, an explosion of different colours in a dish can be visually thrilling. Unless it tones well though, it can look awful in an image. Some of our most exciting shots are based around one ingredient in slightly different guises. The colours seem to come together quite naturally, even though they are bold.
Remember food has to be eaten
We have a lot of fun at Bubble with dishes served in unexpected or unorthodox ways. The styling of our food represents that creativity, but we don’t like to go beyond what is physically feasible to put in front of diners. It’s not art for art’s sake: it’s a taster of what we offer.
David Colcombe, Chef Director at Liquid
Think about your background
To ensure your dish has the perfect background and setting, remember different shapes and textures are important. Think about using different shaped plates and food portions – not everything has to be perfect and circular. Use cloths and linen to help soften the image background and give another depth to your image. Lining plates with parchment or baking paper is something else that also works nicely to soften the plates. Portion sizes are also really important, smaller portions often photograph better than larger portions so try and avoid overcrowded plates.
It doesn’t have to be perfect
Don’t think that your food has to look too perfect. When we think we have a finished food shot, we always take one picture as a back-up while the dish looks good, then we have a bit of fun experimenting and bringing the dish to life a bit more with a bit of mess. For example, overspilling sauces or serving some of the food out of its cooking vessel. Sometimes dishes where you can see someone has already tucked in can look more appealing.
Think about authenticity
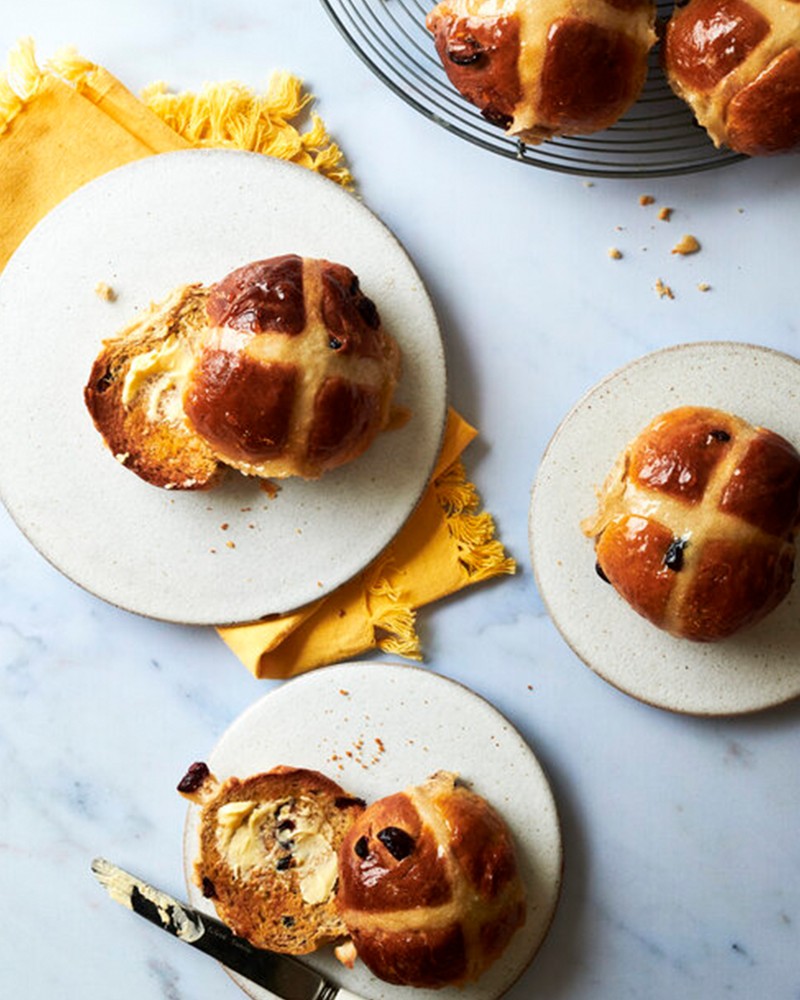
Drips of sauces can also look really appetizing, so don’t think that everything in your shot has to be confined. One thing we often do when shooting with cutlery is making the tableware actually look used, like it would in real life. If you have a slice of cake and have the cutting knife next to it – don’t be afraid to leave a few crumbs on the knife. These little things just make the styling look more real and give it a more authentic look.
Visit WeAreLiquid.com
DISCLAIMER: We endeavour to always credit the correct original source of every image we use. If you think a credit may be incorrect, please contact us at info@sheerluxe.com.
