Easy Gluten Free Vegan Tiramisu
Preheat the oven to 180°C/160°C Fan and grease a 10cm x 7.5cm x 5cm baking pan with vegan butter.
Add the plant-based milk and apple cider vinegar to a bowl. Mix and set aside for 10 minutes. This will create vegan buttermilk.
Add the gluten free flour, baking powder, baking soda, arrowroot and salt to a clean mixing bowl and stir to combine.
Place the vegan butter and sugar in a stand mixer, or use an electric whisk, and cream to combine until smooth. You may need to scrape the sides a couple of times. Add the apple or pear puree and vanilla and mix again to combine. Don’t worry if it looks like it has split, it depends on the vegan butter used but it will correct itself when you add the dry ingredients.
Add the dry mix and vegan buttermilk, a little at a time, whist whisking until a smooth batter forms. Try not to over whisk as this will make the sponge dense. Just until combined.
Add batter to your lined baking tray and smooth with spatula. Bake for about 35 minutes or until you can insert and remove a skewer cleanly. Allow to cool in the tray for 5 minutes then transfer to a wire rack to fully cool.
Meanwhile brew 1 cup of strong espresso powder. We used a cafetiere. You won’t use all of this but it’s best to have more.
Place the filling ingredients into a clean mixing bowl and using a balloon whisk mix until smooth. Adjust sweetness to taste with the maple syrup. Place covered in the fridge to chill whilst the sponge base cooks and cools.
Trim the edges of the sponge and cut into 16 strips about 1.5in wide. Carefully slice each strip in half lengthways so you end up with 32 thinner sponge pieces.
Brush each sponge finger liberally on one side with brewed coffee. Do this in batches when you’re ready to add to the dish. Soaking the fingers will result in a soggy base so we find brushing with a silicone brush much better.
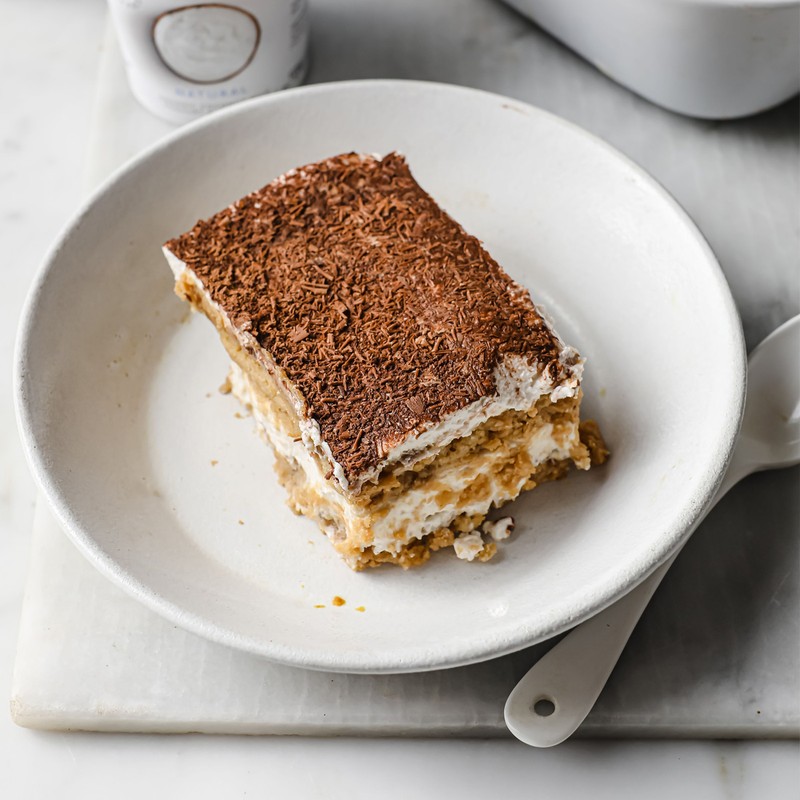
Line sponge fingers along the base of your dish (feel free to break some in half so they fit nice and snug). Top with a layer of coconut yoghurt filling, another layer of coffee-soaked sponge, followed by the final layer of coconut yoghurt filling. Place in the fridge, covered with tin foil, for 4 hours to firm up, or overnight.
Sprinkle with raw cacao and grated chocolate. Slice and serve.
Recipe courtesy of Cocos Organic
Or continue to comment as a Guest below
DISCLAIMER: We endeavour to always credit the correct original source of every image we use. If you think a credit may be incorrect, please contact us at info@sheerluxe.com.
/https%3A%2F%2Fsheerluxe.com%2Fsites%2Fsheerluxe%2Ffiles%2Fwebsite-images%2F2025%2F03%2Fsign-up-pop-up.jpg)
