7 Make-Ahead Pudding Recipes To Try
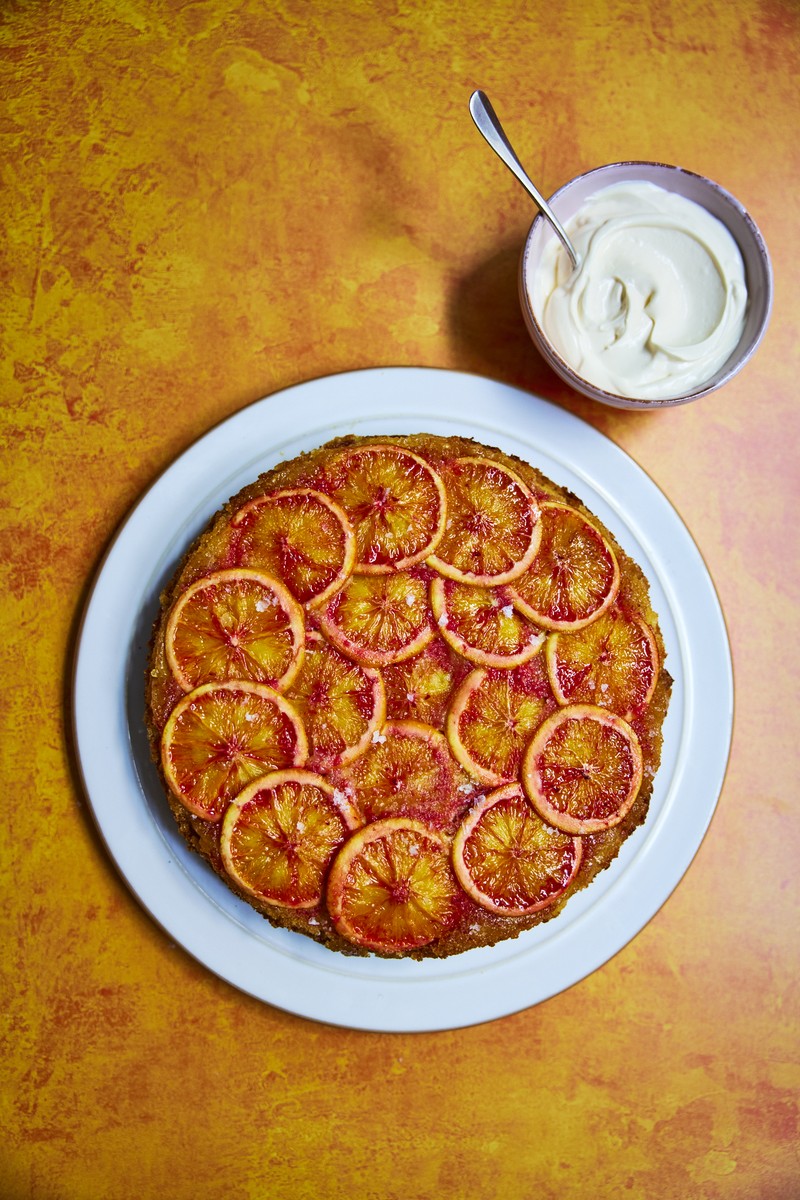
Maldon Salt & Blood Orange Olive Oil Cake
Grease a 20cm round cake tin with olive oil and line the base with parchment paper. Preheat the oven to 190°C.
Take the blood oranges and carefully cut into thin rounds (as thin as you can go). Start by sprinkling 30g of the golden caster sugar on the bottom of the cake tin, over the paper. Then arrange the slices on top of the in a nice circular pattern. Use the end pieces of the blood oranges to squeeze over any remaining juice and then set aside while you make the cake batter.
In a large mixing bowl mix together the plain flour, semolina, baking powder and salt.
Next in a smaller bowl mix together the orange juice and zest, vanilla extract and olive oil.
Place the eggs and sugar into a stand mixer – or you can use an electric whisk – and beat them together until they are pale and fluffy. Next add the dry ingredients, followed by the wet ingredients and beat until smooth.
Pour the cake batter into the tin on top of the orange slices and smooth over the top. Place the cake tin into the preheated oven and bake for 30-40 minutes until golden brown on top and cooked through.
Remove from the oven and allow to cool for 10 minutes. Then carefully remove from the cake tin before turning it upside down onto a plate and peeling off the baking paper. Allow the cake to then cool completely before slicing and serving with crème fraiche.
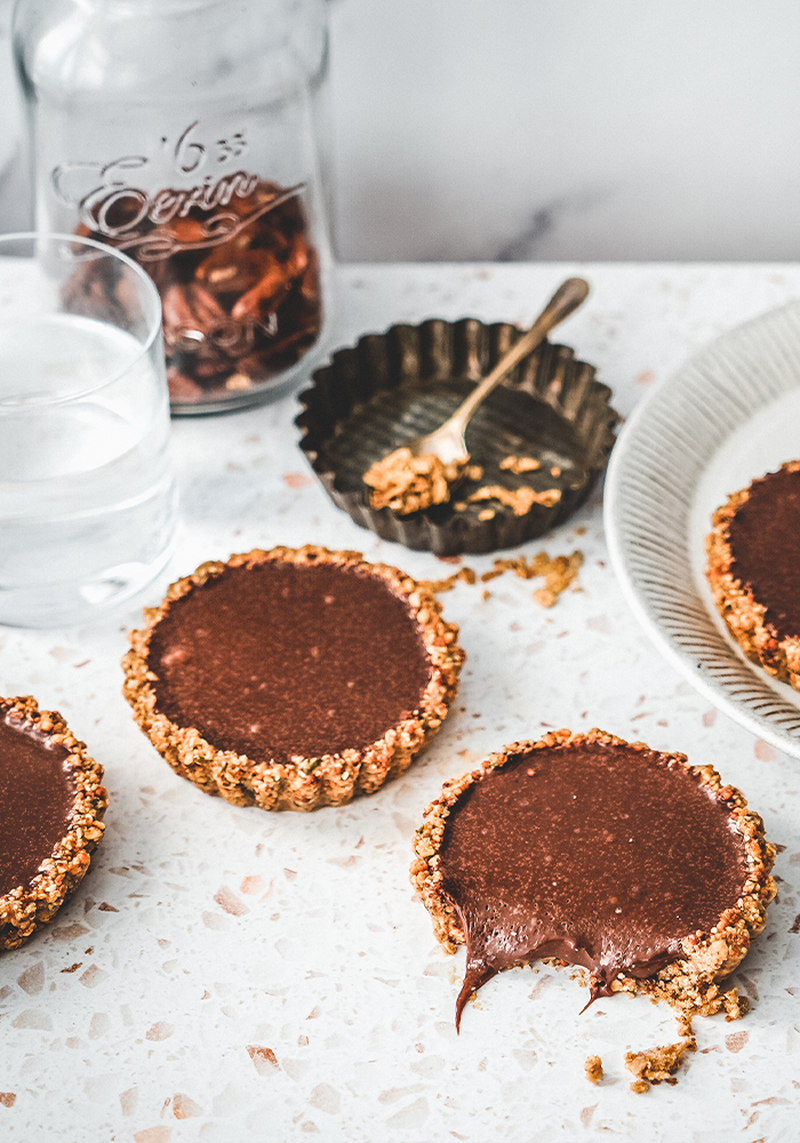
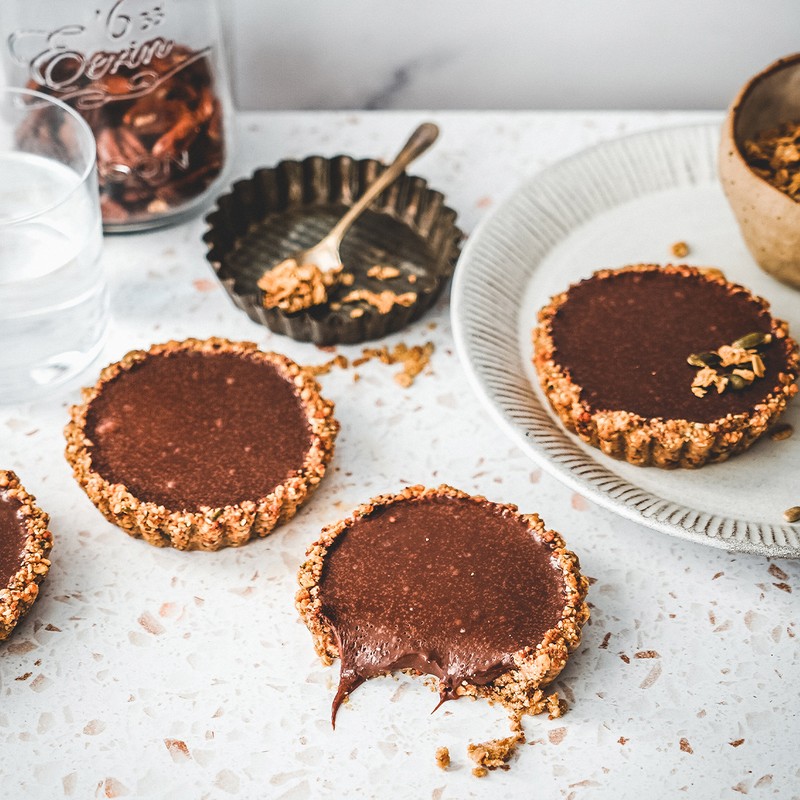
No-Bake Chocolate Tarts
To make the crust, place the about two-thirds of the Lizi’s Original Granola into a food processor and process until fine and crumbly.
Add in the remaining granola, the oil and salt and process until everything is evenly combined and the mixture has clumped together. Divide this mixture equally between four loose-bottomed 10cm tart tins and press firmly into the base and up the sides.
Place the tart cases in the fridge while you work on the ganache.
Place the chocolate into a bowl and set aside. Add the almond milk and sugar to the pan on a medium heat and gently heat until just steaming.
Pour the hot milk over the chocolate and set aside for a couple minutes before stirring with a whisk until a silky-smooth ganache is formed.
Pour the ganache into the chilled tart cases and place into the fridge until the ganache has set, which will take at least a couple of hours.
Serve with a little vegan whipped cream or sour cream if you're not vegan. Kept refrigerated, these will keep for 3-4 days.
Recipe courtesy of Edd Kimber & Lizi’s
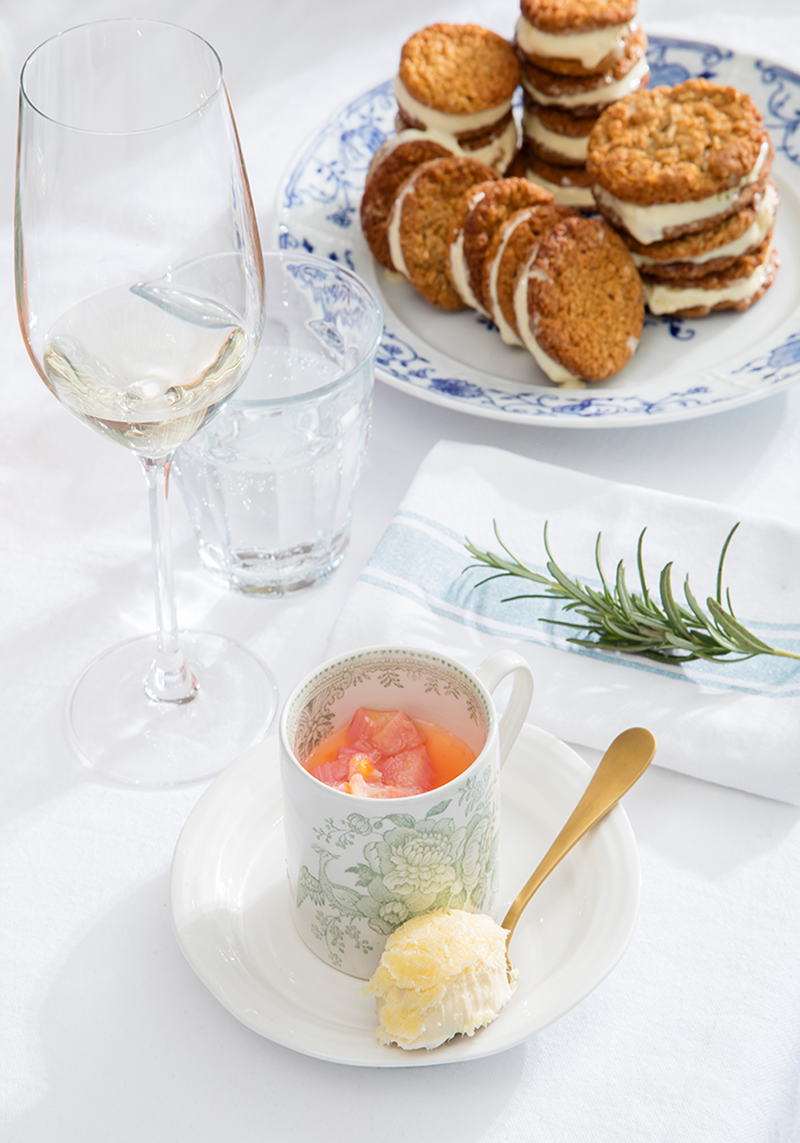
Clotted Cream Vanilla Panna Cotta With Roasted Rhubarb & Cornish Fairings
To make the compote, preheat the oven to 120°C/100°C Fan.
Wash the rhubarb and cut into uniformly sized pieces and arrange in a baking dish. Sprinkle the orange zest and juice, the vanilla pod and the sugar over the rhubarb. Gently cook in the oven for 45 minutes until the rhubarb is tender but still holding its shape. Allow to cool before serving. This compote will last up to 2 weeks in the fridge or 6 months in the freezer.
Immerse the gelatine in a small bowl of cold water and leave to soak. For the panna cotta, add half of the clotted cream, all of the milk and the split vanilla pod into a heavy-based pan and slowly bring to just under a simmer. Do not boil the water, just warm enough to allow the gelatine to dissolve in the clotted cream (if you heat the clotted cream too much it will separate when setting). Remove from the heat and leave to infuse for 10 minutes. In a separate bowl, combine the remaining s clotted cream with the icing sugar. Return the infused clotted cream mixture to the heat to warm through. Remove the gelatine from the water, squeezing out any excess liquid, then add to the warmed clotted cream and stir to dissolve.
Pour the infused mixture through a fine sieve onto the cold clotted cream and icing sugar and stir well. Pour into small espresso mugs, then chill in the refrigerator for at least 3 hours or overnight. To serve, top with the rhubarb compote, an extra spoonful of clotted cream and eat with the Cornish fairings sandwiched with the clotted cream ice cream.
To make the Cornish fairings, preheat the oven to 150°C/130°C Fan.
Add the softened butter to a mixing bowl, then add all the dry ingredients except the sugar and mix together. Stir in the sugar and golden syrup and combine to form a dough. This can be frozen at the stage, for another day.
Roll pieces of the mixture into 16g balls (about the size of a large grape) and place on a baking sheet. Gently press your thumb in the middle of each ball of dough. Make sure they are spaced well apart as they will spread out during cooking. Bake in the oven for 8-10 minutes. Remove and let cool.
For the ice cream sandwiches allow the ice cream to soften ever so slightly, place a spoonful in the middle of a biscuit and then place another biscuit on top, gently squeeze together and smooth around the sides. Repeat with other biscuits. Place back in the freezer until ready to serve.
Recipe courtesy of Emily Scott and Rodda’s
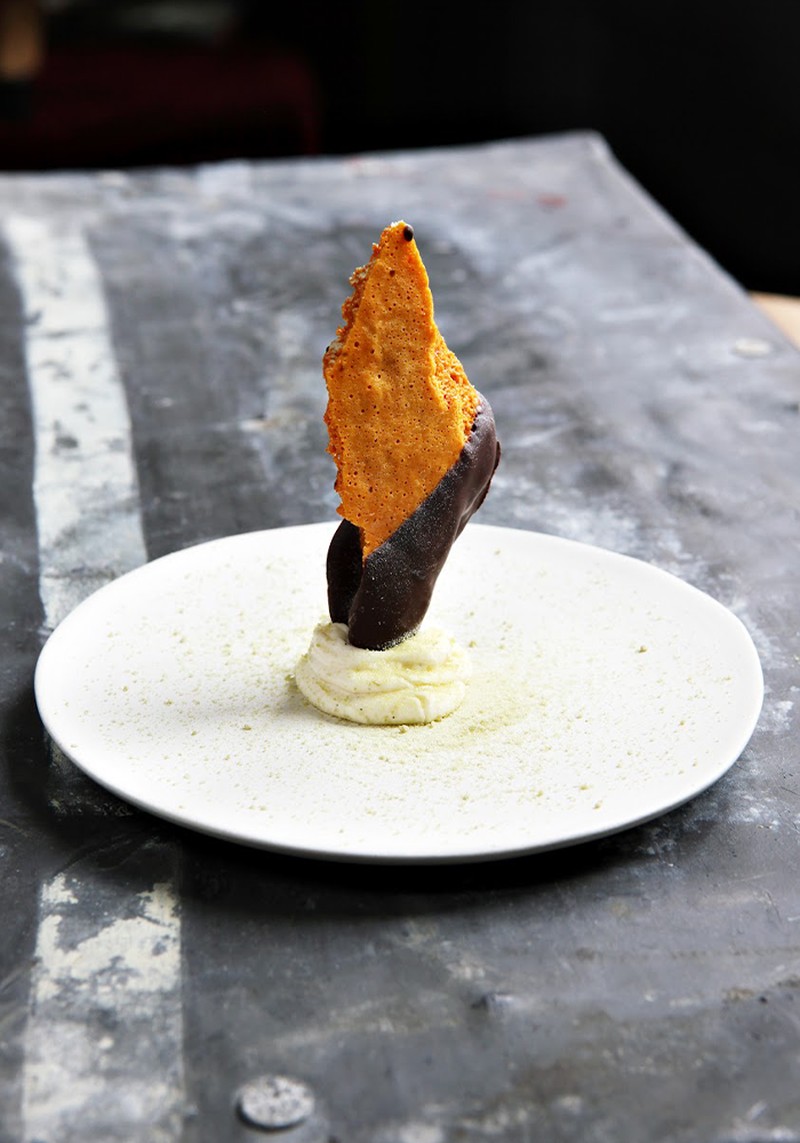
Honeycomb Dipped In Dark Chocolate With Tarragon & Vanilla Mascarpone
Line a 20cm x 30cm baking tray with baking parchment, sticking it down with a little oil.
Put the water, sugar, glucose and honey in a large, heavy-based saucepan and set over a low heat to dissolve the sugar. Do not stir. Once the sugar has dissolved, increase the heat to moderate/high and, using a sugar thermometer, carefully monitor the temperature as it steadily rises. Have a whisk and bicarbonate of soda at the ready.
Once the temperature reaches 150ºC, remove the pan from the heat, add the bicarbonate of soda and whisk gently for 10 seconds. The mixture will react like a volcano; it will increase in volume by 8 times and bubble up in the pan. Wait for 10 seconds, and then, once the bubbling is less aggressive, carefully pour the mixture onto the lined baking tray. Set aside to cool for 1 hour to room temperature and then turn out the honeycomb and cut into exciting shapes and shards.
Set a heatproof bowl over a pan of gently simmering water. Put the dark chocolate in the bowl and stir until it has fully melted – it should be shiny and smooth. Dip one half of each honeycomb piece into the melted chocolate, and then transfer it to a clean sheet of greaseproof paper to set.
To make the vanilla mascarpone, scrape out the seeds from the vanilla pod and combine them with the mascarpone and chopped tarragon in a bowl. Serve this as a base for your triumphant dark chocolate honeycomb, garnished with some extra tarragon leaves.
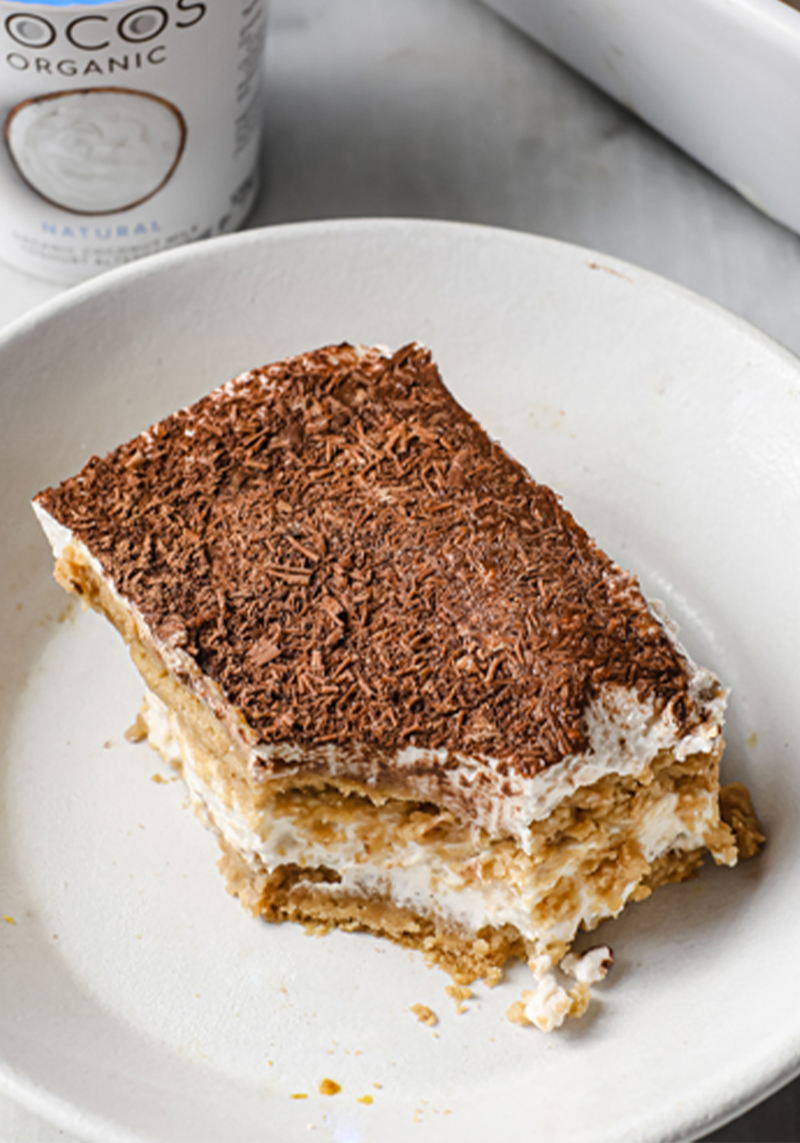
Easy Gluten-Free Vegan Tiramisu
Preheat the oven to 180°C/160°C Fan and grease a 10cm x 7.5cm x 5cm baking pan with vegan butter.
Add the plant-based milk and apple cider vinegar to a bowl. Mix and set aside for 10 minutes. This will create vegan buttermilk.
Add the gluten free flour, baking powder, baking soda, arrowroot and salt to a clean mixing bowl and stir to combine.
Place the vegan butter and sugar in a stand mixer, or use an electric whisk, and cream to combine until smooth. You may need to scrape the sides a couple of times. Add the apple or pear puree and vanilla and mix again to combine. Don’t worry if it looks like it has split, it depends on the vegan butter used but it will correct itself when you add the dry ingredients.
Add the dry mix and vegan buttermilk, a little at a time, while whisking until a smooth batter forms. Try not to over whisk as this will make the sponge dense. Just until combined.
Add batter to your lined baking tray and smooth with spatula. Bake for about 35 minutes or until you can insert and remove a skewer cleanly. Allow to cool in the tray for 5 minutes then transfer to a wire rack to fully cool.
Meanwhile brew 1 cup of strong espresso.
Place the filling ingredients into a clean mixing bowl and using a balloon whisk mix until smooth. Adjust sweetness to taste with the maple syrup. Place covered in the fridge to chill whilst the sponge base cooks and cools.
Trim the edges of the sponge and cut into 16 strips about 1.5in wide. Carefully slice each strip in half lengthways so you end up with 32 thinner sponge pieces.
Brush each sponge finger liberally on one side with brewed coffee. Do this in batches when you’re ready to add to the dish. Soaking the fingers will result in a soggy base so we find brushing with a silicone brush much better.
Line sponge fingers along the base of your dish (feel free to break some in half so they fit nice and snug). Top with a layer of coconut yoghurt filling, another layer of coffee-soaked sponge, followed by the final layer of coconut yoghurt filling. Place in the fridge, covered with tin foil, for 4 hours to firm up, or overnight.
Sprinkle with raw cacao and grated chocolate. Slice and serve.
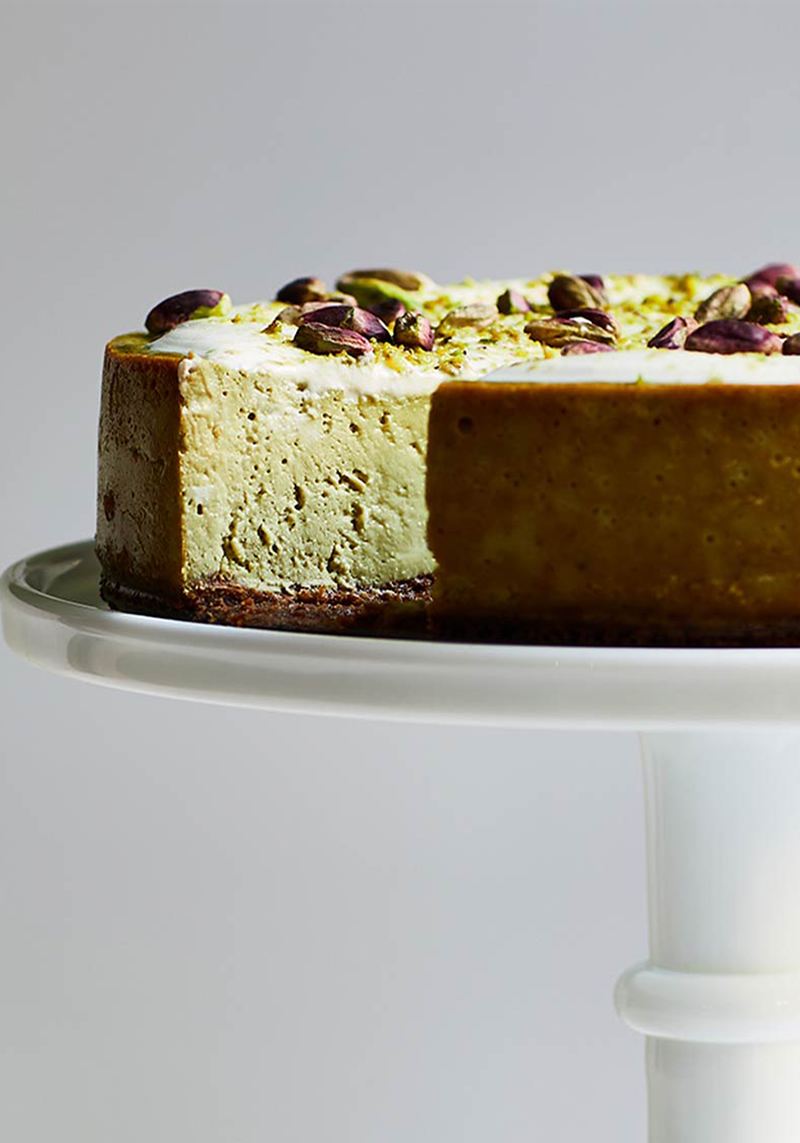
Pistachio Cheesecake
Preheat the oven to 180°C/160°C Fan and base line an 18cm springform cake tin with baking parchment.
Blitz the digestives and a pinch of salt in a food processor to a fine rubble; this can also be done by sealing the biscuits in a zip lock bag and bashing them with a rolling pin. Add the melted butter and blitz again. Press the biscuit rubble firmly into the bottom of the tin and bake for 10 minutes. Leave to cool on a wire rack.
Once cool, paint the inside of the tin liberally with more melted butter and place the tin on a baking tray.
Increase the oven temperature to 220°C/200°C Fan.
Beat the cream cheese until creamy, before gradually adding the sugar and salt. Add the pistachio paste and vanilla, before whisking in the eggs, one at a time.
Finally, whisk in the sour cream and pour the mixture over the biscuit base. Bake for 10 minutes.
Reduce the oven temperature to 110°C/90°C.
Bake for a further 20-25 minutes, or until, if you gently shake the tin, there is a slight wobble in the middle. Turn off the oven and leave the cheesecake to cool in the oven for 2 hours with the oven door half open for a creamy texture, or keep it closed if you like a drier, firmer cheesecake.
To make the topping, combine the soured cream, lemon juice and sugar together. Spoon it over the top of the cheesecake, and tease it right to the edges. Cover loosely with foil (without touching the top) and pop it in the fridge to set for 8 hours, or overnight.
Place the tin on top of an upturned bowl and gently pull the sides of the tin down to release it, before prising the tin base off the cheesecake with a palette knife, while sliding it onto a plate to serve.
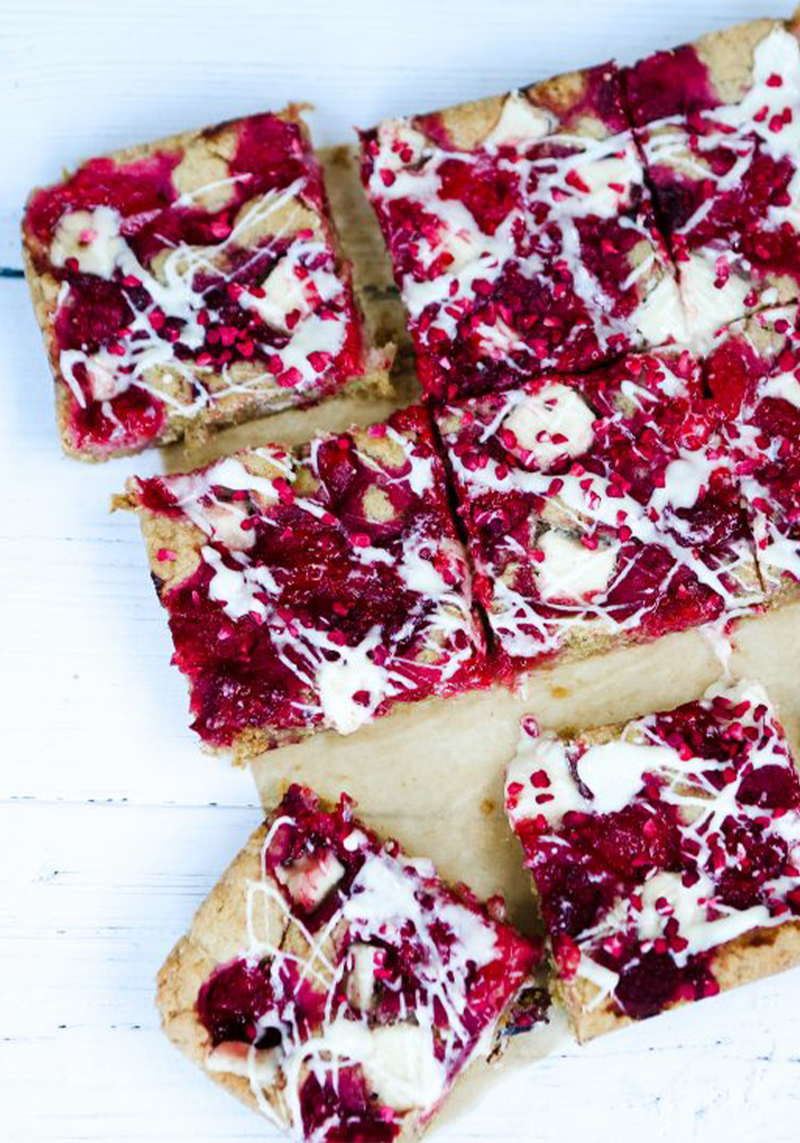
Raspberry & White Chocolate Blondies
Preheat the oven to 180°C Fan/Gas Mark 4. Grease and line a deep square baking tray (around 20cm x 20cm).
In a large mixing bowl, combine the dry ingredients thoroughly and set aside.
In a large mixing bowl, whisk together the wet ingredients until creamy and soft.
Spoon the wet ingredients into the bowl of dry ingredients and combine. You’ll probably need to use your hands to form into a soft dough.
Firmly and evenly press the dough into the lined baking tray.
Evenly press the frozen raspberries and white chocolate firmly into the mixture.
Place the tray in the oven for around 30 minutes. Check after 15 minutes and if it is browning too quickly, then cover it with tin foil and place back in the oven.
Serve warm and gooey.
DISCLAIMER: We endeavour to always credit the correct original source of every image we use. If you think a credit may be incorrect, please contact us at info@sheerluxe.com.
