7 Easy Ways To Get A Flawless Feline Flick
Choose Your Eyeliner Wisely
Liquids are prone to wobbliness, while pencils are known for their smeary downside. This is why it’s important to consider your formula when it comes to creating a beautiful, defined eye. I always opt for gel liners as they’re easy to apply and tend to last longer. It’s key to choose a waterproof liner too – especially if, like me, you have hooded eyes that can get watery easily. My go-to is Marc Jacobs Highlighter Liquid Gel Liner. The applicator is very thin and it’s shaped like a crayon, so you get complete control and better precision.
Prime Lids With A Shadow Primer
This way, lids won’t be so oily, which will prevent make-up from slipping or deteriorating throughout the day. Plus, it gives an even canvas for your liner to adhere to so, as you apply it, it won’t run or sink into creases, which means smoother application overall for a more precise line.
Always Use Two Hands
Maybe this sounds obvious to you, but liquid eyeliner is a two-hand job and I often see people attempt it with one. Stand in front of a mirror and use your non-drawing hand to hold your eyelid taut – you’re guaranteed best results this way. Or, if you’re really wobbling, place your elbow onto a flat surface. This will mechanically keep your arm and hand steady as you apply it.
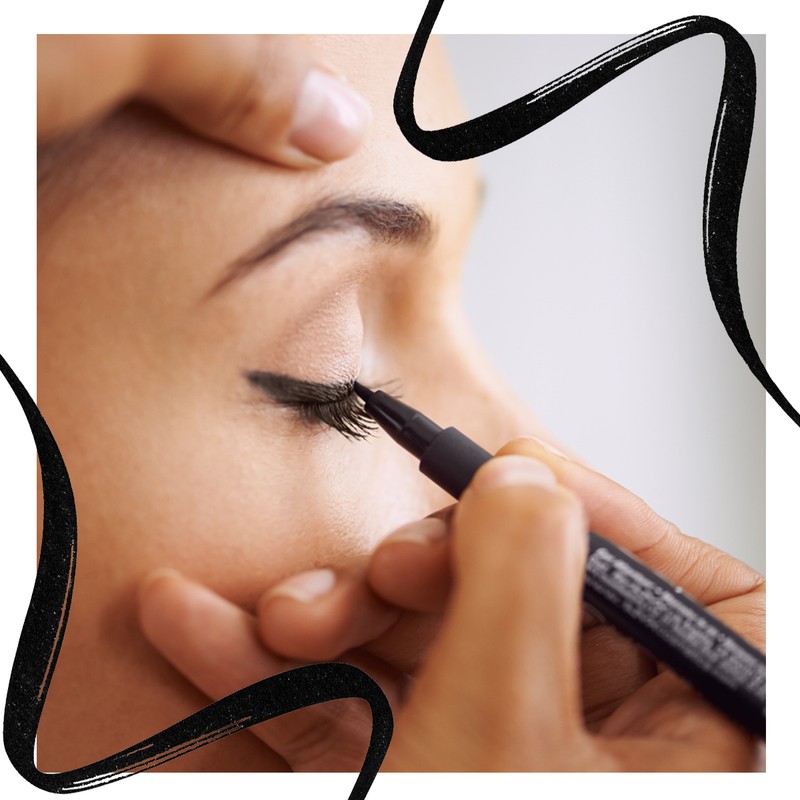
Do The Inner Corners First
Everyone does it differently but, if I am doing it on myself, I always start with the inner corner of the eye, drawing the thinnest line possible from there, across to the centre of the lids before stopping. This gives you time to pause and review the start of the line that you’ve created and perfect it if needed. Then I move over to the flick before filling in the rest of the lid. I recommend really keeping your eyes open for this part and looking straight ahead, so you can see the exact spot you should place the wing – this is especially important for anyone with hooded eyes that wants an even finish.
Keep The Flick At A 30º Angle
Aim to have your flick meet the end of your brow. It should sit roughly at a 30º angle – not too upright or straight. Once your flick is done, you just work backwards, joining the line back to the centre of your lids. In my opinion, it’s more flattering to have a thinner corner, then gradually build up the thickness along the lash line if you want to. It also helps to break the process up into these steps, so you can gradually build on the finish you want, perfecting it as you go. Remember you can always go back in and fill in any sparse edges with your liquid.
Trace Your Liner With Pencil First
If you’re really struggling, try softly drawing the shape you want to achieve with a light, brown liner first. It’s a lot easier to remove than liquid liner is, and it will allow you to trace the shape perfectly with minimal risk. Use smaller strokes when you go in with your liquid, it will allow you to have more control and get a straighter line.
Erase Mistakes Strategically
Smudged eyeliner happens. When it does, don’t remove all your make-up in a panic. Instead of starting from scratch, keep a Q-tip handy and dip it into an oil-free make-up remover (I love Bioderma’s), using the small head as a tiny eraser, or to perfect the line itself. If you’re out and about or don’t have remover nearby, moisturiser and primers both work at removing wonky edges as well, so they’re great to keep in your make-up bag.
Shop our edit of the best liquid eyeliners below…


DISCLAIMER: We endeavour to always credit the correct original source of every image we use. If you think a credit may be incorrect, please contact us at info@sheerluxe.com.
/https%3A%2F%2Fsheerluxe.com%2Fsites%2Fsheerluxe%2Ffiles%2Fwebsite-images%2F2025%2F03%2Fsign-up-pop-up.jpg)
