A Bobbi Brown Make-Up Artist Shares Her Beauty Secrets
Prioritise Vitamin C
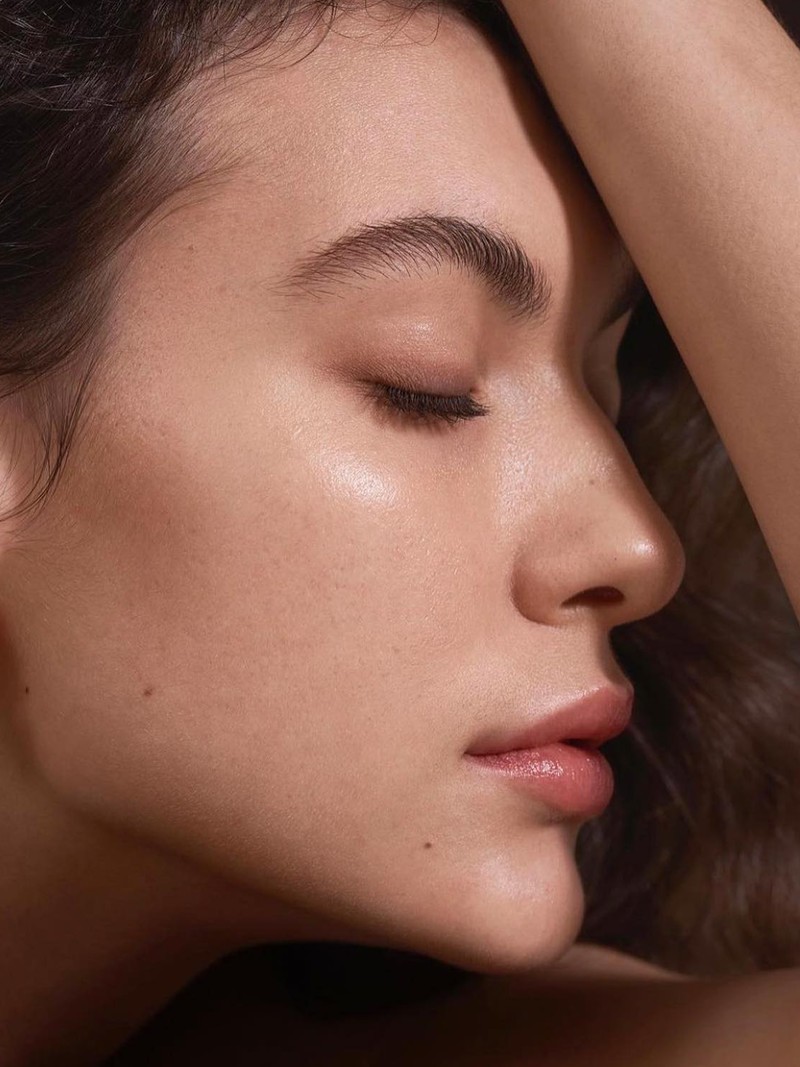
How good your base looks depends on what’s underneath your make-up. I’m therefore a huge fan of moisturisers that contain vitamin C because they give the most beautiful glow and brightness to the skin. While I’m a big fan of highlighters for a little more drama, you can get the skin to glow without using any highlighter at all. Not only does focusing on skincare look more natural, but the effect lasts longer throughout the day.
Swatch Directly On To Your Face
Swatching products on your face is the only way to get the colour match just right. I recommend swatching at least three shades onto the skin, right from the top of the cheek to the bottom of the jawline to see how it looks in the warmest area versus the lightest area.
Use Your Fingers
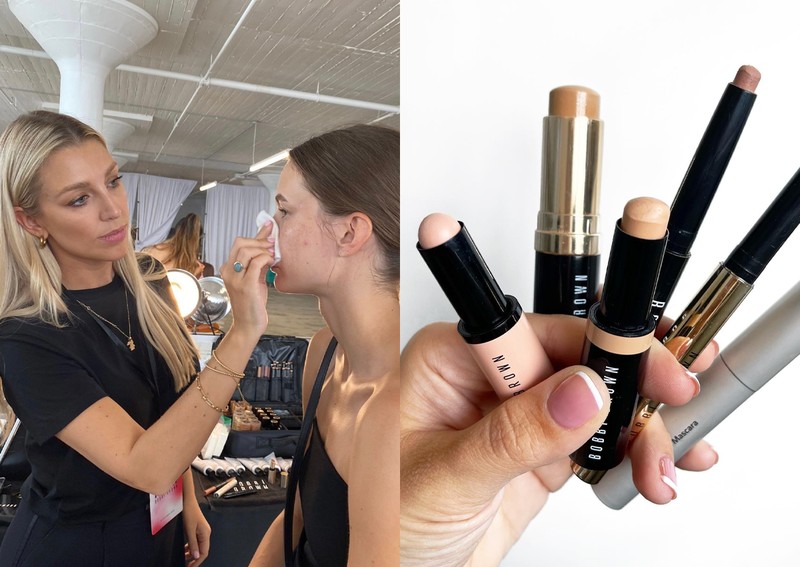
To achieve the most flawless look, apply foundation with a brush and then press in with your fingers. This will really blend the make-up into your skin and remove any excess to ensure you have a natural, long-wearing base.
Build Coverage Gradually
If you have problematic skin and struggle to nail that natural look, start with a lightweight tinted moisturiser to give the most natural finish all over, then apply a full coverage concealer only where it’s needed.
Understand Colour Correction
This is important if you struggle with concealing under-eye circles. Covering the under-eyes can be like painting a wall – if it’s an uneven tone, it’s important to start with a ‘whitewash’ of paint first, before using the actual colour. So, in make-up terms, corrector is like a white paint. If you see more blue or purple tones under the eye, opt for a pink corrector. If you see more of a brown tone, opt for a peach. This will banish any darkness before you apply concealer, allowing you to create a flawless under eye with minimal product.
Blot
I love cream finishes for bronzer and blush. For example, our Pot Rouge for cheeks and lips is so easy to use, and instantly adds colour and glow to the cheeks. A trick for making sure these types of cream products look their best is to use a cream/foundation brush to gently blot it across the skin – pressing the bronzer and blush in rather than sweeping it across the face. This maintains glow but also helps it stay put for longer. My favourite is our Full Coverage Foundation Brush.
Embrace Powder
Stippling on a bit of setting powder with a smaller brush can help you lock your make-up down but in a more seamless, concentrated way. Using a smaller brush allows you to get into those harder-to-reach areas around the nose or under the eyes for a longer-wearing finish.
Focus Your Glow
I love pinpointing highlighter. Rather than taking it all over the cheekbones and down the nose, I place it at the tip and bridge of the nose only. Another key area is the front of the cheek and the highest point of the cheekbone. This will give you that gorgeous lit-from-within glow without looking too heavy.
Map Out Your Liner
Start right at the outer corner of the eye – taking a brush or a cotton bud with eye cream – and pull from the outer corner upwards towards the hairline. Create a trace of our outline which you can use as a guide to create the perfect angle and wing before going in with your actual liner.
Nail Your Shades
For brows
The secret to creating beautiful brows is in the colour, shape and finish. First, opt for a slightly cooler version of your hair for the brow, this will ensure it doesn’t look red on the skin. Then start by applying colour through the base of the brow, brushing the colour upwards for a more natural look. Finish with a brow shaper to hold the shape in place.
For lips
A pink with a slightly blue undertone is flattering on everyone. You can go as light or as deep as you want but always look for that blue undertone, as it also makes your teeth appear whiter and skin feel brighter. A bold red lip is an autumn staple – but be sure to blot. When applying any bold lip, in fact, take some tissue and hold it over the lip, then blot a small amount of powder over the top. This will set the lip colour underneath for an all-day wear.
Invest In A Make-Up Light
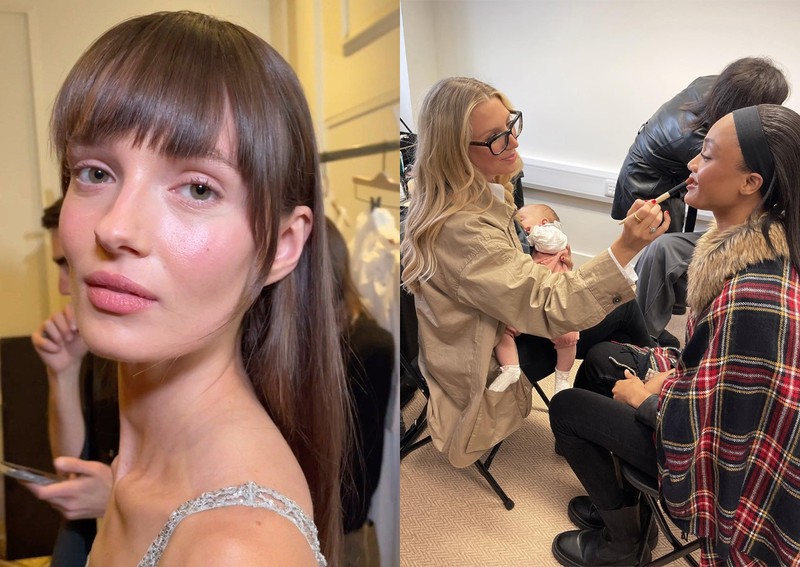
For aspiring make-up artists especially, this is something I’ll always have in my kit. It’s even more important as we go into autumn and winter with their darker evenings. With different clients and different locations, you can’t always guarantee a good light, so I always take my own mini portable one to see the make-up properly.
Finally, Play With Finishes
When you look at an overall make-up look, what makes it special is the mix of finishes you see on the skin. That’s why I love to pair matte skin with a glossy lip or a high-shine eye to really make your features pop.
Follow @BBPro_AmyConway on Instagram.
DISCLAIMER: We endeavour to always credit the correct original source of every image we use. If you think a credit may be incorrect, please contact us at info@sheerluxe.com.